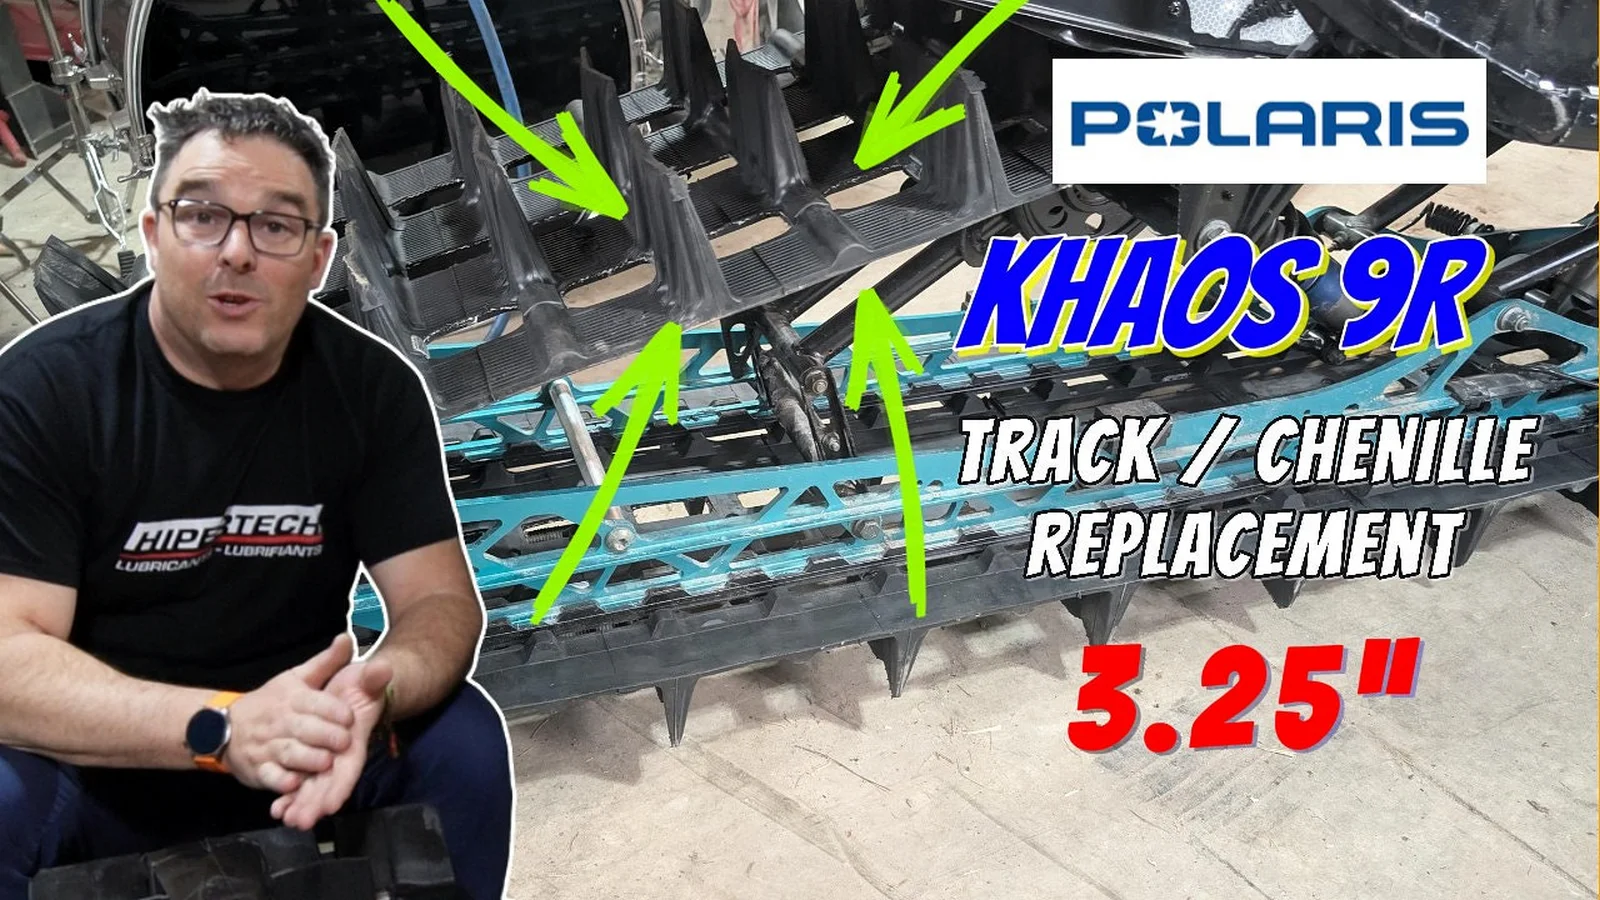
Replace the Track on a Polaris RMK Khaos Slash: Complete Guide
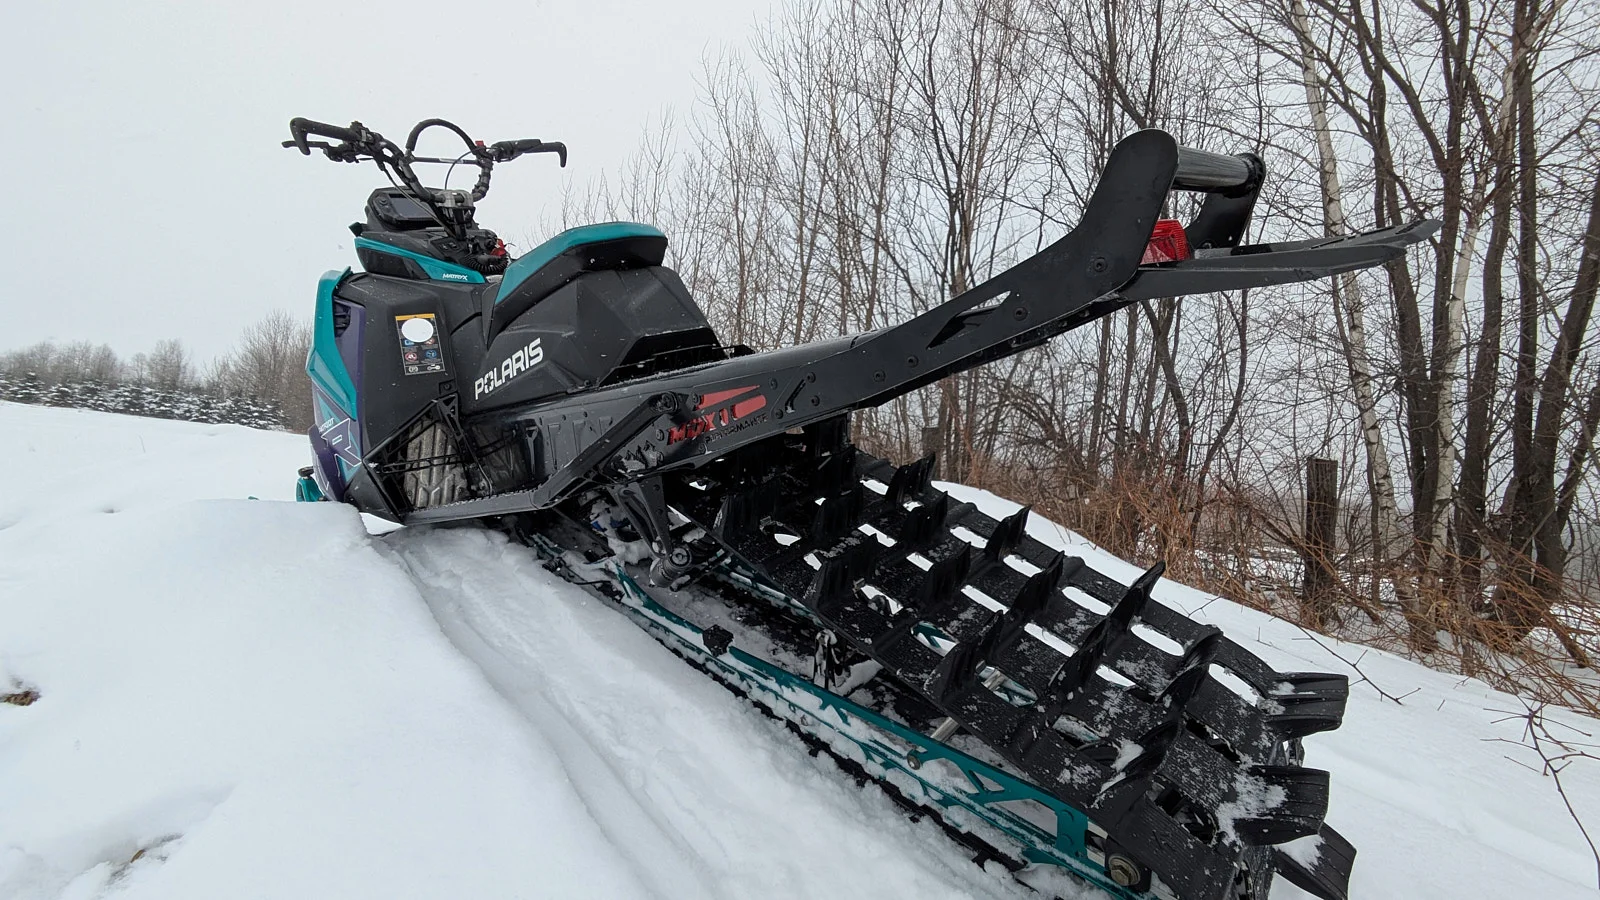
When was the last time you replaced your snowmobile’s track? If you didn’t know, this is a critical step to maintain the performance of a mountain snowmobile. In this detailed technical guide, I explain every step so you can do it yourself. Follow along as I replace the track on the Matryx chassis of my Polaris 9R RMK Khaos Slash. Fortunately, the QuickDrive system simplifies several procedures compared to a traditional chain case. Follow my expert advice and you’ll be able to complete this important mechanical maintenance at home.
Why Replace Your Snowmobile Track?
If you ride in the mountains, you already know how important a good track is. A worn track reduces traction and compromises safety in off-trail terrain. Torn lugs, in particular, reduce braking efficiency on icy or hard-packed surfaces.
Inspect the structure of your track regularly to spot cracks or exposed reinforcement rods. A preventive track replacement can help avoid costly failures during high-mountain rides.
Prepare Your Workspace and Ensure Safety
Before you begin, prepare your workspace and make sure it is safe.
- Ensure that the snowmobile is parked on a level, stable surface.
- Always wear safety glasses and protective gloves.
- Ensure adequate lighting to clearly see internal components.
Tools Required for Track Replacement
- Heavy-duty ratchet
- Extensions: 4 in, 6 in, and 10 in
- Metric sockets: 10 mm, 15 mm, 16 mm, 17 mm
- Torx T40 socket (high quality)
- Polaris “L” tool (supplied with the original tool kit)
- Combination wrenches: 10 mm and 16 mm
- Tape measure
- 10 lb weight (4.54 kg) for adjustment
- Medium pry bar
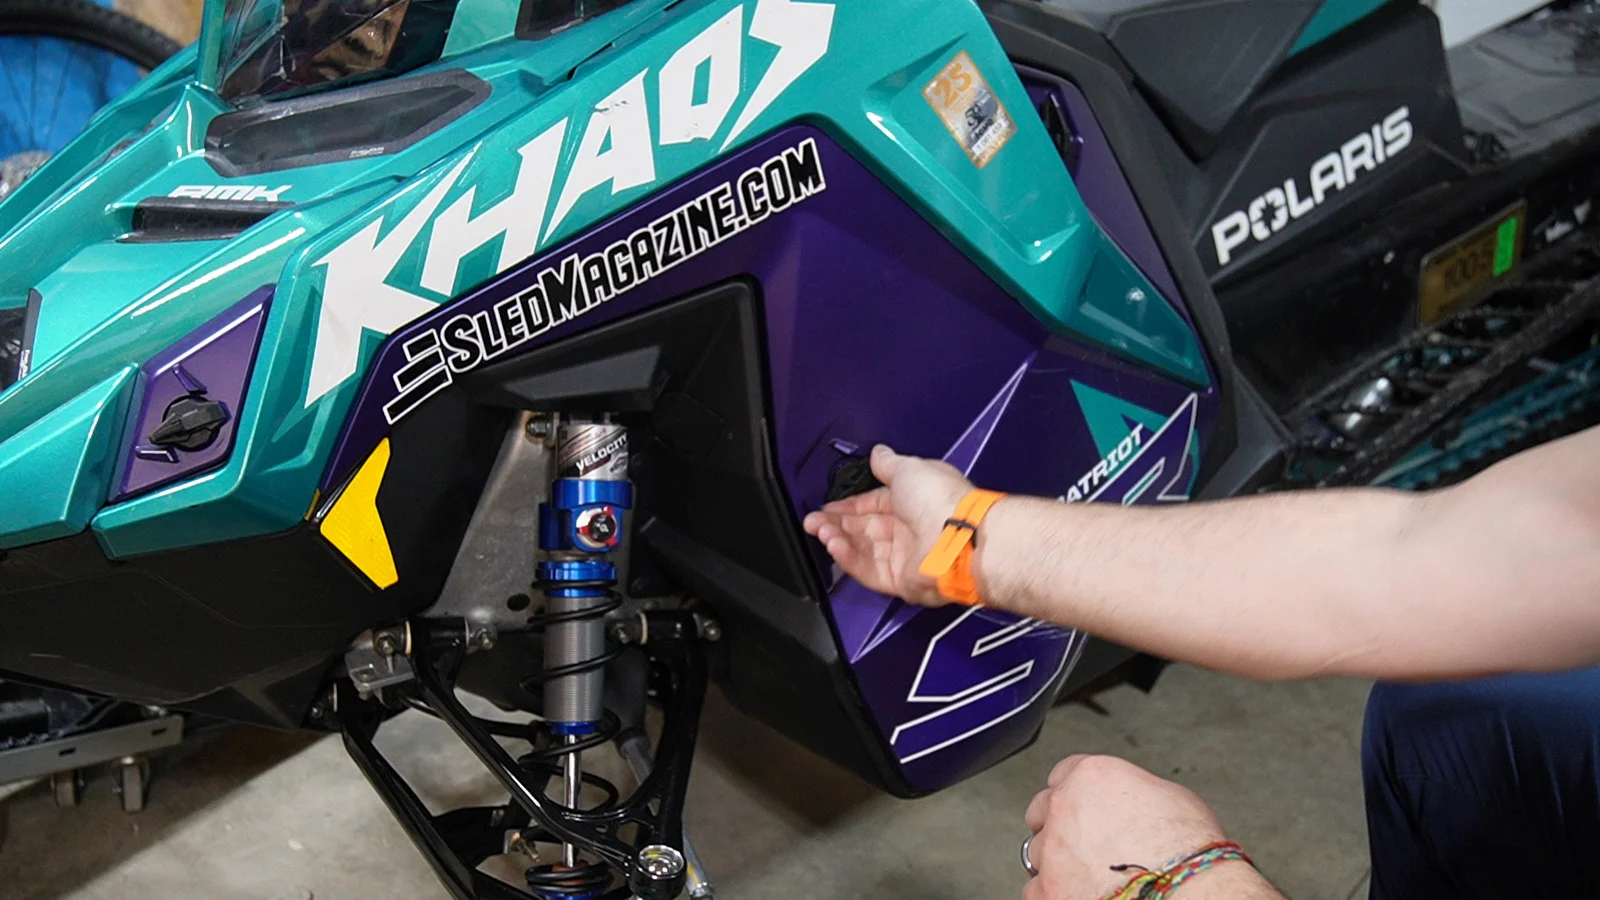
Step 1: Access the Polaris Matryx RMK Chassis
Start by removing the side panels to free up your workspace. Locate the quarter-turn fasteners on each side of the chassis (two or three per side). Unlock the panels and store them in a safe place to prevent scratches.
Next, use a small flathead screwdriver to remove the plastic push pins securing the lower panels near the footboards. Remove two to three push pins per side to gain additional flexibility.
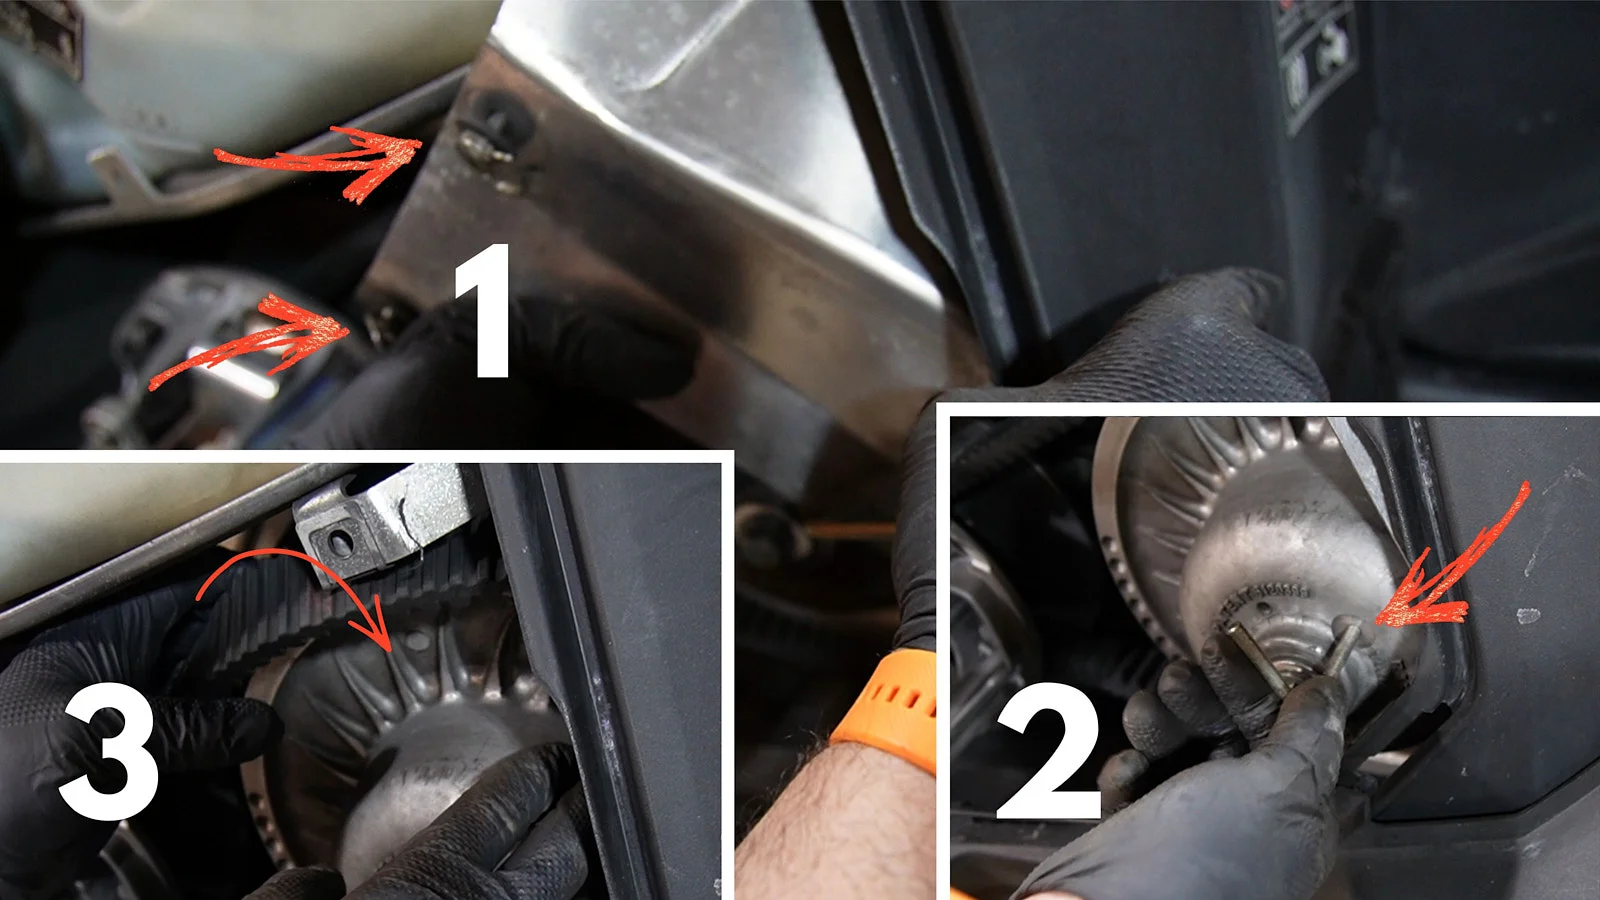
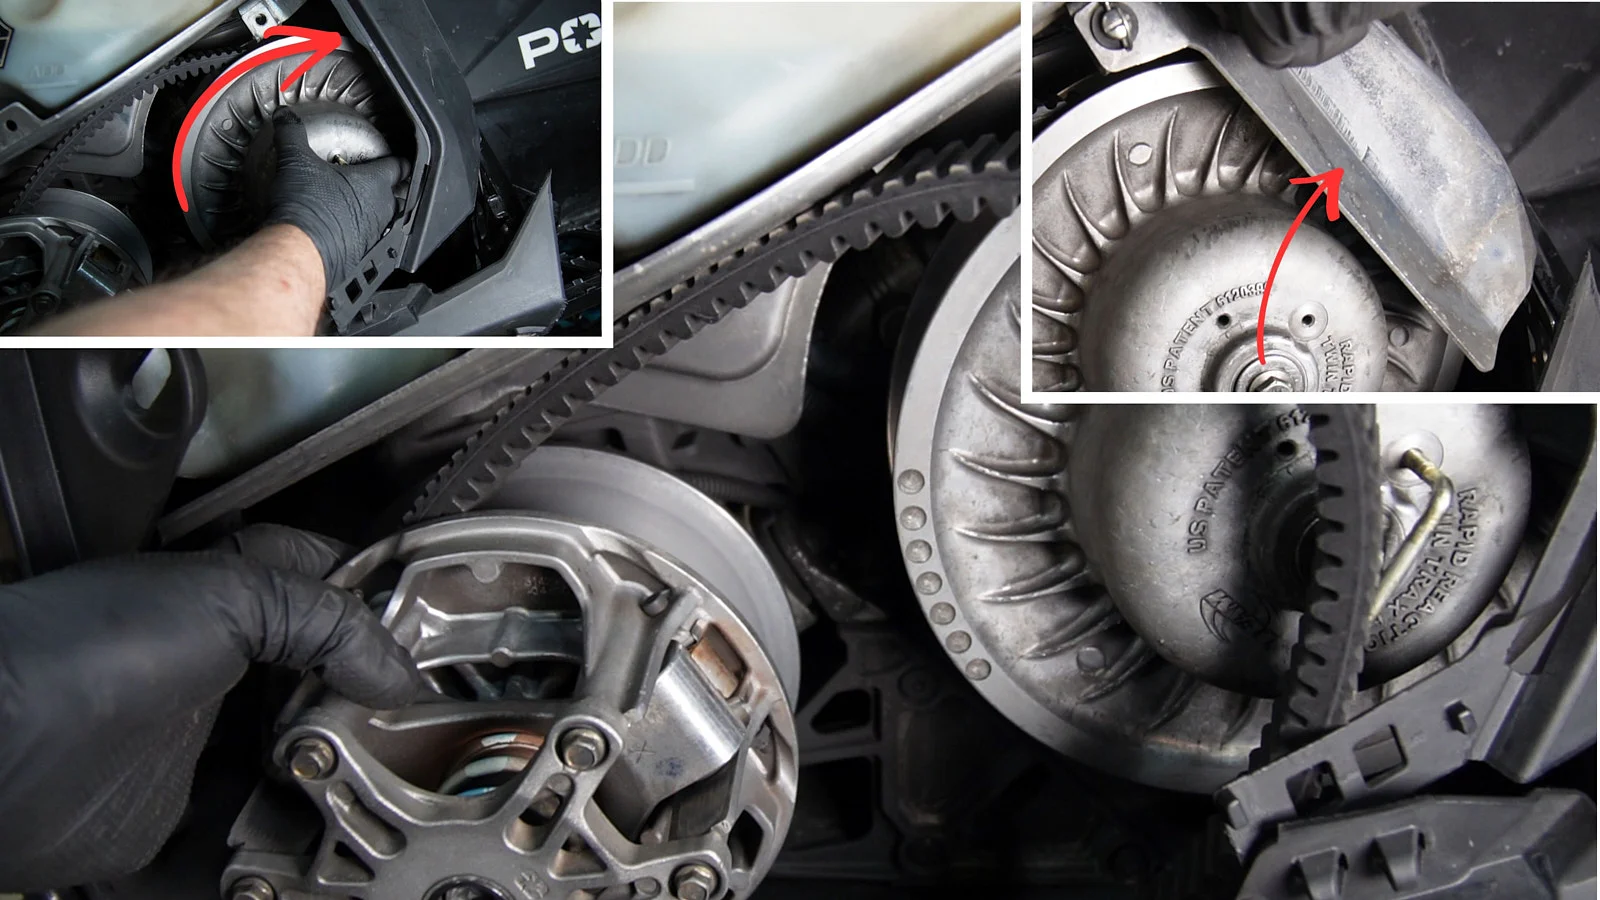
Step 2: Remove the Polaris Secondary Clutch
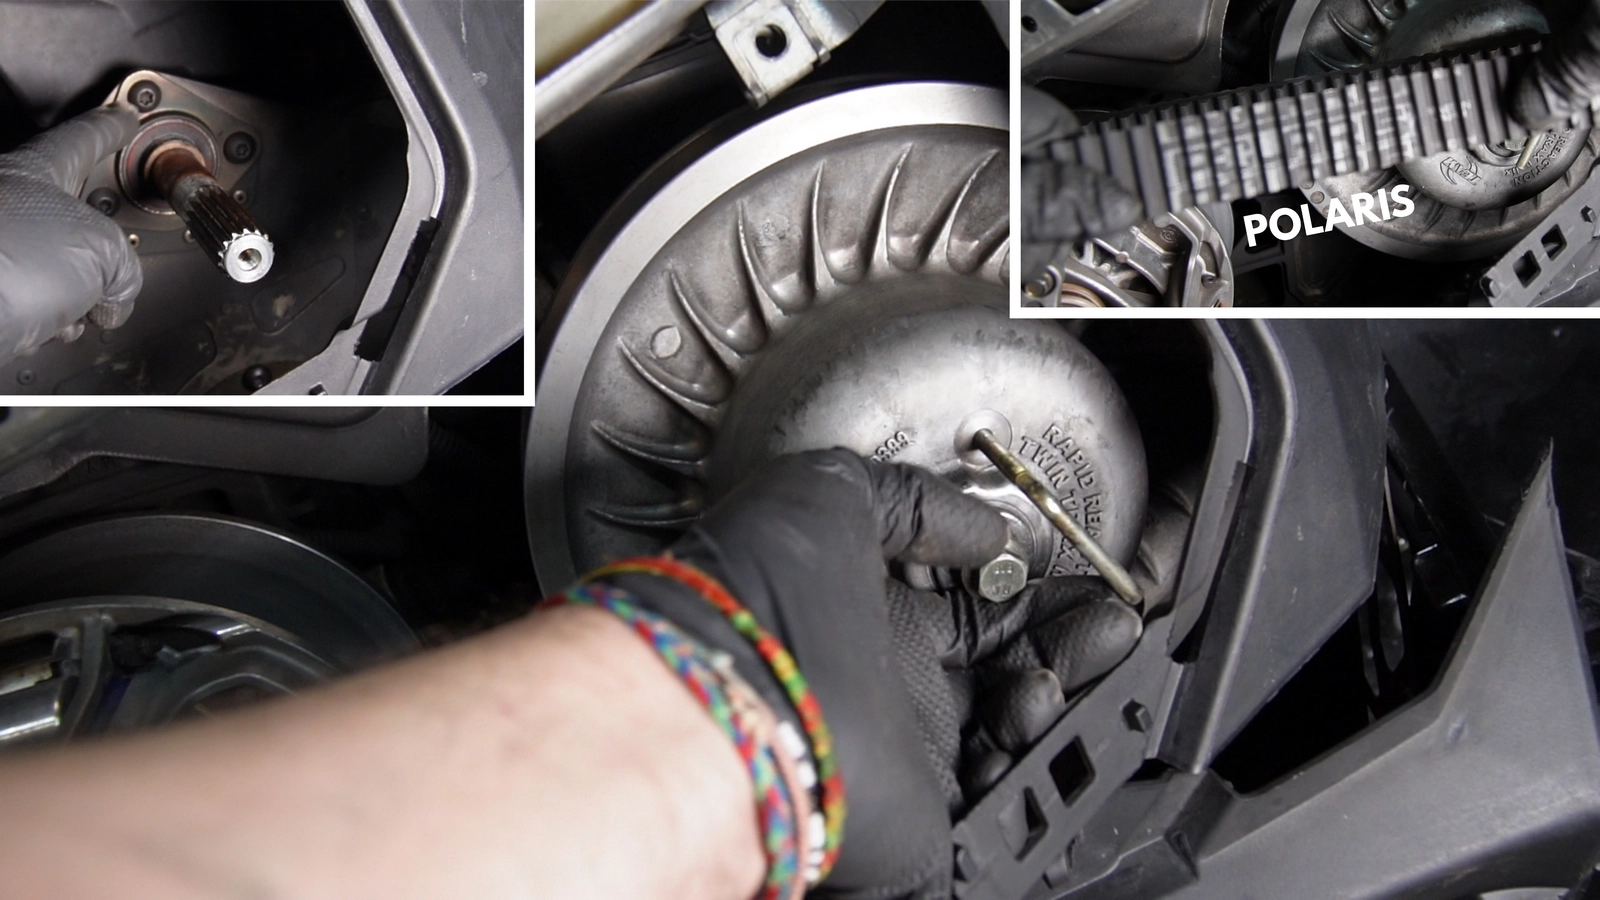
Remove the aluminum clutch guard located above the secondary clutch “1”. Insert the Polaris “L” tool into the threaded hole on the clutch “2”. Turn clockwise until you feel firm resistance from the clutch sheaves.
The sheaves will open, releasing tension on the drive belt. Slide the belt off the secondary clutch, then off the primary clutch “3”. Lay the belt flat on a clean surface to prevent deformation.
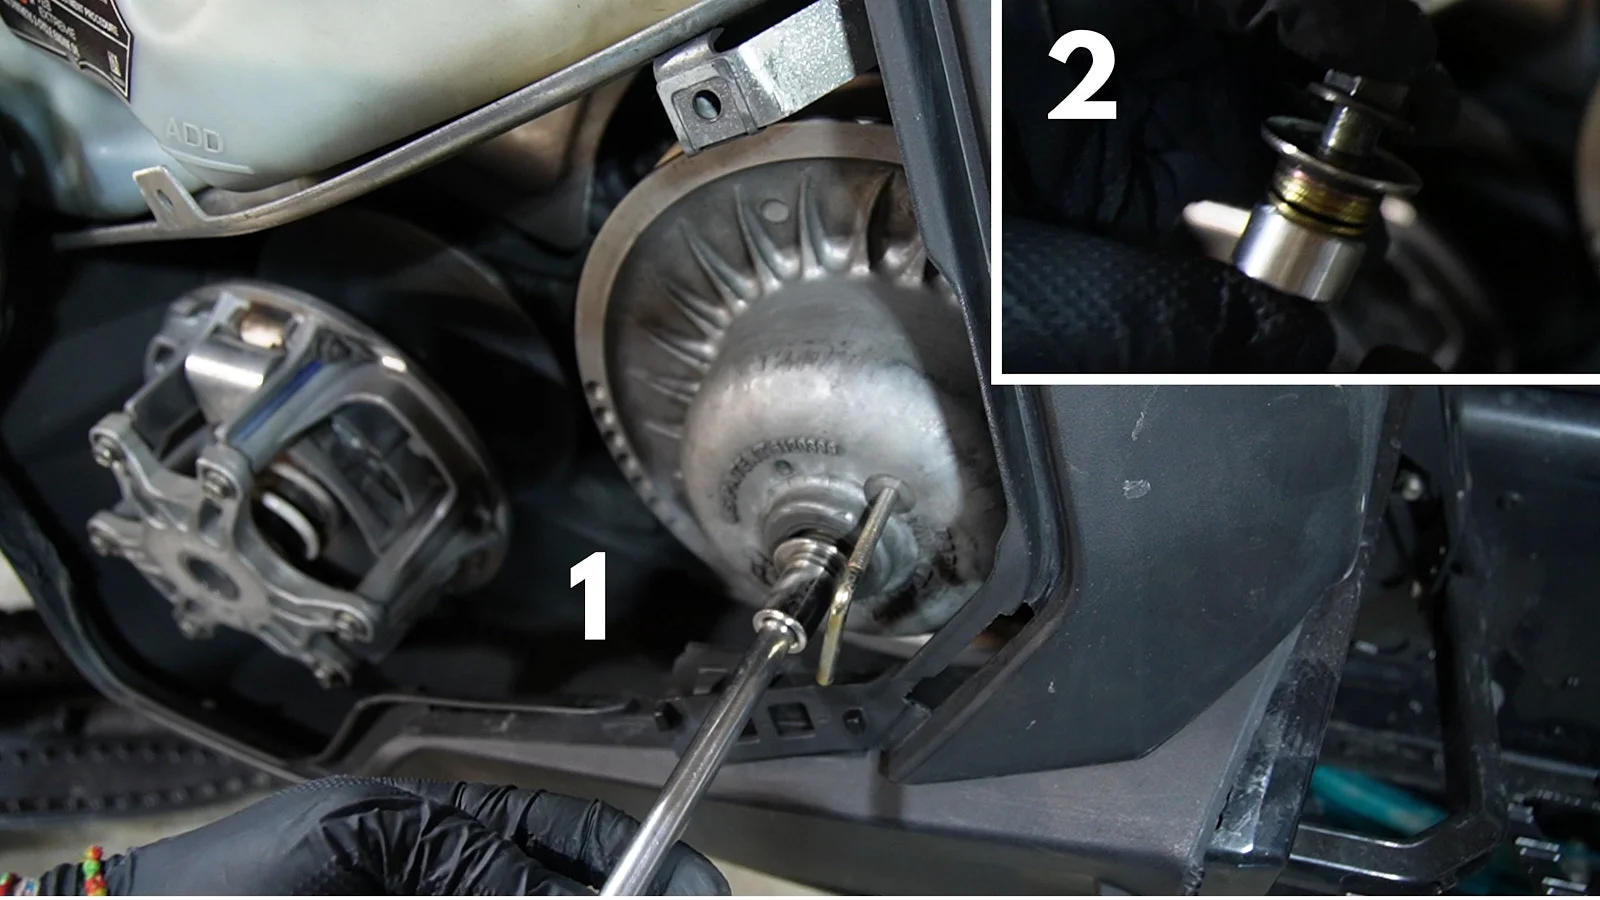
Apply the parking brake firmly to lock the driveshaft. Using a 15 mm socket, remove the centre retaining bolt “1”. Carefully note the order and number of shims located behind the clutch “2”. Remove the clutch and store the shims in a labelled container.
Step 3: Remove the QuickDrive System
The QuickDrive system replaces the chain case to reduce weight. Lift the rear of the snowmobile using a sturdy lift stand. Extend the suspension fully to create clearance under the tunnel.
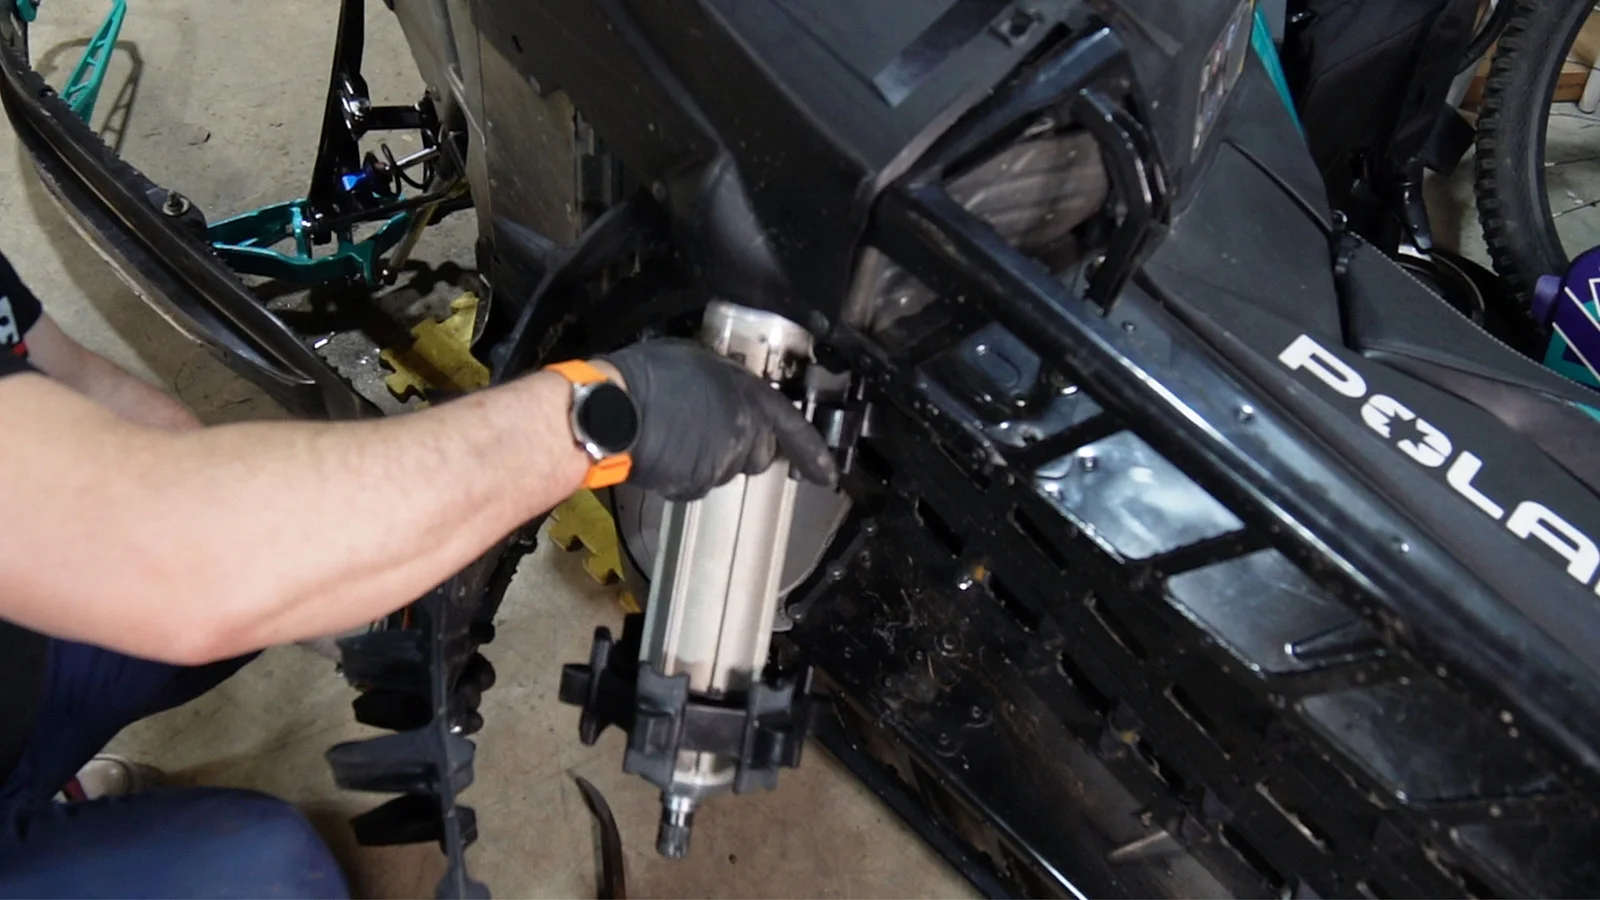
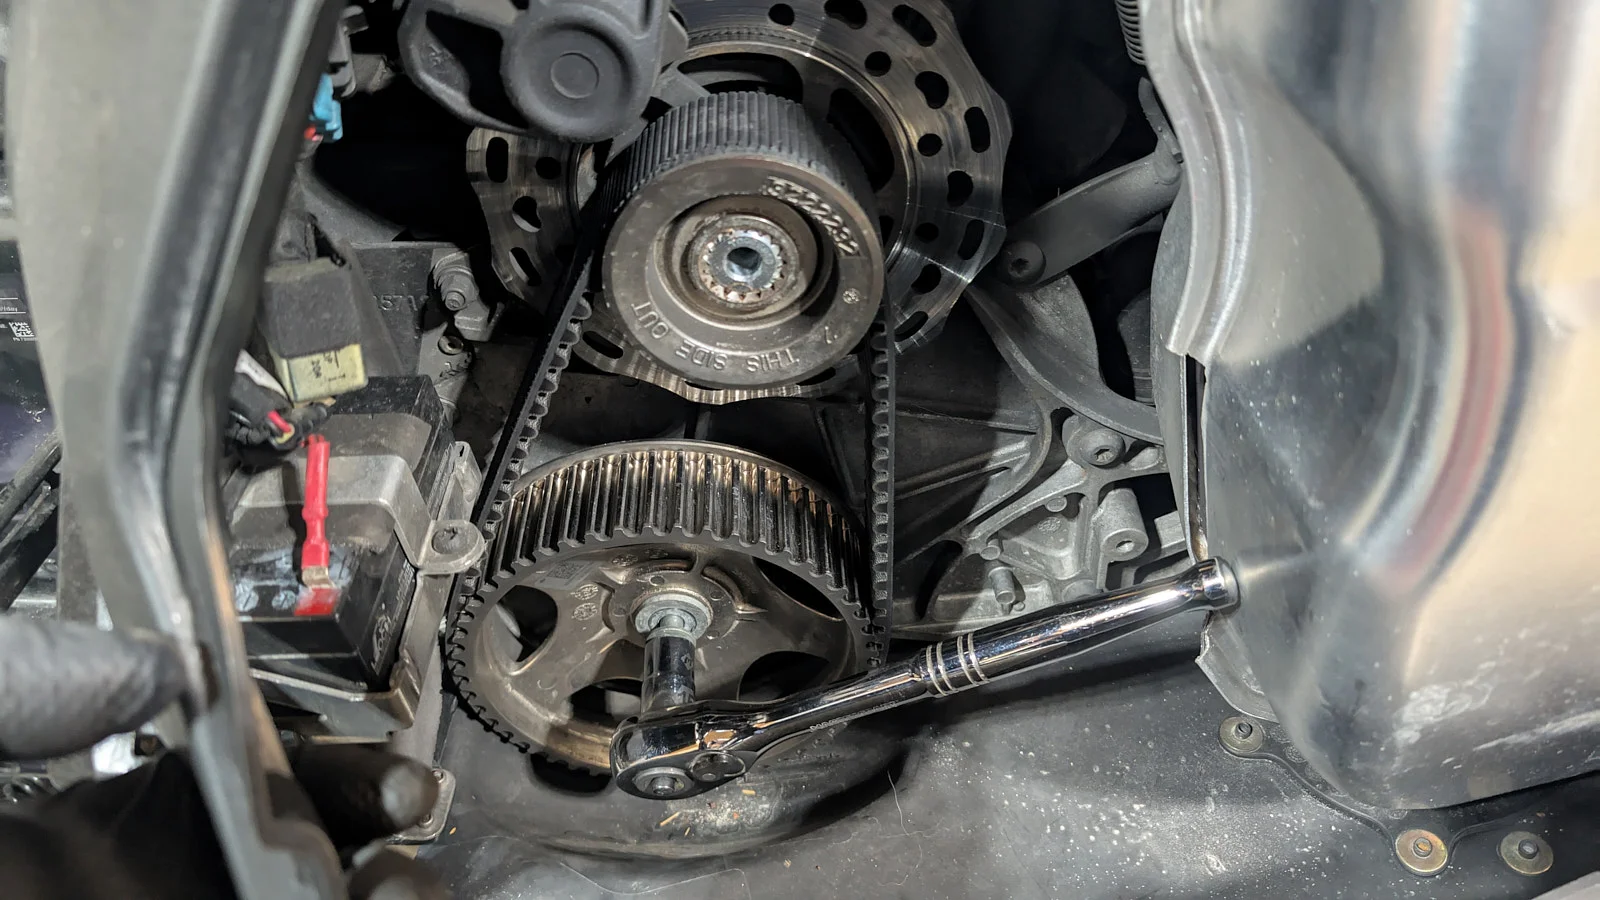
Using a 15 mm socket, remove the bolts securing both QuickDrive pulleys. Alternate left and right movements to prevent binding. Remove the pulleys and the toothed drive belt together.
Now inspect the driveshaft retaining plate. Remove the six mounting bolts using a Torx T40 socket. Take this opportunity to visually inspect the exposed ball bearing.

Step 4: Loosen the Rear Suspension and Track
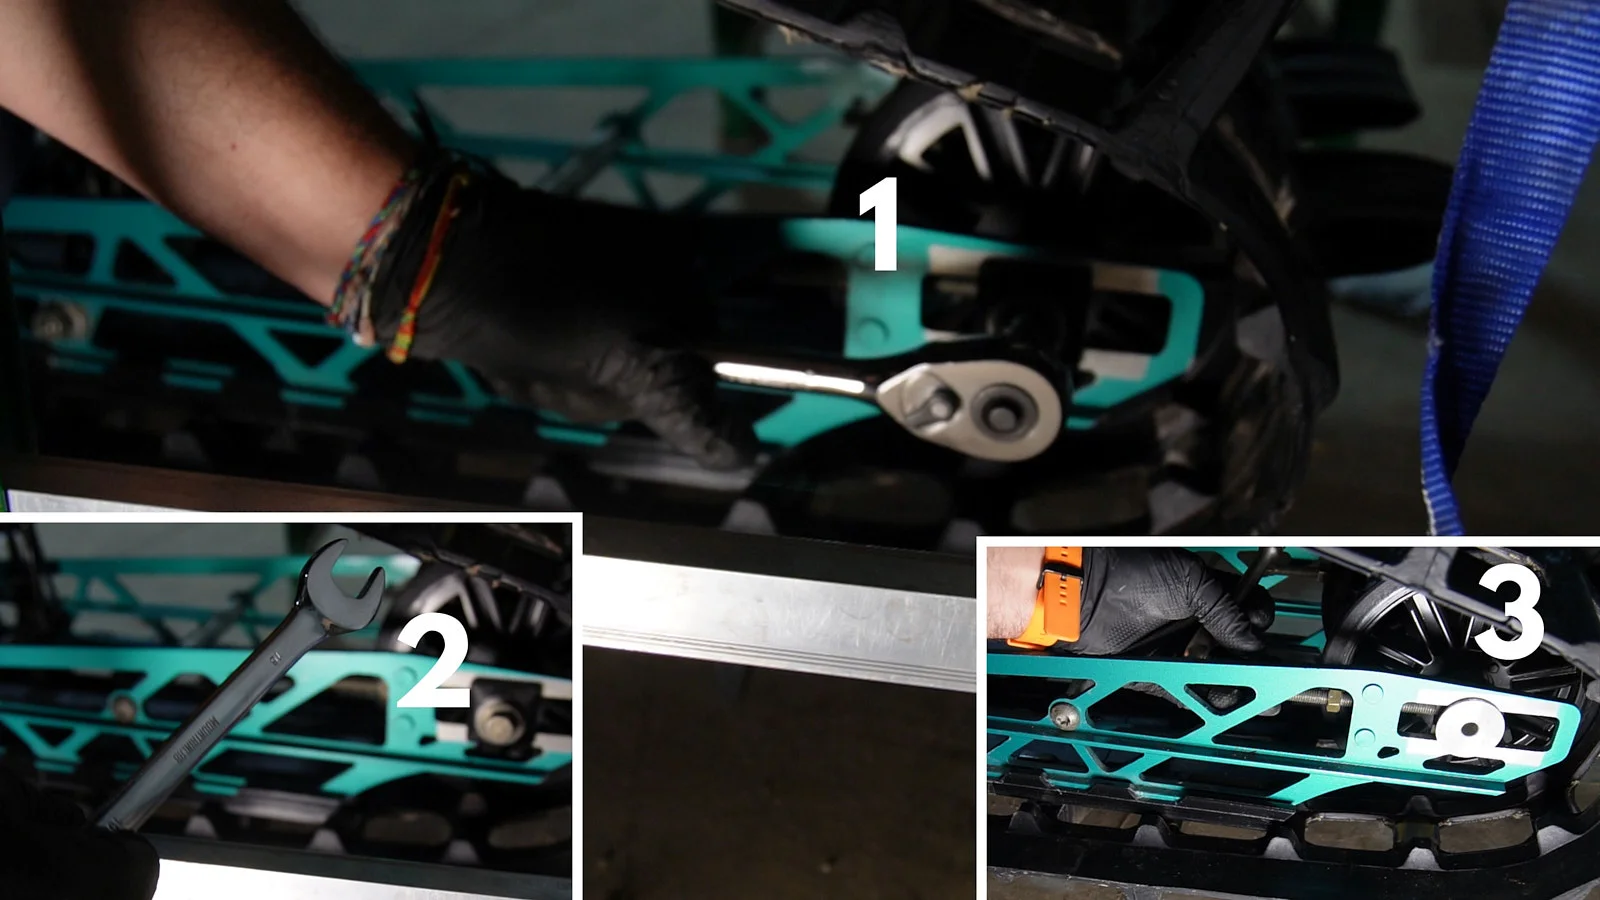
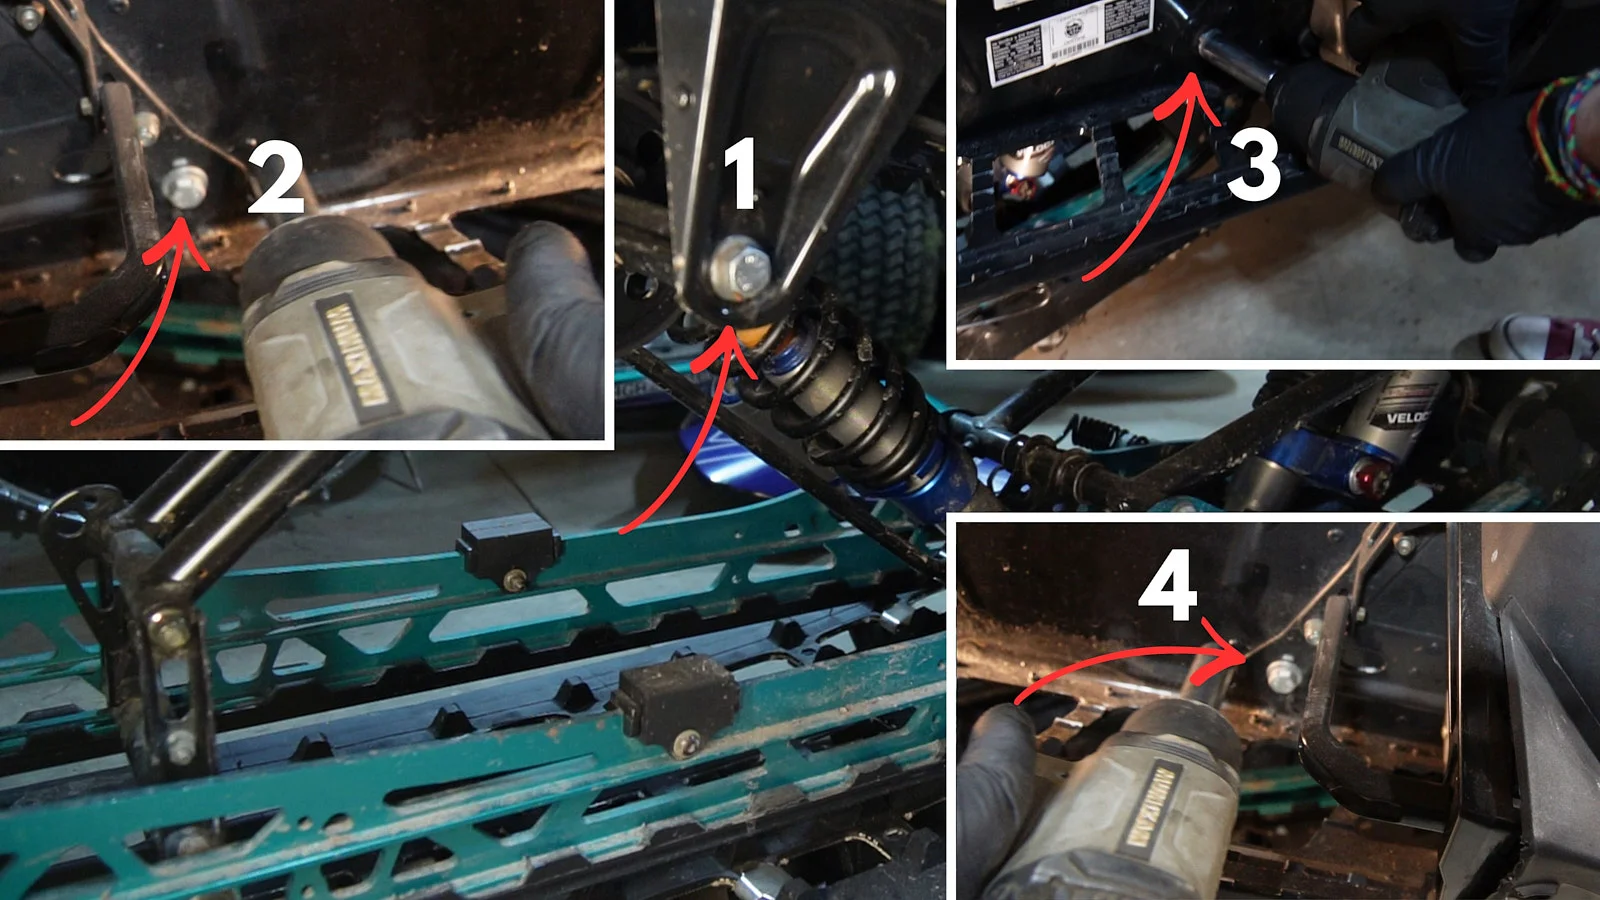
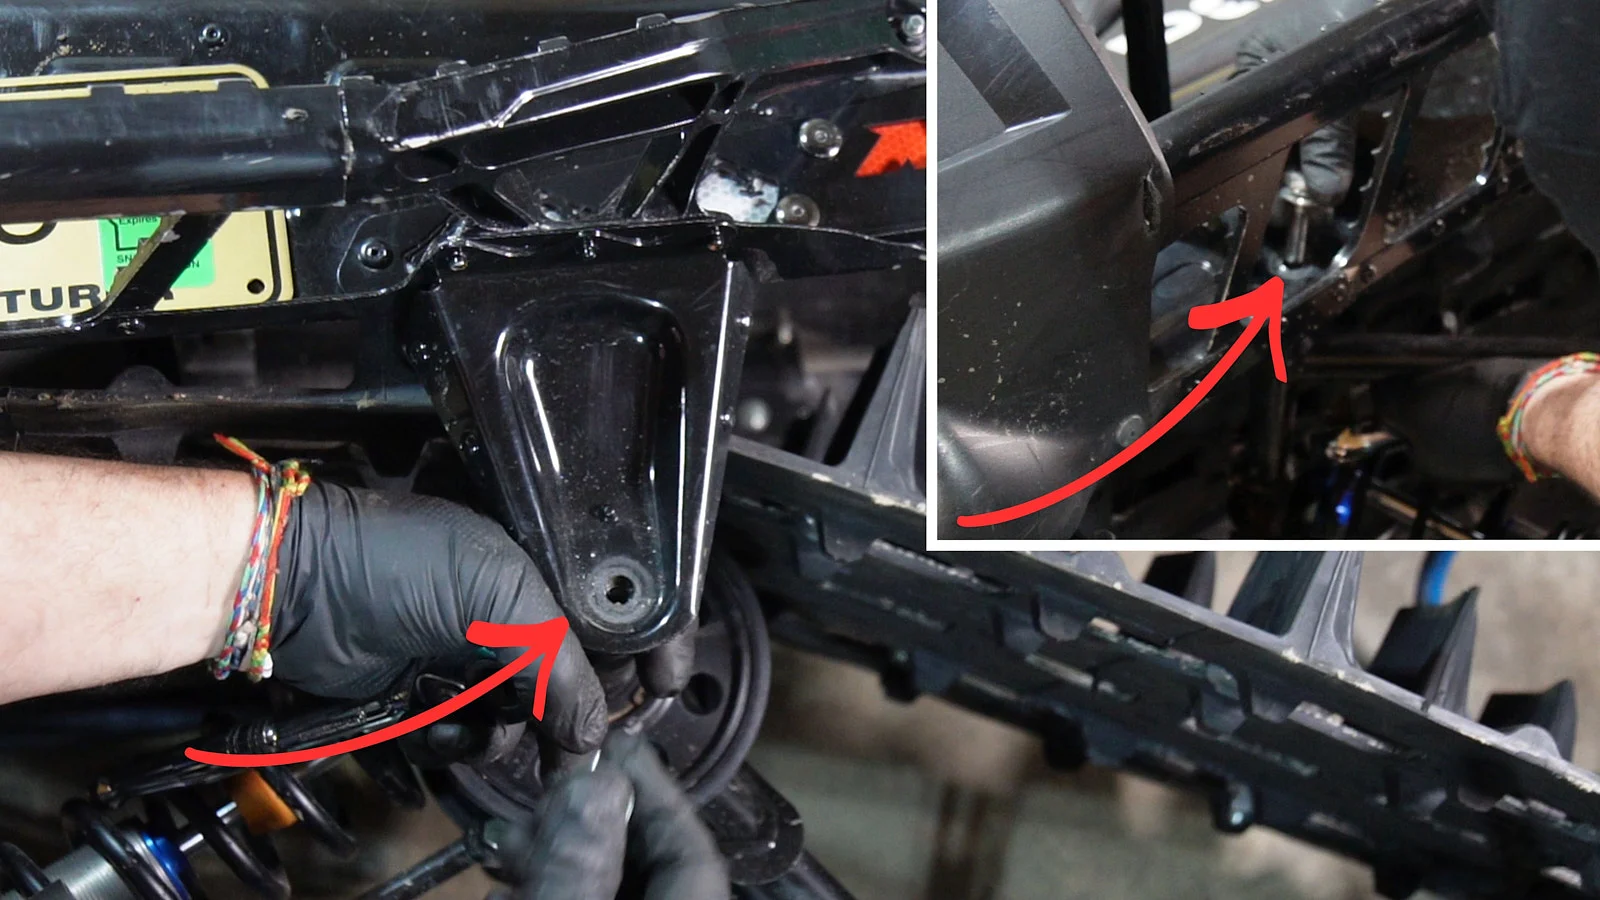
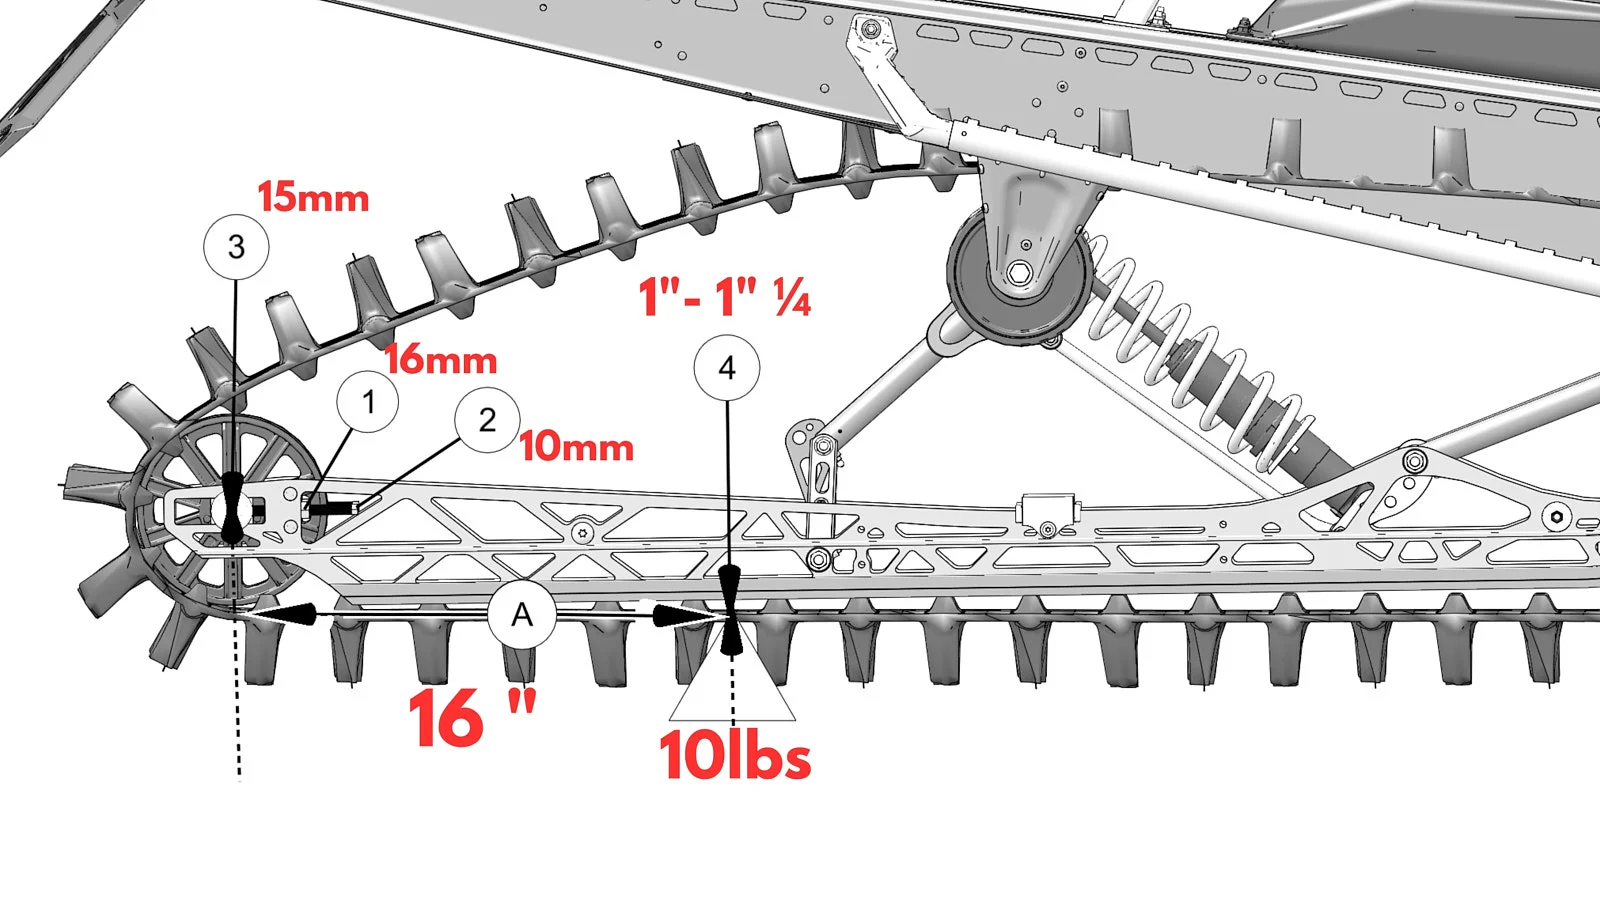
The rear suspension must be fully loosened to allow track removal. Use a 16 mm socket to loosen the left rear axle bolt “1”. This allows the idler wheels to slide freely within the rails.
Loosen the lock nuts on the adjuster bolts using a 16 mm wrench “2”. Back off the 10 mm adjuster bolts to their minimum position “3”. The rear wheels will retract, releasing track tension.
Remove the four main bolts securing the suspension to the tunnel (17 mm). A pneumatic or impact tool will make this physically demanding step easier. Keep the bolts and washers together in a container.
Step 5: Remove the Rear Suspension and Track
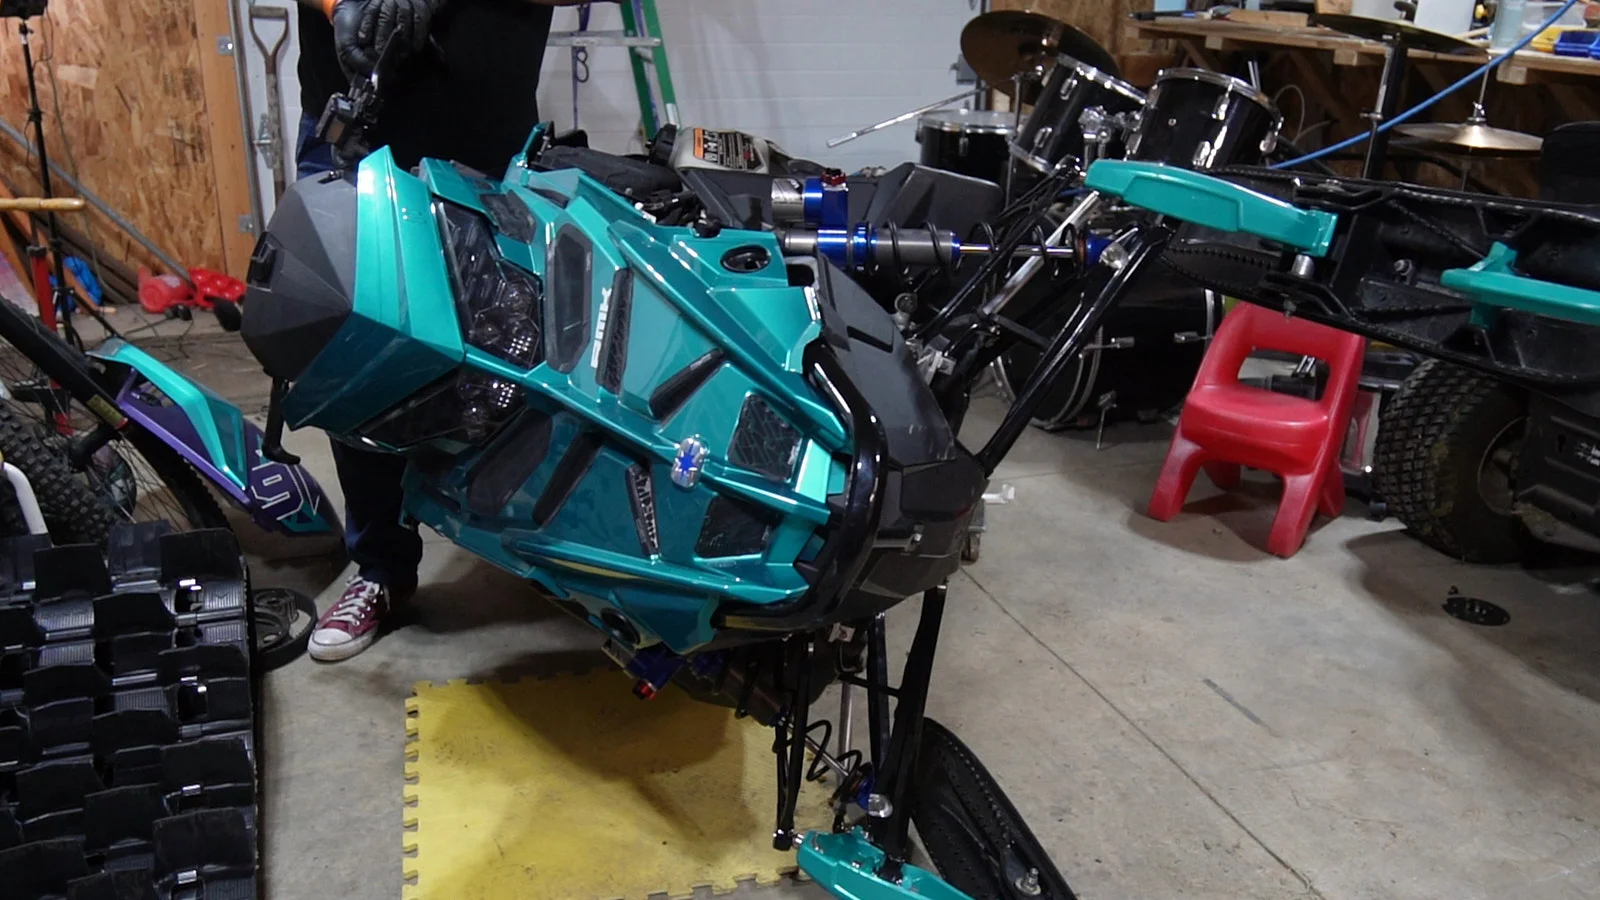
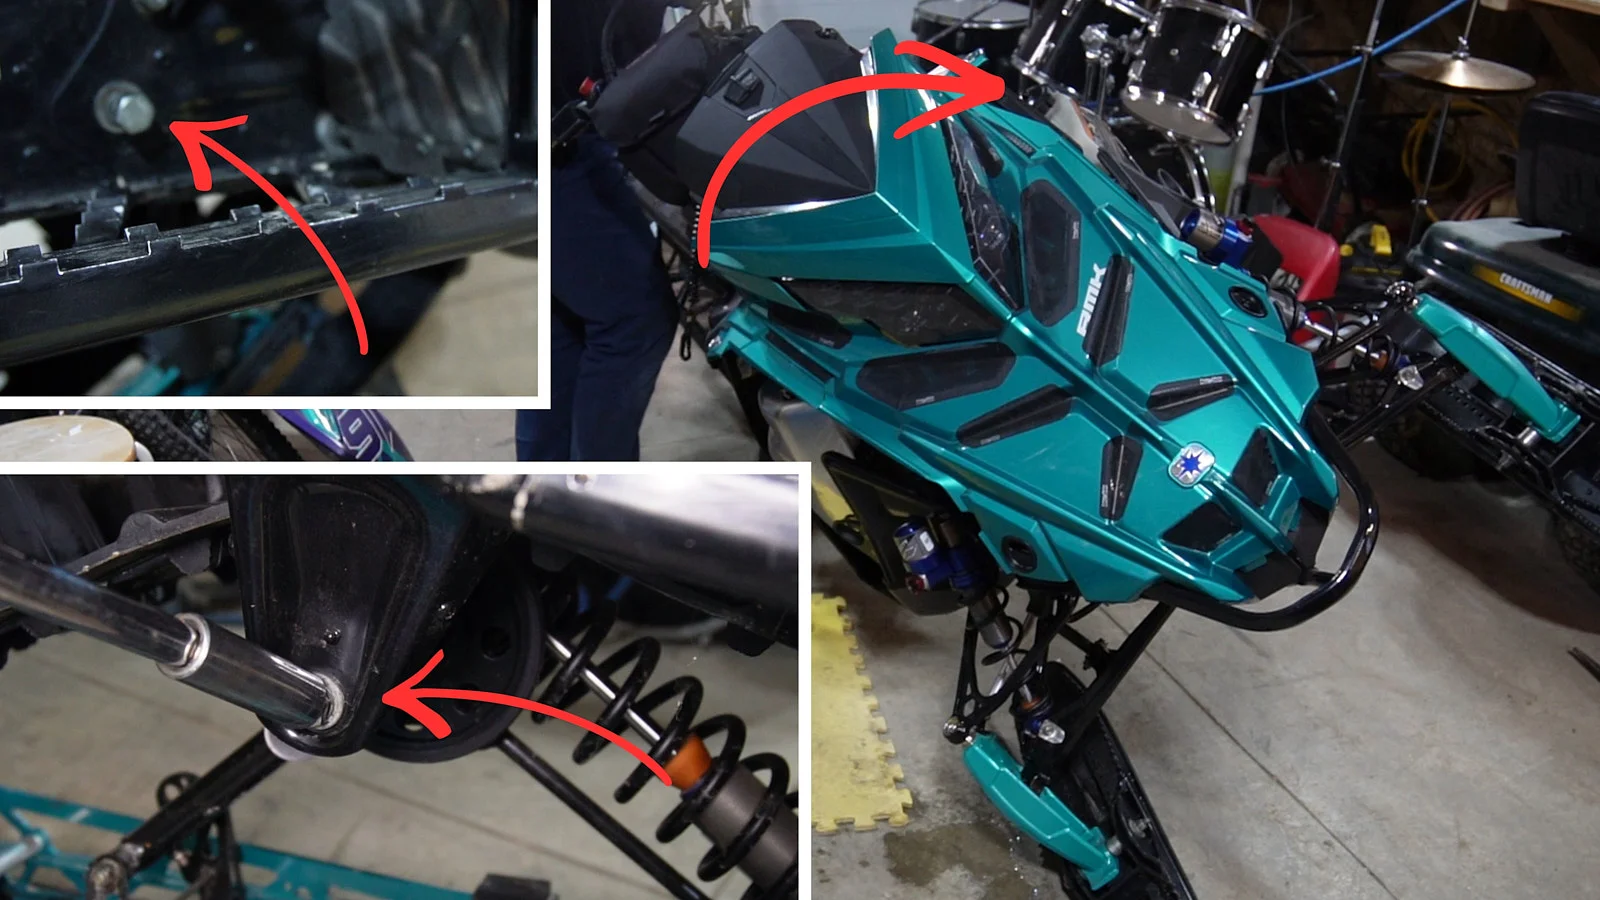
Carefully lower the snowmobile onto a padded mat. Gently tip the machine onto its right side to expose the underside. Ask a friend for help to avoid dropping the sled.
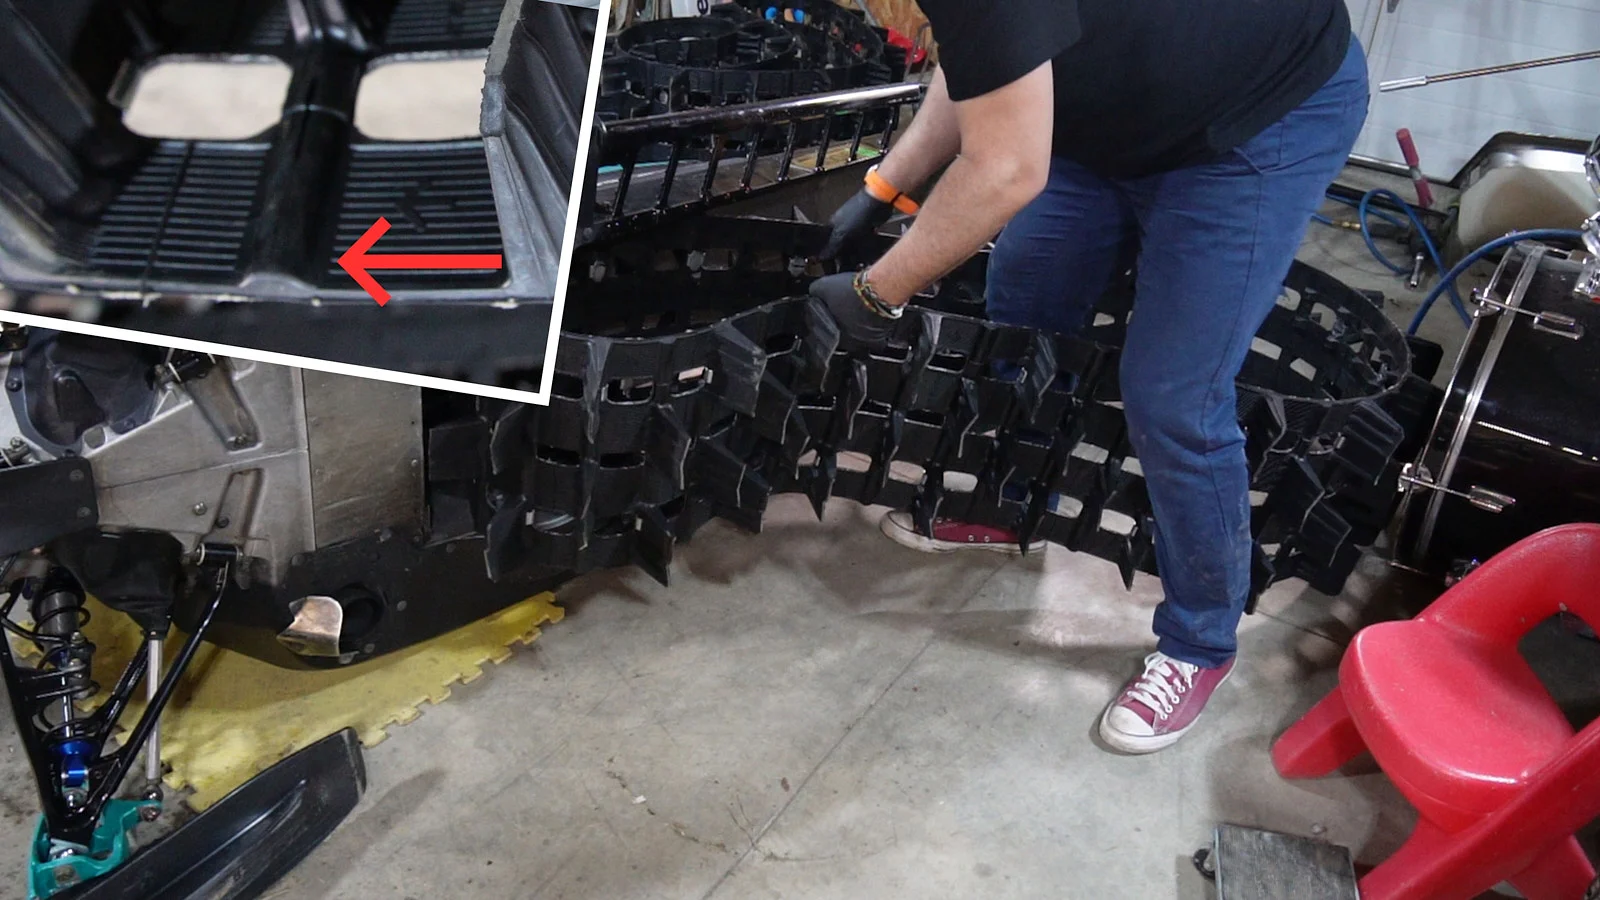
Slide the track downward to clear the top of the tunnel. Shake the rear suspension assembly to free it from the centre of the track. Remove the suspension completely and inspect the slides and shocks.
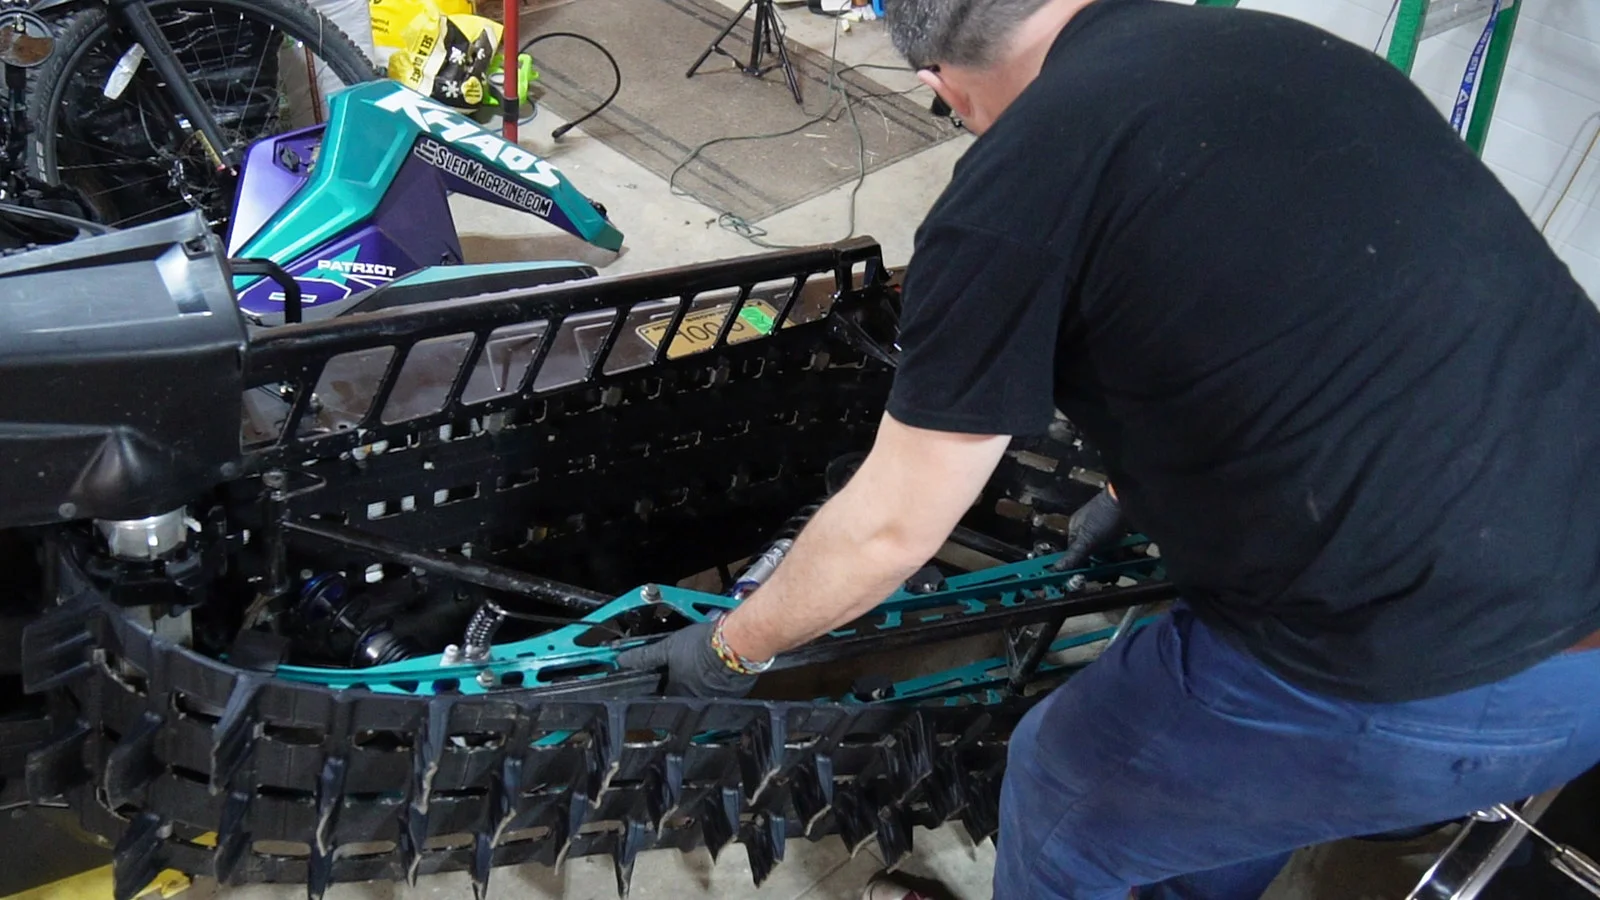
Grip the driveshaft and pull it upward firmly. Use a pry bar if the shaft is stuck in the bearing. Make sure the bearing spins freely with no noise or roughness.
Finally, remove the old track from the tunnel and inspect the chassis interior. Look for structural cracks or damage to the cooling radiators. Clean out any accumulated debris before installing the new track.
Step 6: Install the New Polaris Track
Insert the new track into the tunnel. Carefully verify the direction of rotation indicated by the arrows moulded into the rubber. The arrows must point forward when positioned at the top of the track.
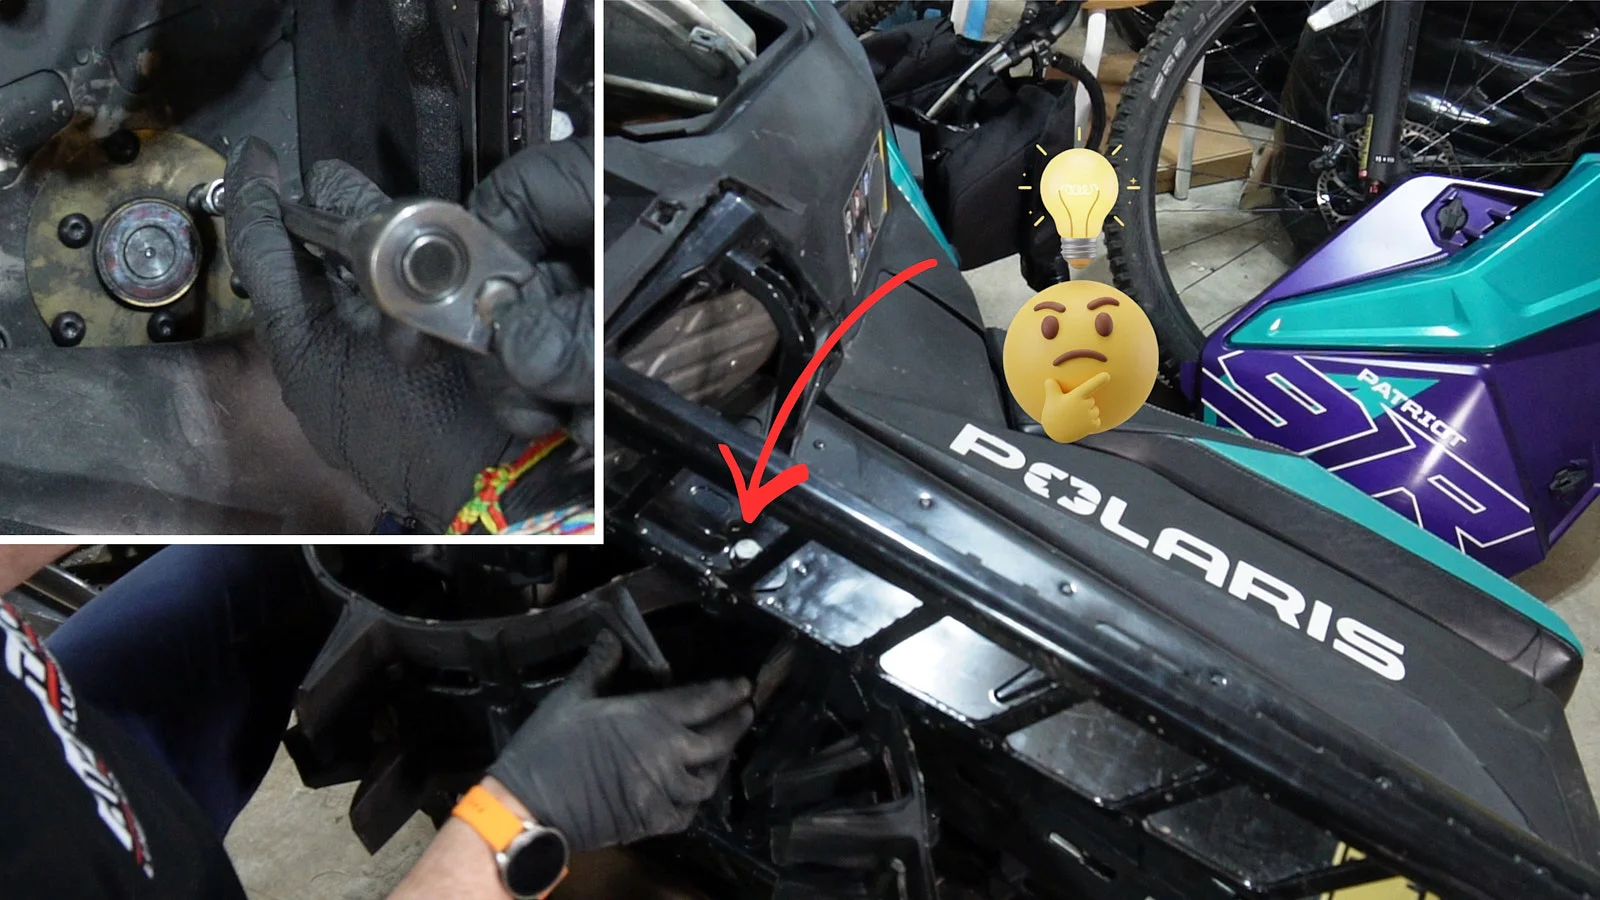
Position the track as high as possible to make driveshaft installation easier. Insert the driveshaft starting from the bearing side. Guide the splined end into its opening on the left side of the snowmobile.
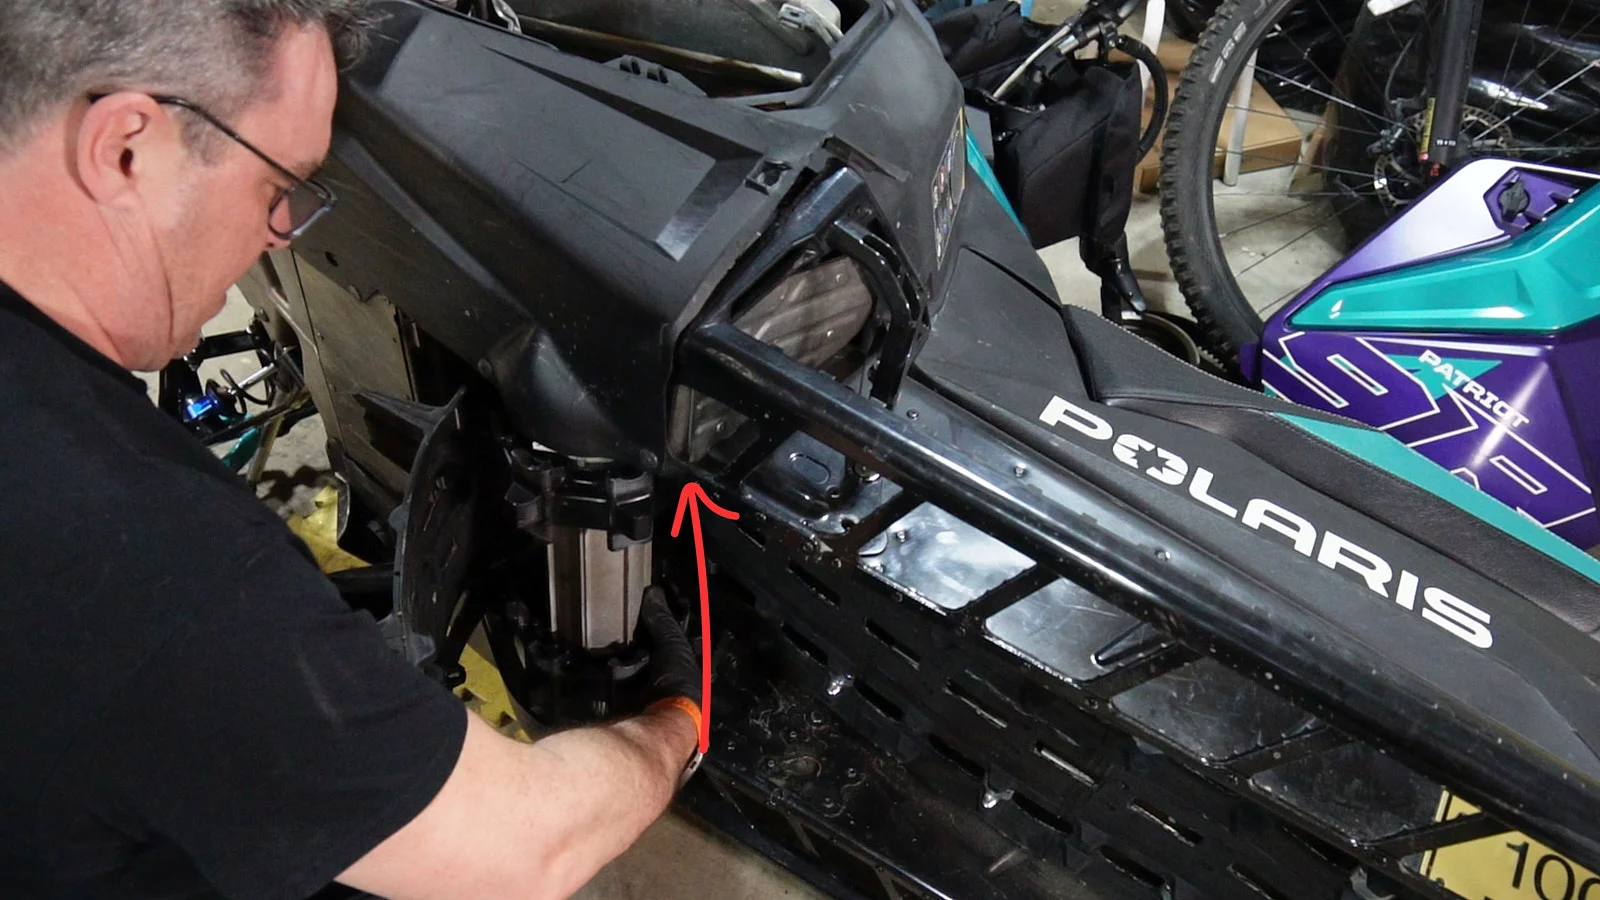
Expert tip: use a temporary bolt to hold the track in place through the front suspension opening. Install the retaining plate using the Torx T40 bolts on the clutch side. Tighten the centre bolts first, followed by the bolts secured directly to the chassis.
Step 7: Reinstall the Rear Suspension
Insert the front of the suspension into the tunnel and centre it carefully. Align the front mounting holes with the chassis mounts. Install the 17 mm bolts and tighten them firmly according to specifications.
Return the snowmobile to an upright position and lift the rear securely again. Align the rear suspension holes and install the remaining two bolts. Follow Polaris torque specifications precisely.
Step 8: Reinstall the Transmission and QuickDrive
Confirm the brake is released and the driveshaft spins freely. Install the QuickDrive belt onto both pulleys at the same time. Slide the pulleys fully onto their respective shafts. Install the 15 mm bolts and tighten them using your ratchet.
Reinstall the secondary clutch, making sure to reinstall the exact number of shims. Install the 15 mm retaining bolt. Reinstall the drive belt, respecting the belt rotation markings.
Rotate the clutches by hand to properly seat the belt. Reinstall the clutch guard and lock the quarter-turn fasteners. Reinstall the side panels and plastic push pins removed earlier.
Step 9: Adjust and Align the Polaris Track
Measure 16 inches “A” forward from the rear axle. Mark this point on the rails to measure track tension. Hang a 10 lb weight from the track at this location.
Turn the 10 mm adjuster bolts “2” on both sides of the suspension. Target a deflection of 1 to 1 1/4 inches “4” under the slide rail. Rotate the track several times to stabilize overall tension.
Check alignment by measuring the distance between the rail and the internal track guides. The track must be perfectly centred to prevent premature wear. Lock the 16 mm jam nuts “1” once the adjustment is complete.
Finish by tightening the large rear axle bolt “3”. Perform a short test ride to confirm proper operation. Recheck track tension after the first few miles.
Ensure Proper Maintenance After Replacement
A successful track replacement gives your Polaris a second life. This job requires patience but delivers optimal mountain traction. Always inspect your adjustments after your first official ride in the snow.
I would like to thank Polaris for providing this outstanding 9R RMK Khaos Slash for this tutorial.
To see all these steps in motion, watch my video on my YouTube channel Tazmonster Sleds & Bikes. You’ll find visual tips to help you complete this mechanical project with confidence.