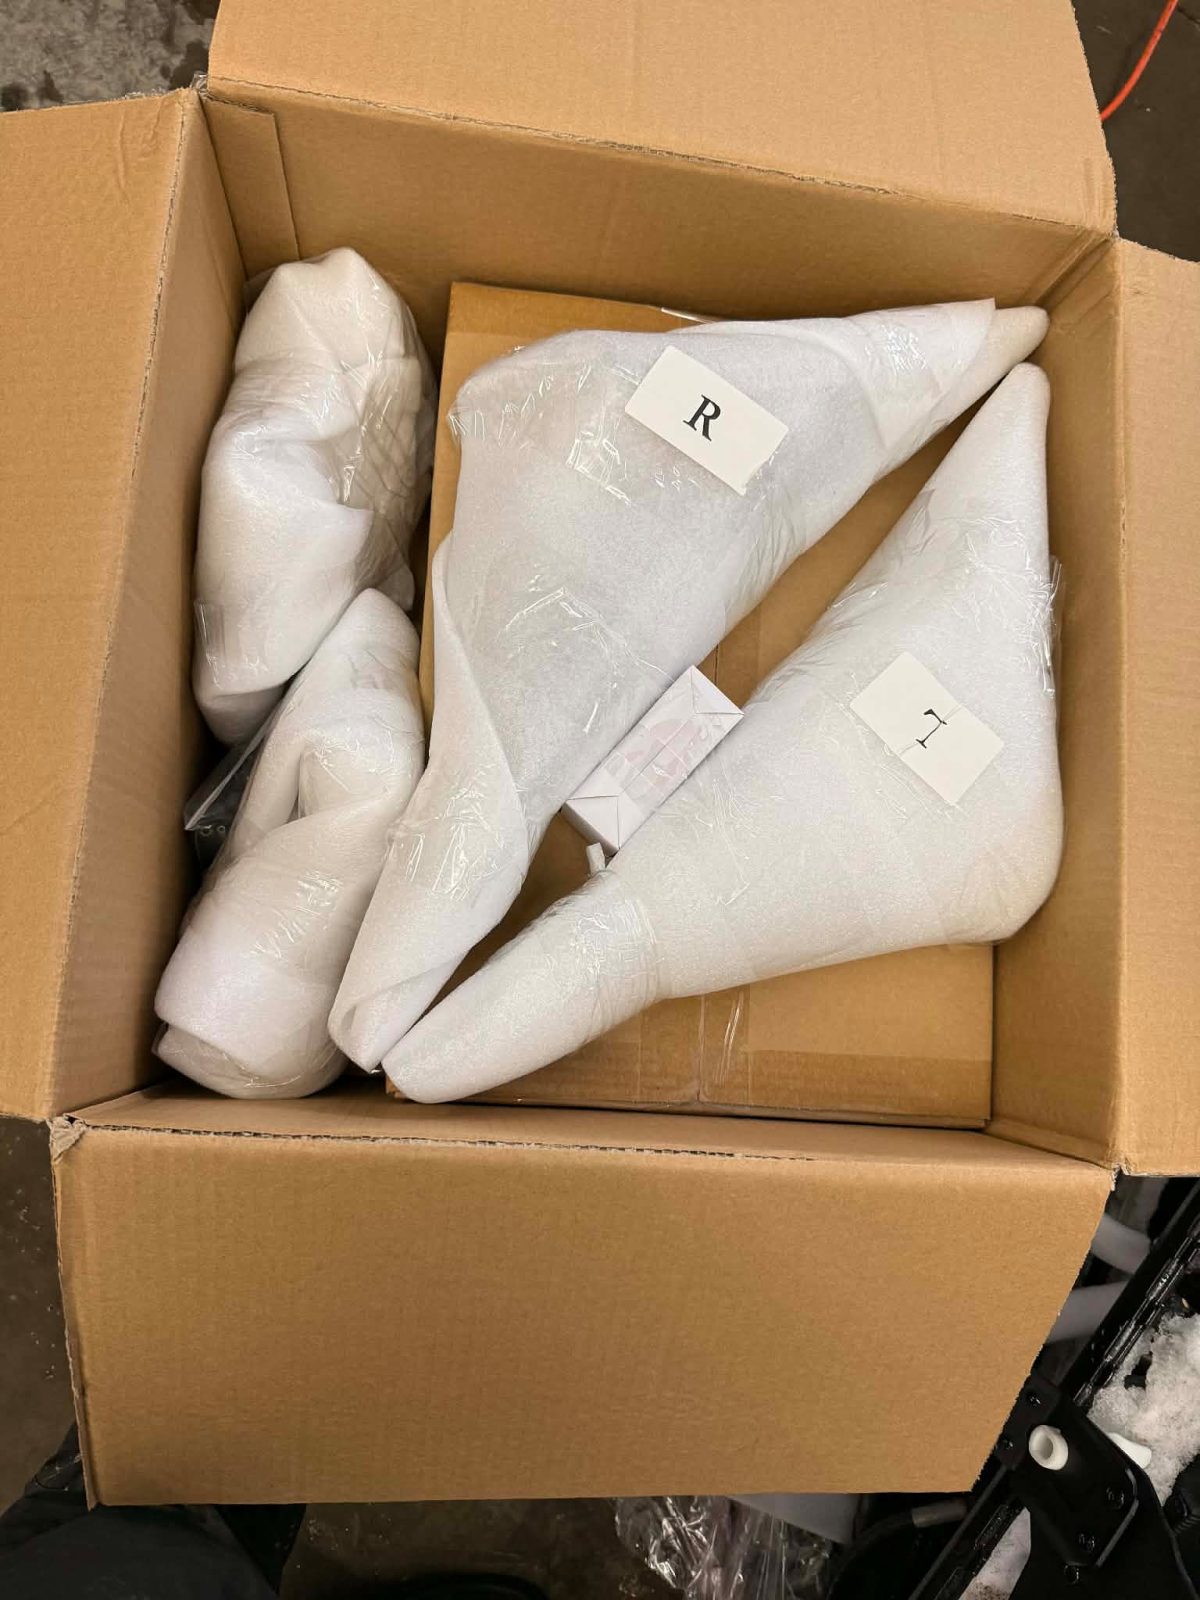
Last December, just a few days before Christmas, I received the brand-new SeatJack DX from Kimpex. The package arrived in two boxes: one containing the seat and its components, and another with the mounting system used to attach it to my snowmobile. I can’t tell you how excited I was to open those boxes and install this beautiful seat! With Christmas just around the corner and fresh snow already on the ground in my area, I wasted no time installing it. In this article, I’ll explain how to install the SeatJack DX and share the unexpected adventure that happened during the installation.
Enjoy the read!
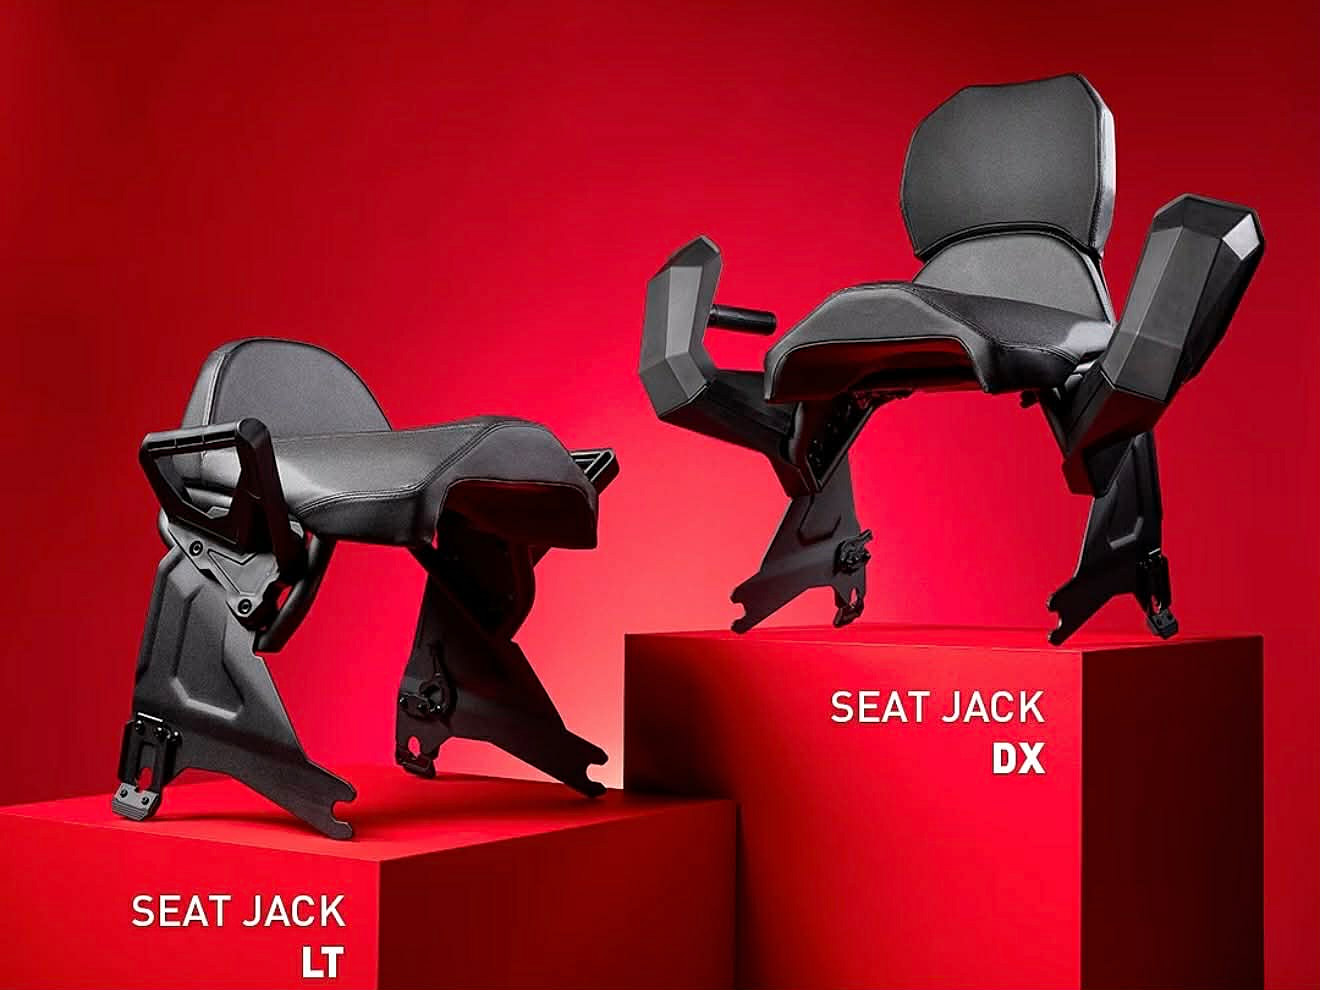
Installing the Kimpex SeatJack DX: an unexpected discovery!
The weekend after receiving the package, I brought my snowmobile into the garage to install my new seat. I was extremely excited to get it installed and even more excited to try it out. But let me tell you, my kids were even more excited than I was. I already had a two-up seat that I could mount on my Ski-Doo Tundra Xtreme, but it had neither handles nor a backrest. With my new SeatJack, they would be able to ride with me no matter the conditions or where I decided to go.
When I ordered my SeatJack, I specified my snowmobile model: a 2013 Tundra Xtreme. So I received the DX model.
Initial Assembly of the SeatJack DX
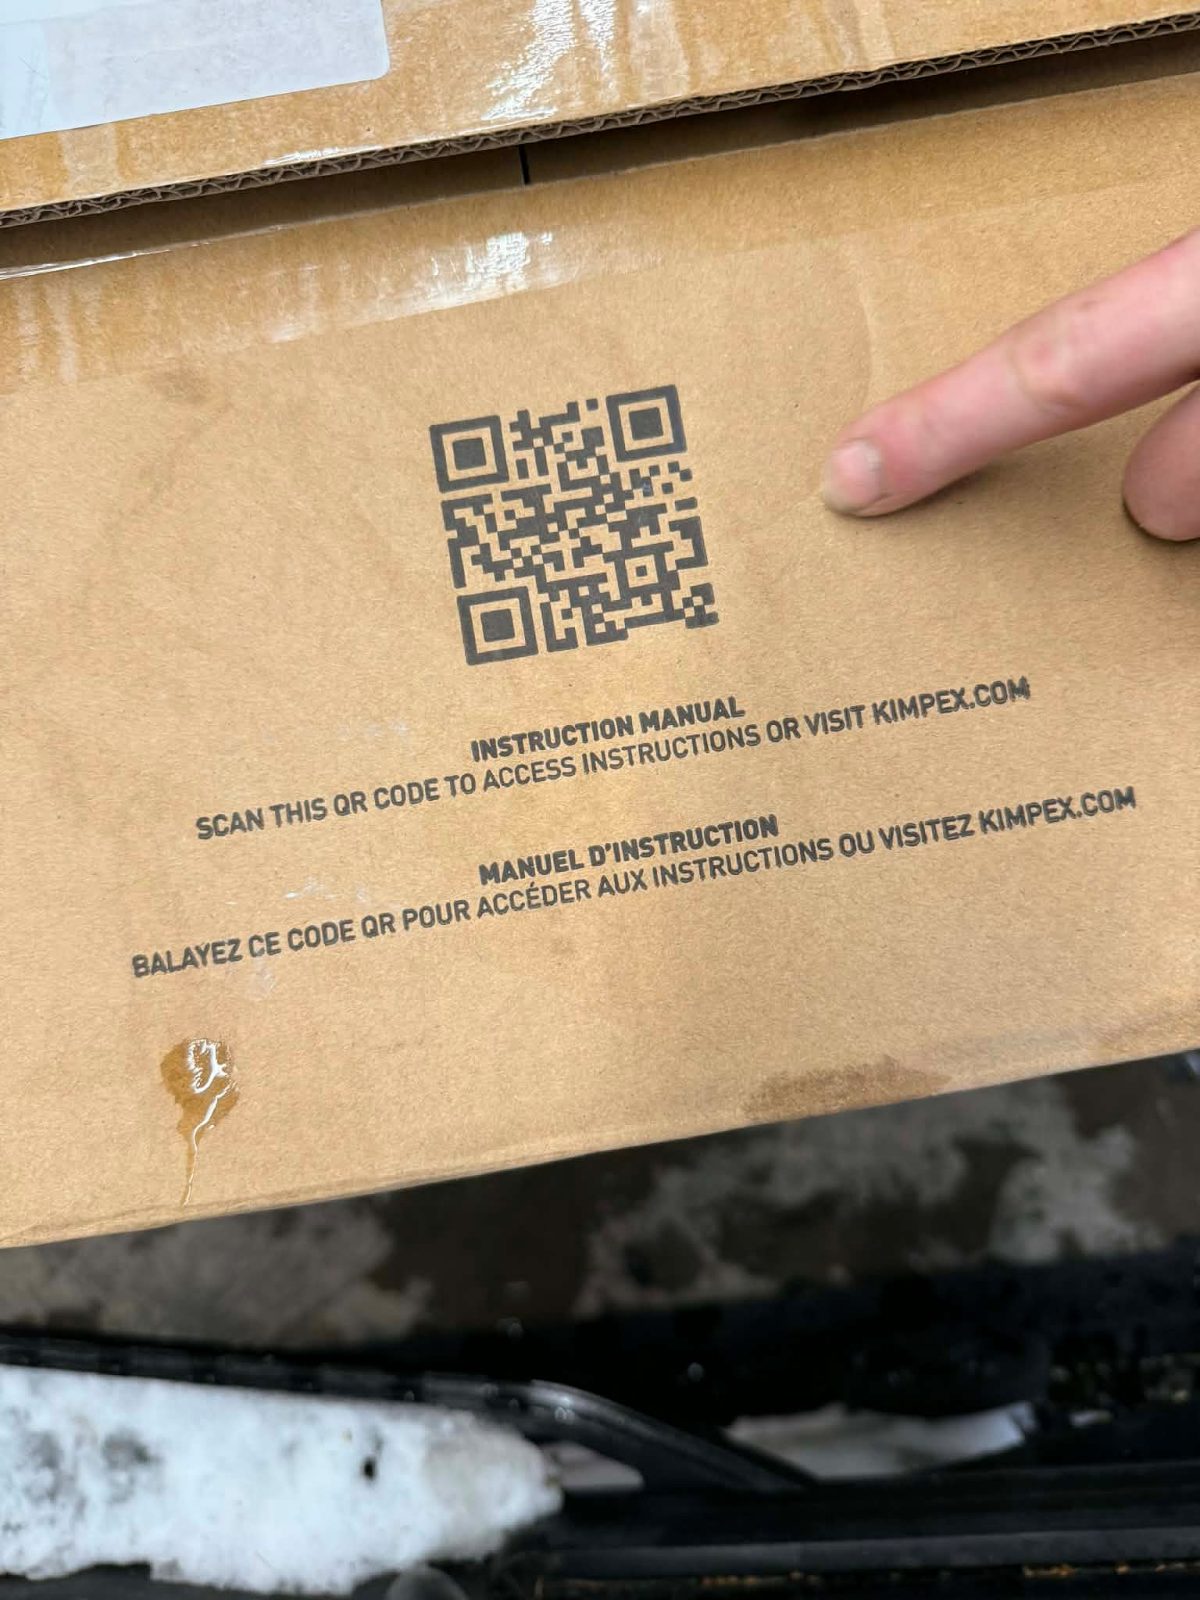
For the first step of the installation, I needed to assemble the seat itself onto the brackets that would later be mounted on my Tundra’s tunnel. This step was fairly easy and clearly explained in the installation guide. The guide itself is presented in a very clever way: it’s a QR code printed directly on the SeatJack box. That way, it’s impossible to lose, damage, or even soak it with snow. Everything is right there on my phone!
Positioning and Marking the Holes for the SeatJack DX
The second step involved placing the drilling templates on the brackets that had been installed on the seat during the first step. Using these templates makes it impossible to miss the exact location where the holes must be drilled for the seat installation. I carefully installed the templates and placed the whole assembly on my snowmobile to position the seat properly. When I set it down on my Ski-Doo, I felt a slight resistance, which seemed perfectly normal to me. I then marked the drilling points with a punch.
Drilling the tunnel and Preparing the Installation
Next, I removed the seat so I could drill the holes at the marked locations. On my snowmobile model, I had to remove a bogie wheel to access the inside of the tunnel. This step required a bit more time and organization. However, it likely depends on the snowmobile model on which you install the SeatJack. One thing I really appreciated in the installation guide provided by Kimpex was how clear it was. It’s simple, not overloaded with unnecessary details, and everything essential is included. They also carefully indicated the size of the initial drill bit as well as the diameter of the final drill bit. Their guide is truly excellent!
Final Installation of the SeatJack DX on the tunnel
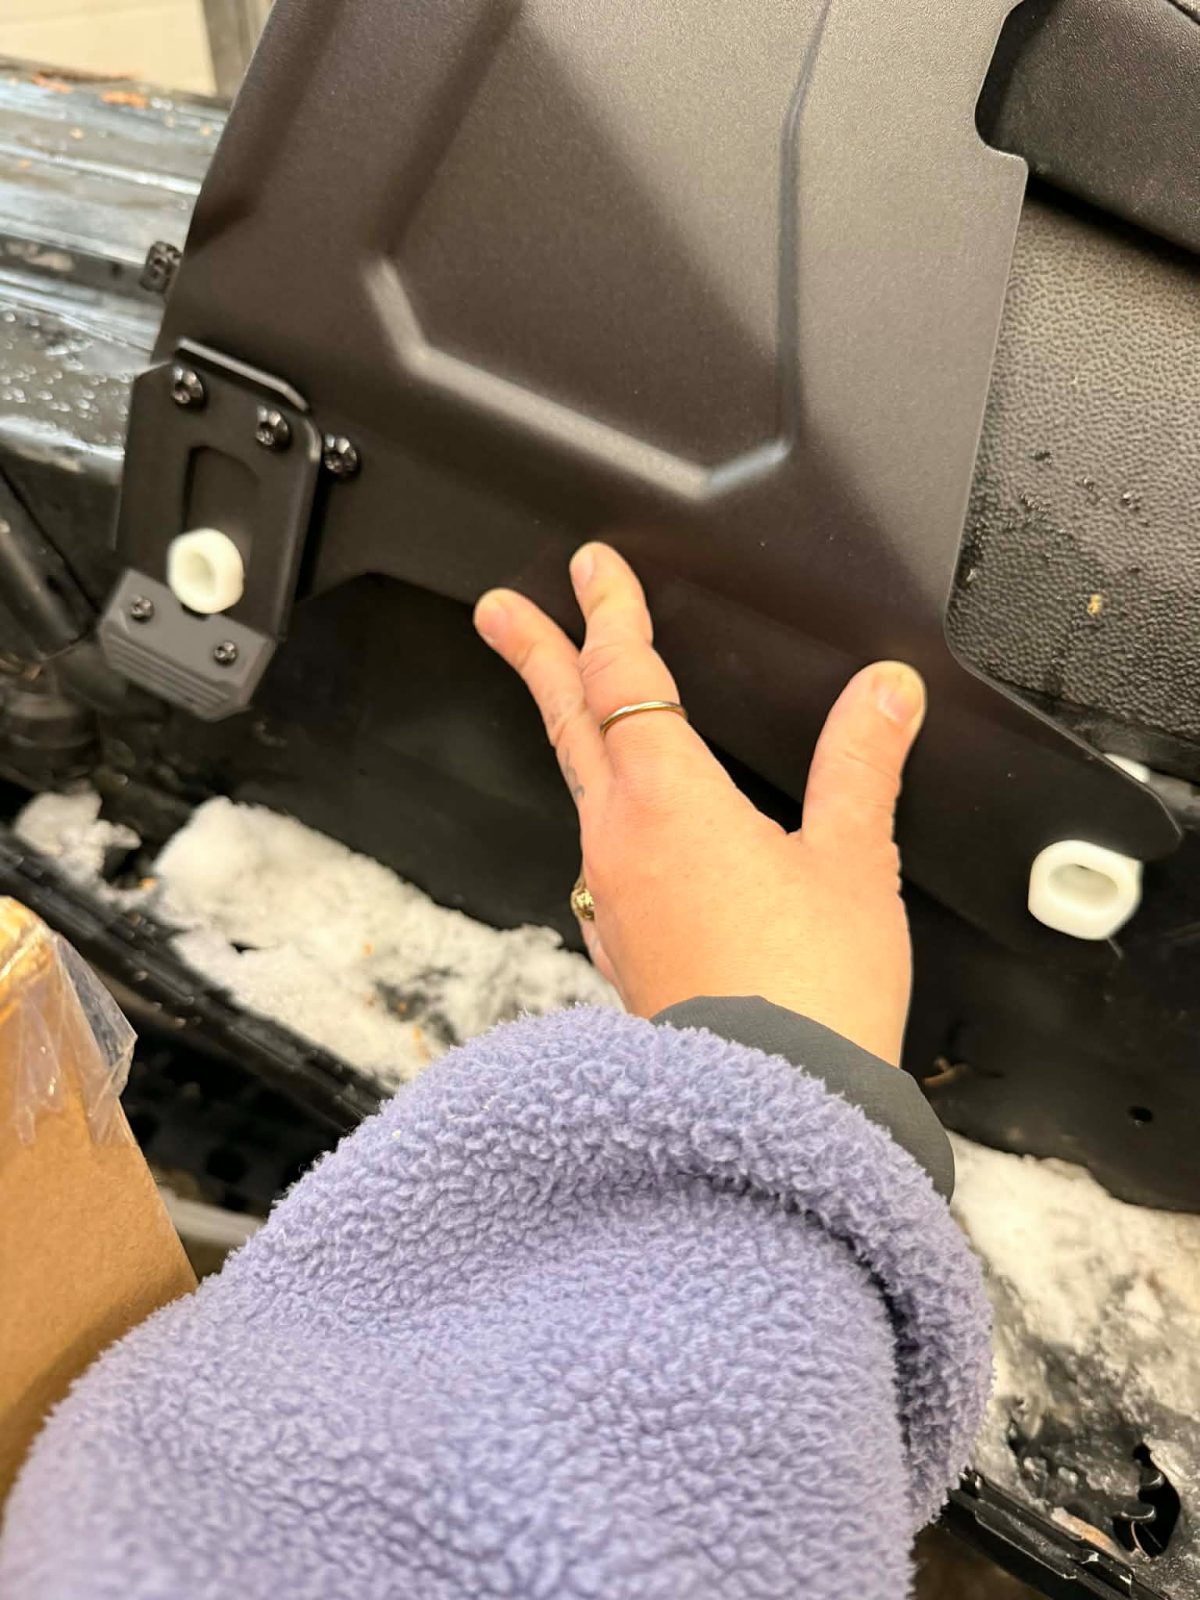
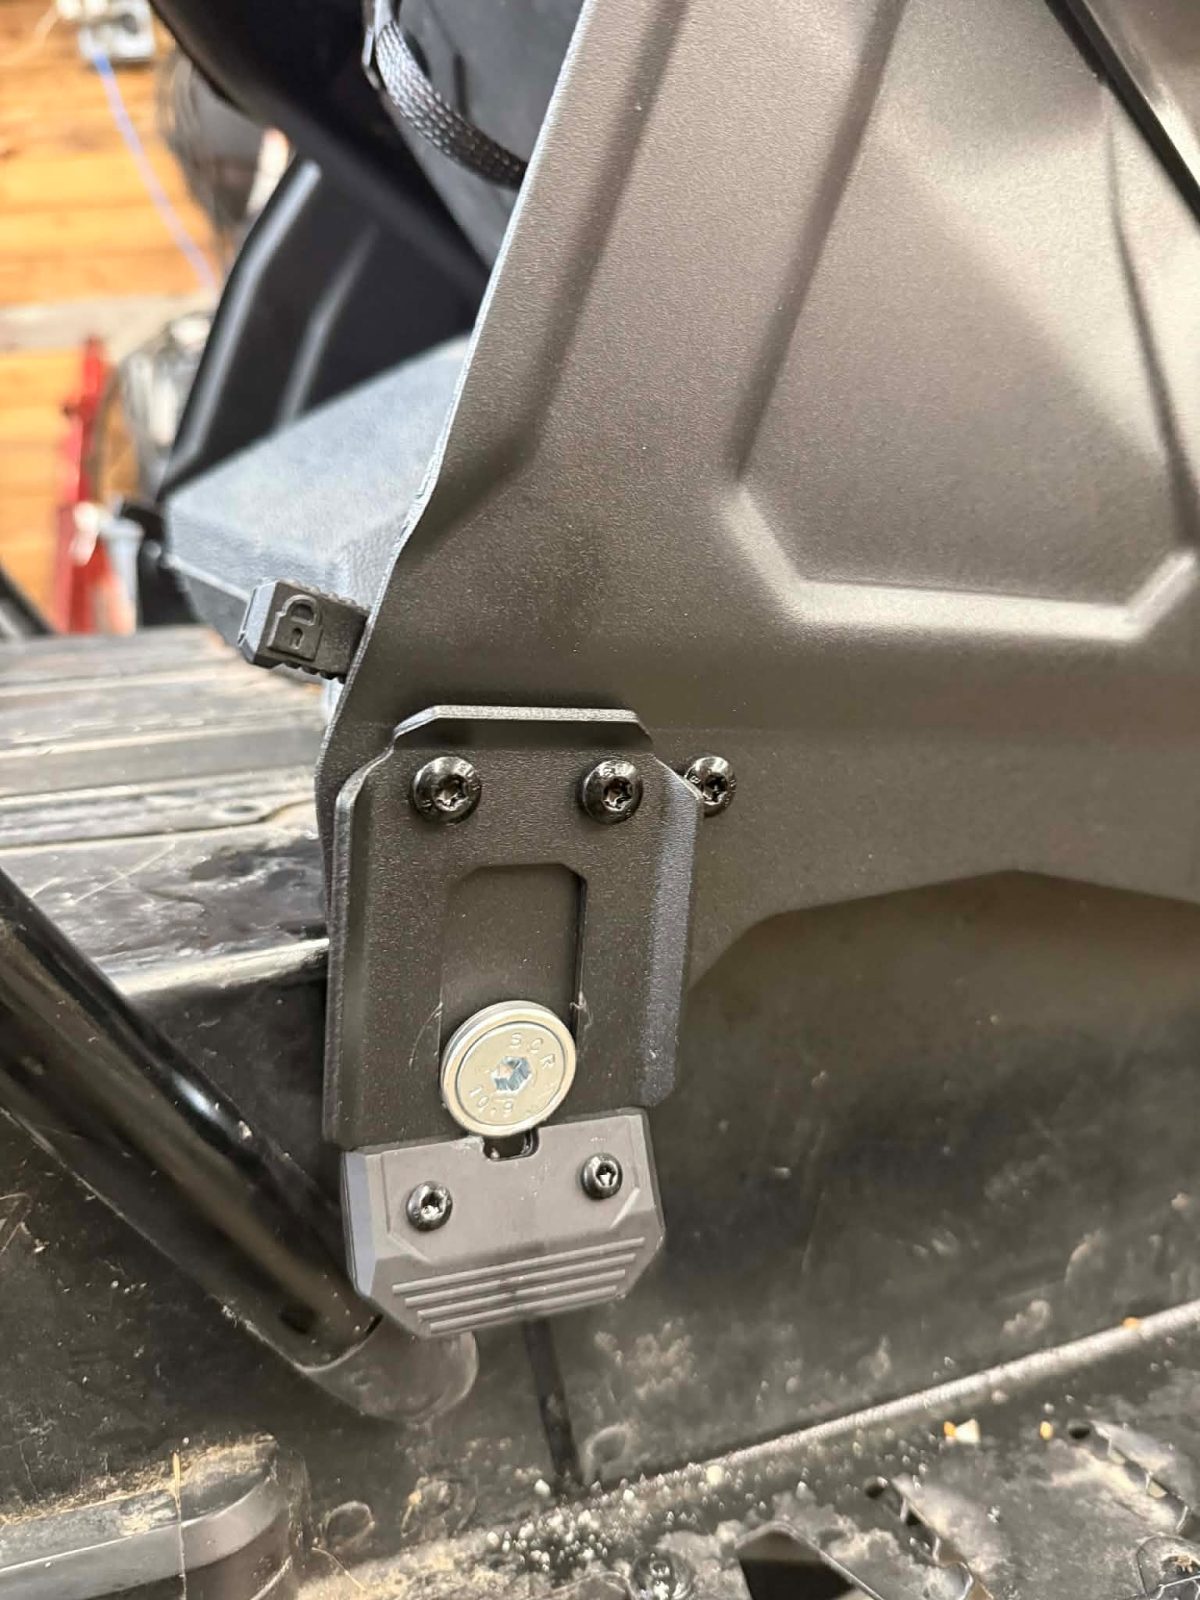
Finally, after drilling the holes in the correct locations, the last step was installing the seat itself. That’s when I made a surprising discovery. For the installation, Kimpex provides all the required hardware. However, the rear mounting uses two pieces with different shapes that form a right angle when combined. By installing one piece inside the tunnel and the other outside, the seat can be mounted on an angled tunnel.
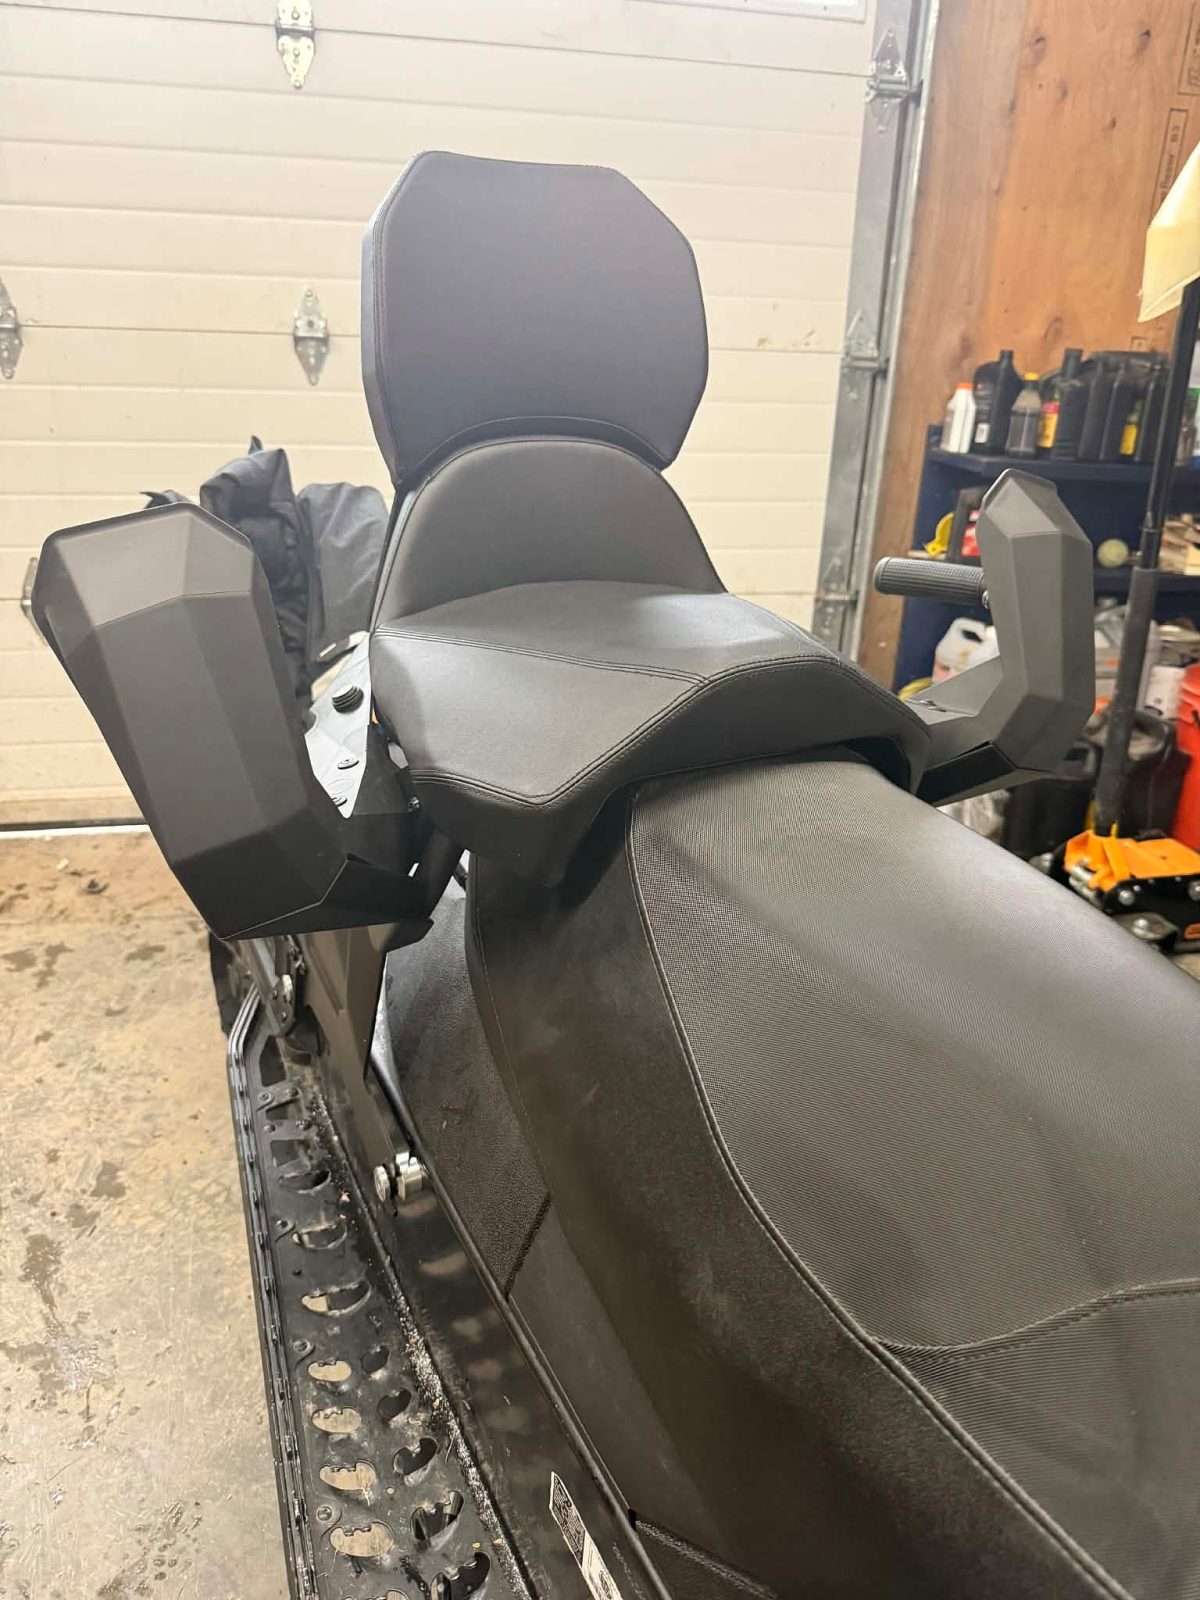
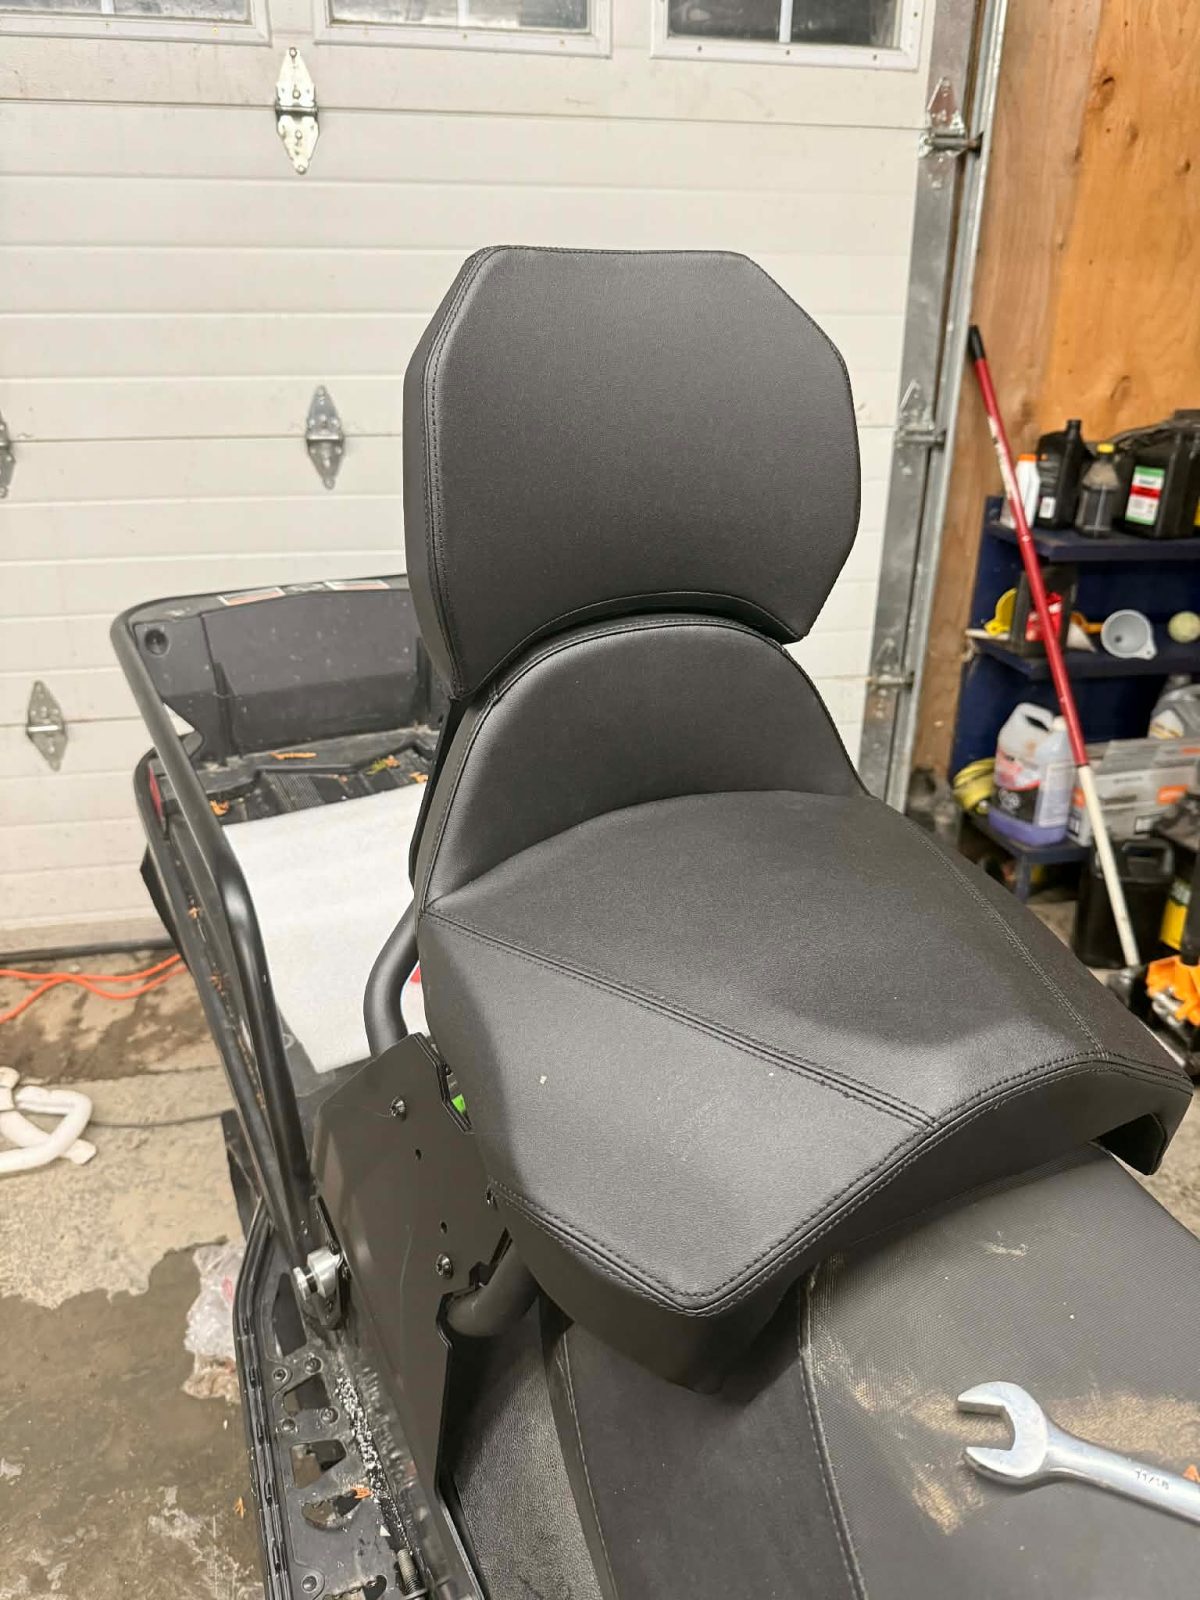
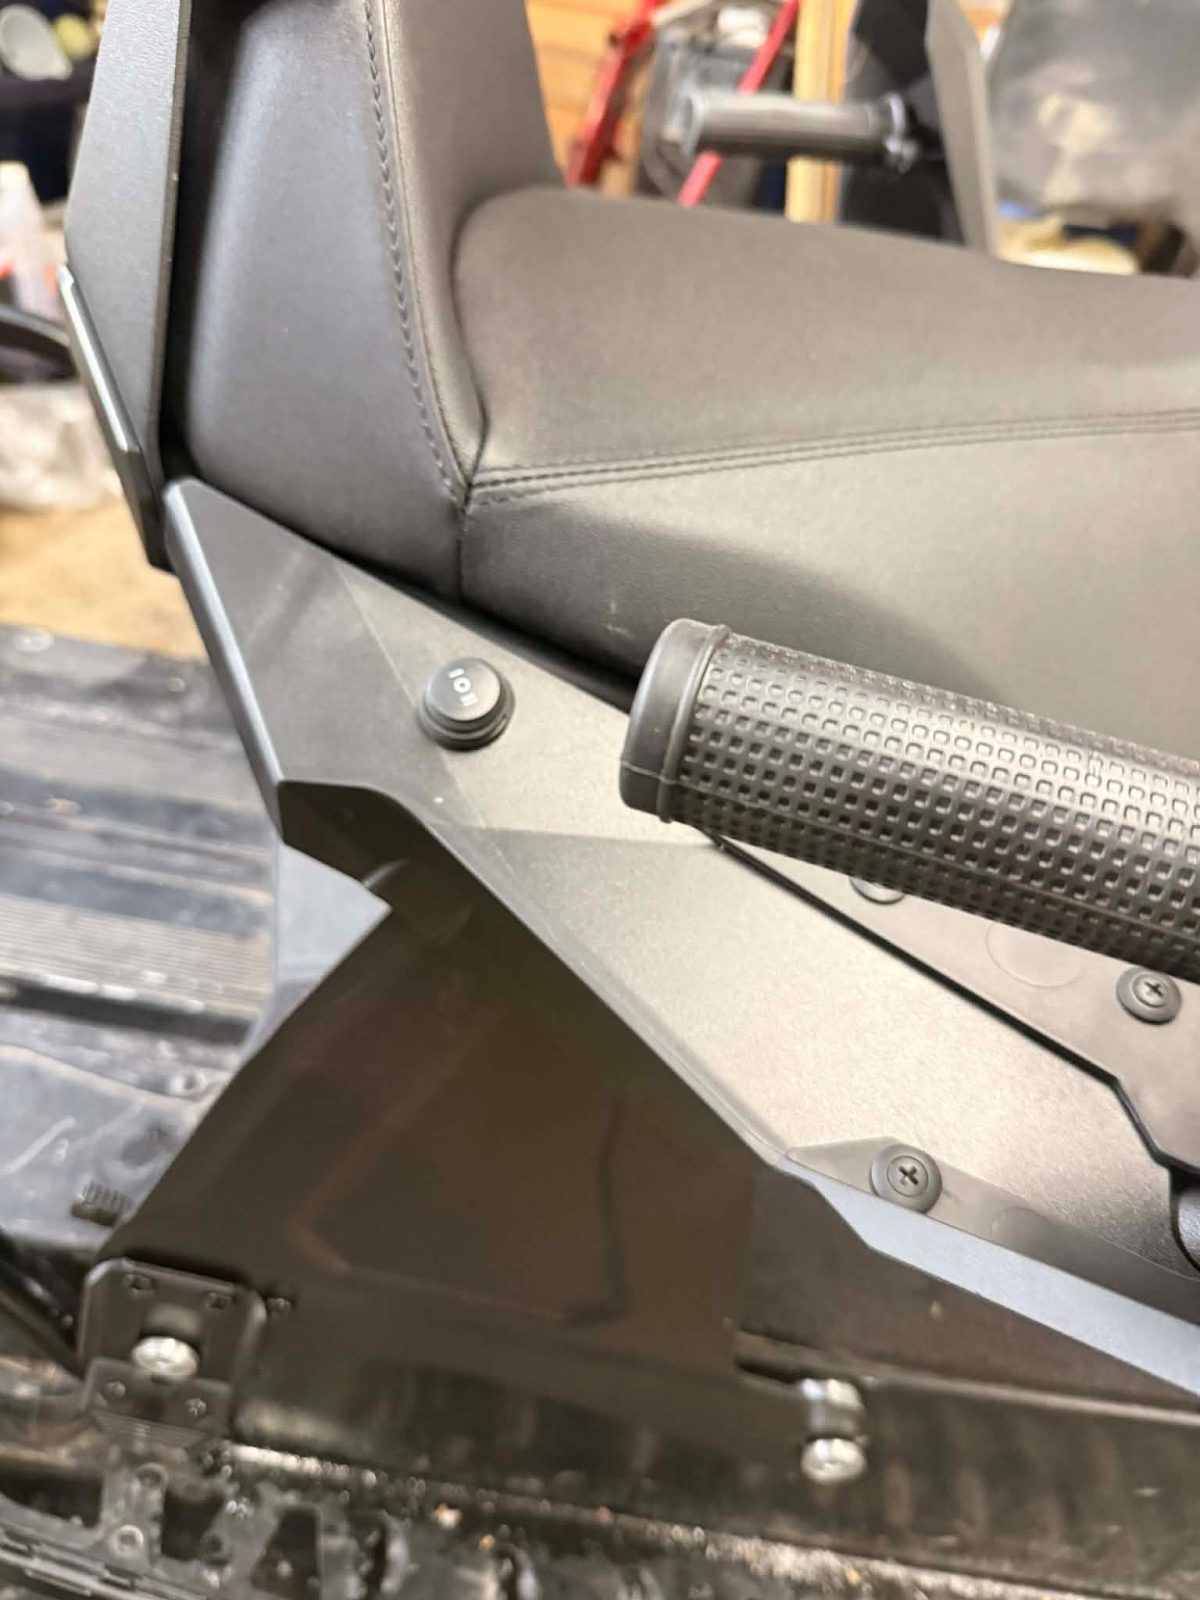
In my case, on my 2013 Tundra Xtreme, the tunnel is straight. So I installed the two angled pieces together by nesting their angled faces to create a straight piece on the outside of my tunnel. Then, I slid the seat into place, as described in the installation guide. I installed all the additional accessories, including the handles and handguards. I also connected the wiring: one for the heated grips and another for the heated helmet plug. This way, my passengers will enjoy as much comfort as possible.
I tested the seat’s solidity, and I can assure you it doesn’t move at all!
An unexpected discovery about SeatJack DX compatibility
After completing the installation, I posted videos of my snowmobile with the seat installed on my social media. The next day, I received a call from Kimpex. They wanted to speak with me. It turns out that an error had occurred when my order was processed. In theory, this SeatJack model isn’t compatible with my snowmobile model. The issue mainly comes from the mounting kit, which is designed for newer snowmobiles with an angled tunnel rather than a straight one like mine.
The two representatives asked how I had managed to install it anyway. I explained that I placed the two angled pieces on the outside to create a right angle. I confirmed that I had tested the solidity of the installation. Quite a discovery! Their new SeatJack could actually be installed on older snowmobile models—with the proper mounting anchors.
Of course, I have installed it on my 2013 Tundra Xtreme and will be testing it this winter. However, the tunnel installation parts are not currently designed or certified for this model. Still, if the seat itself and the SeatJack drilling templates are compatible with a machine like mine, what might the future hold at Kimpex? Will they release the necessary mounting components for snowmobiles with straight tunnels in the near future? Time will tell.
I’d like to thank Kimpex—but I especially want to say how impressed I was by their team. They took the time to personally contact me after seeing a video I had posted online to make sure the installation was as correct as possible. That proves to me that this is a company that truly cares about its customers. With such proactive customer support, I have no hesitation recommending this company to anyone looking for snowmobile parts, accessories, clothing, or other related products.
SeatJack DX test coming soon
In an upcoming article, which will be published in the next few weeks, you’ll be able to read my impressions of riding my machine with this seat installed behind me. I’ll also share feedback from my passengers. I can’t wait to try it out both on my woodlot, on ungroomed trails, and on groomed snowmobile trails. I’ll probably even let someone drive once or twice so I can personally experience the comfort of this new seat!
Follow our publications so you don’t miss that article.
At the same time, I’d like to thank Kimpex for giving me the opportunity to test the new SeatJack DX and for allowing my kids to join me in my winter adventures!