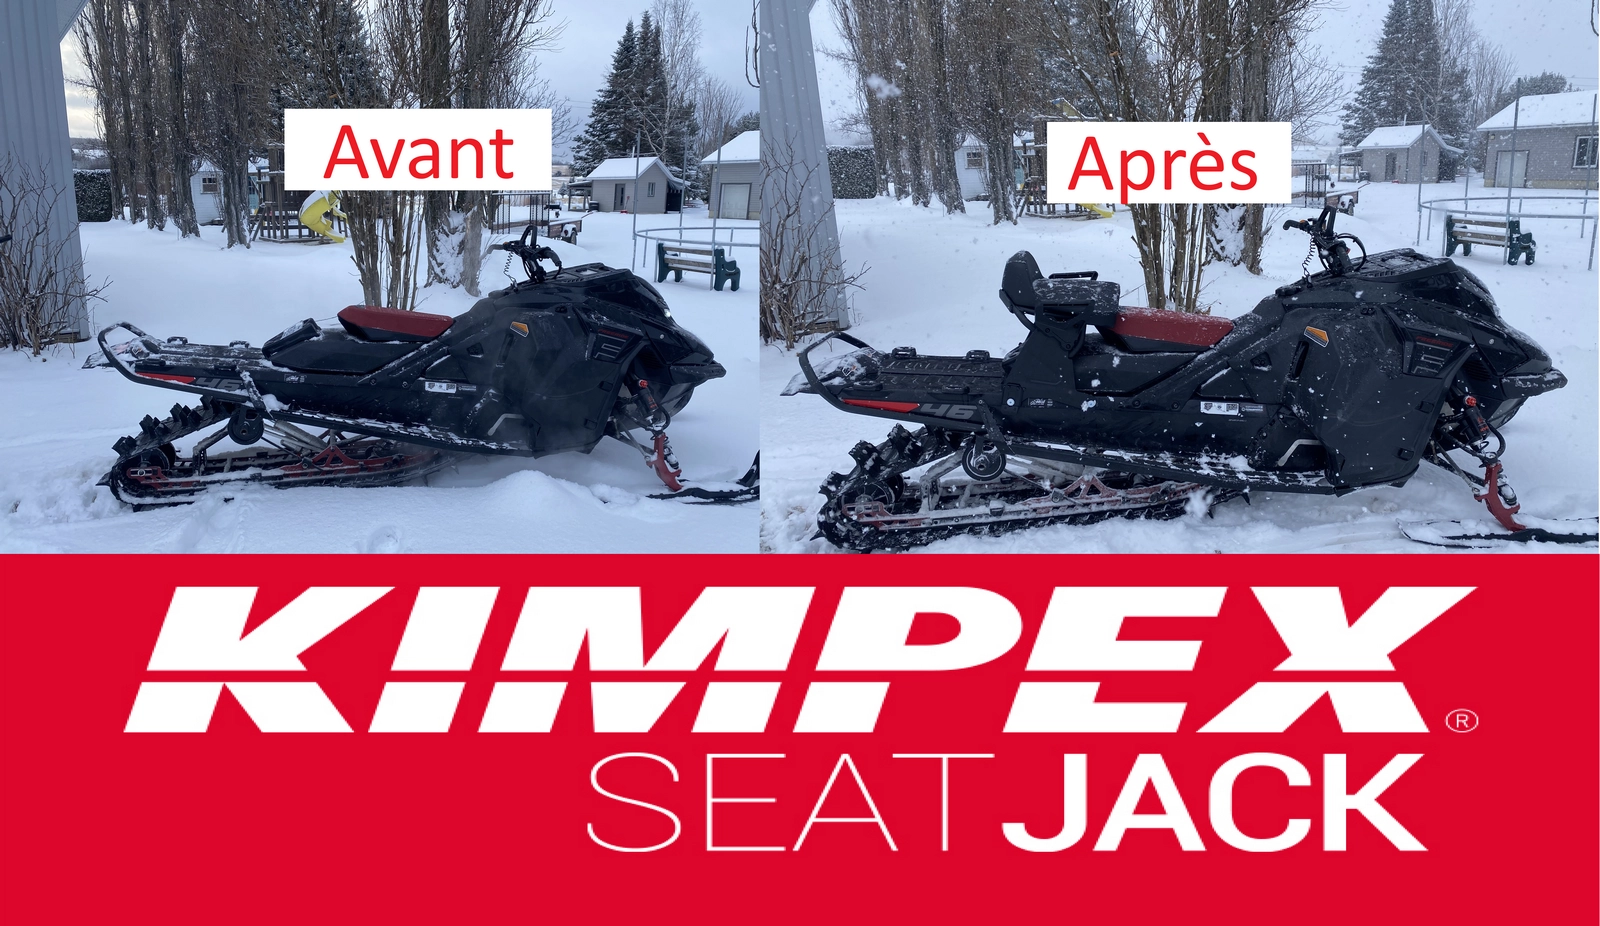
I received the SeatJack LT from Kimpex to install it on my personal snowmobile, in a very simple and practical context. With three children at home, I was looking for a solution to safely take them sledding while maintaining good snowmobile handling.
The installation presented here was completed during the holiday season, alongside my father. We took the time to do things properly, without rushing, with the goal of sharing our installation process—from unboxing to the moment the seat is securely mounted on the machine.
Preparation and Initial Assembly
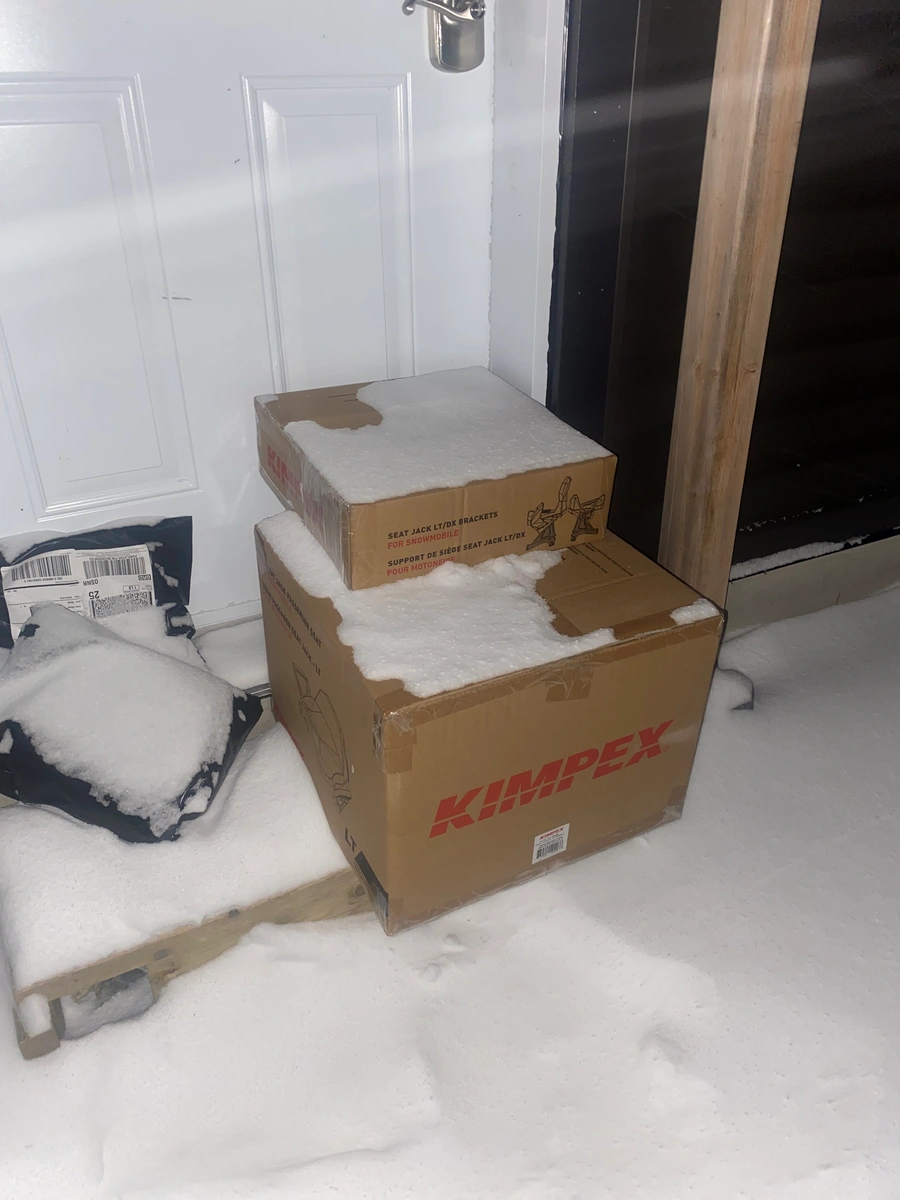
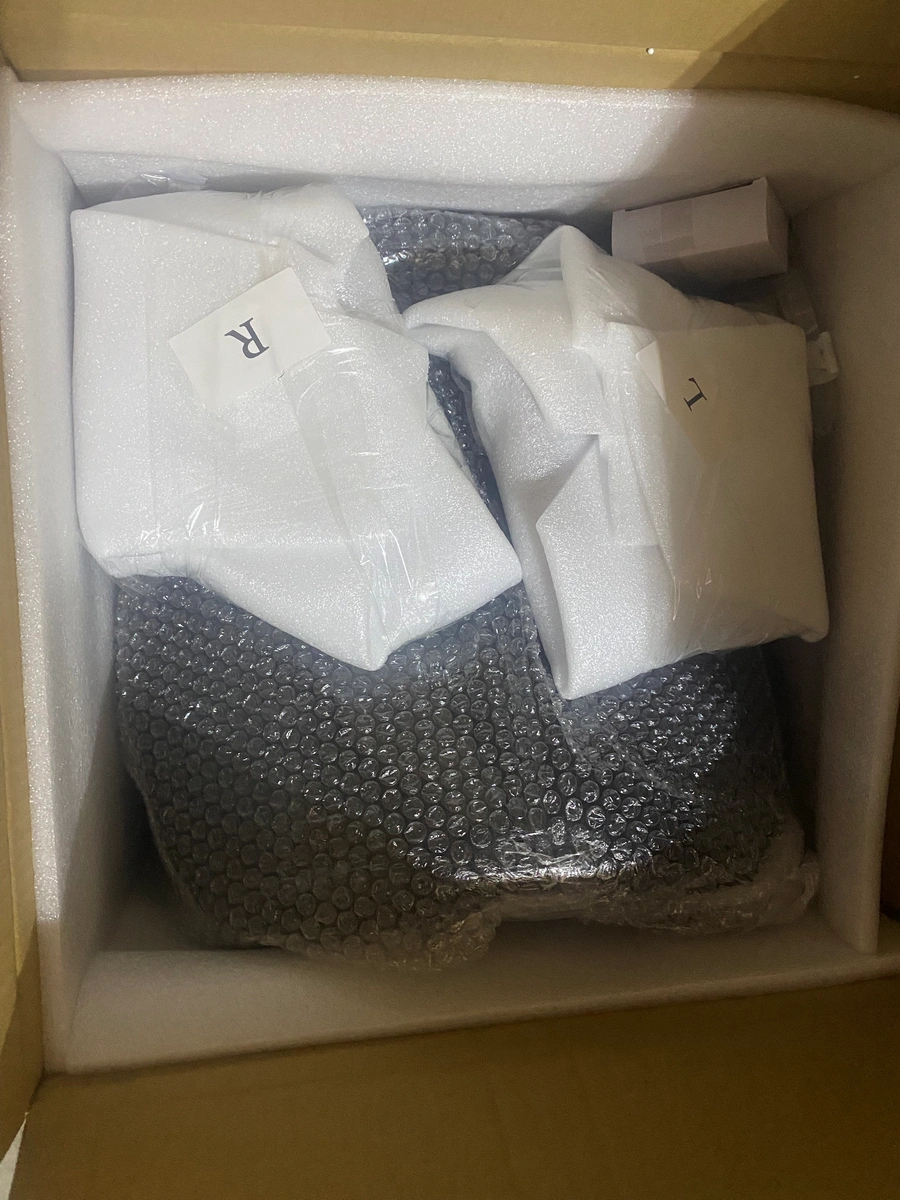
The first step was to take the SeatJack out of its packaging. Right away, you notice that the product is very well protected, with each component carefully wrapped.
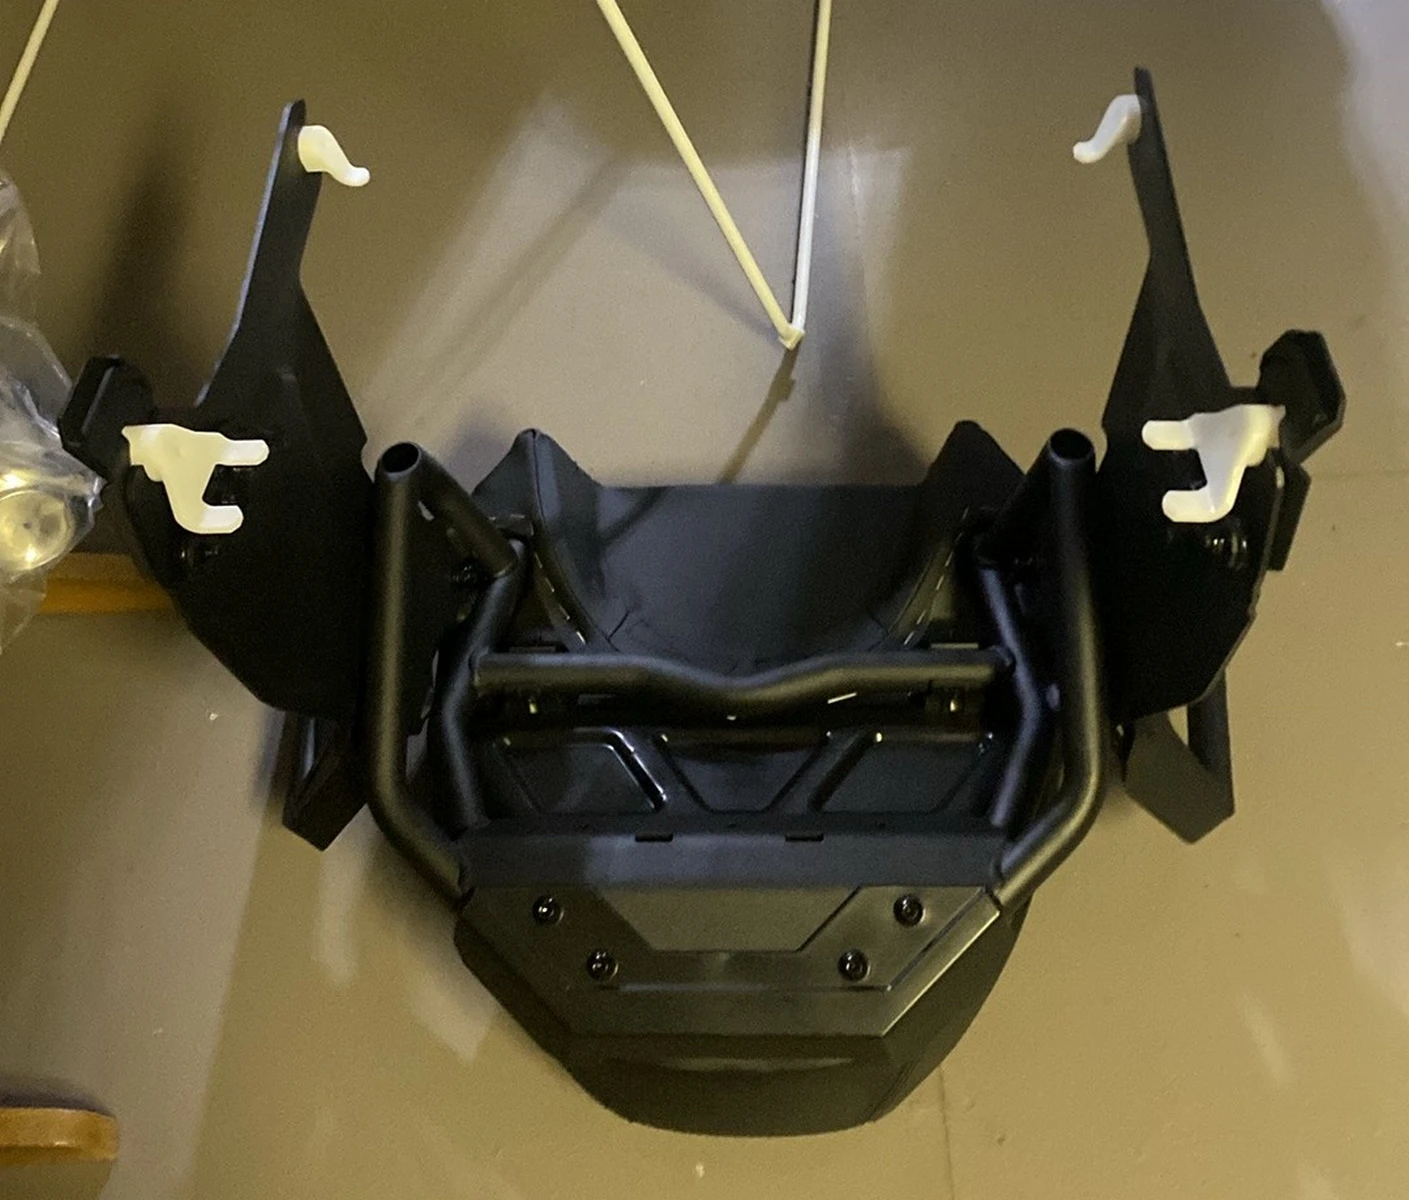
We started by assembling the handles with the seat backrest. The process is simple, logical, and presents no particular difficulty. Once assembly was complete, we installed the provided drilling templates, then headed outside to proceed with the installation directly on the snowmobile.
Positioning the SeatJack on the Snowmobile
Once outside, we placed the SeatJack on the snowmobile using the templates to determine the ideal position. The goal was clear: avoid interfering with the rider’s control while ensuring the passenger maintains a balanced posture.
We deliberately avoided positioning it too far back to prevent affecting handling and overall snowmobile behaviour. This step deserves careful attention, especially if you plan to carry children or a passenger regularly.
Drilling the Tunnel
Once the position was determined, we proceeded with drilling the tunnel. We made sure to measure carefully and ensure that the drilling points were perfectly aligned and symmetrical on both sides of the snowmobile.
The drilling templates greatly simplify this step. They allow for precise alignment, removing much of the stress. You know exactly where to drill while minimizing the risk of damaging the tunnel or the snowmobile’s radiator.

Installing the Mounting Brackets
After drilling, we removed the seat and the templates, then proceeded to install the mounting brackets directly onto the tunnel.
In my case, I drive a Ski-Doo Freeride 2023, which is a mountain snowmobile with a long tunnel. This made installing the front brackets slightly more complex, as they are located far underneath the seat. The rear brackets, on the other hand, were much easier to install.
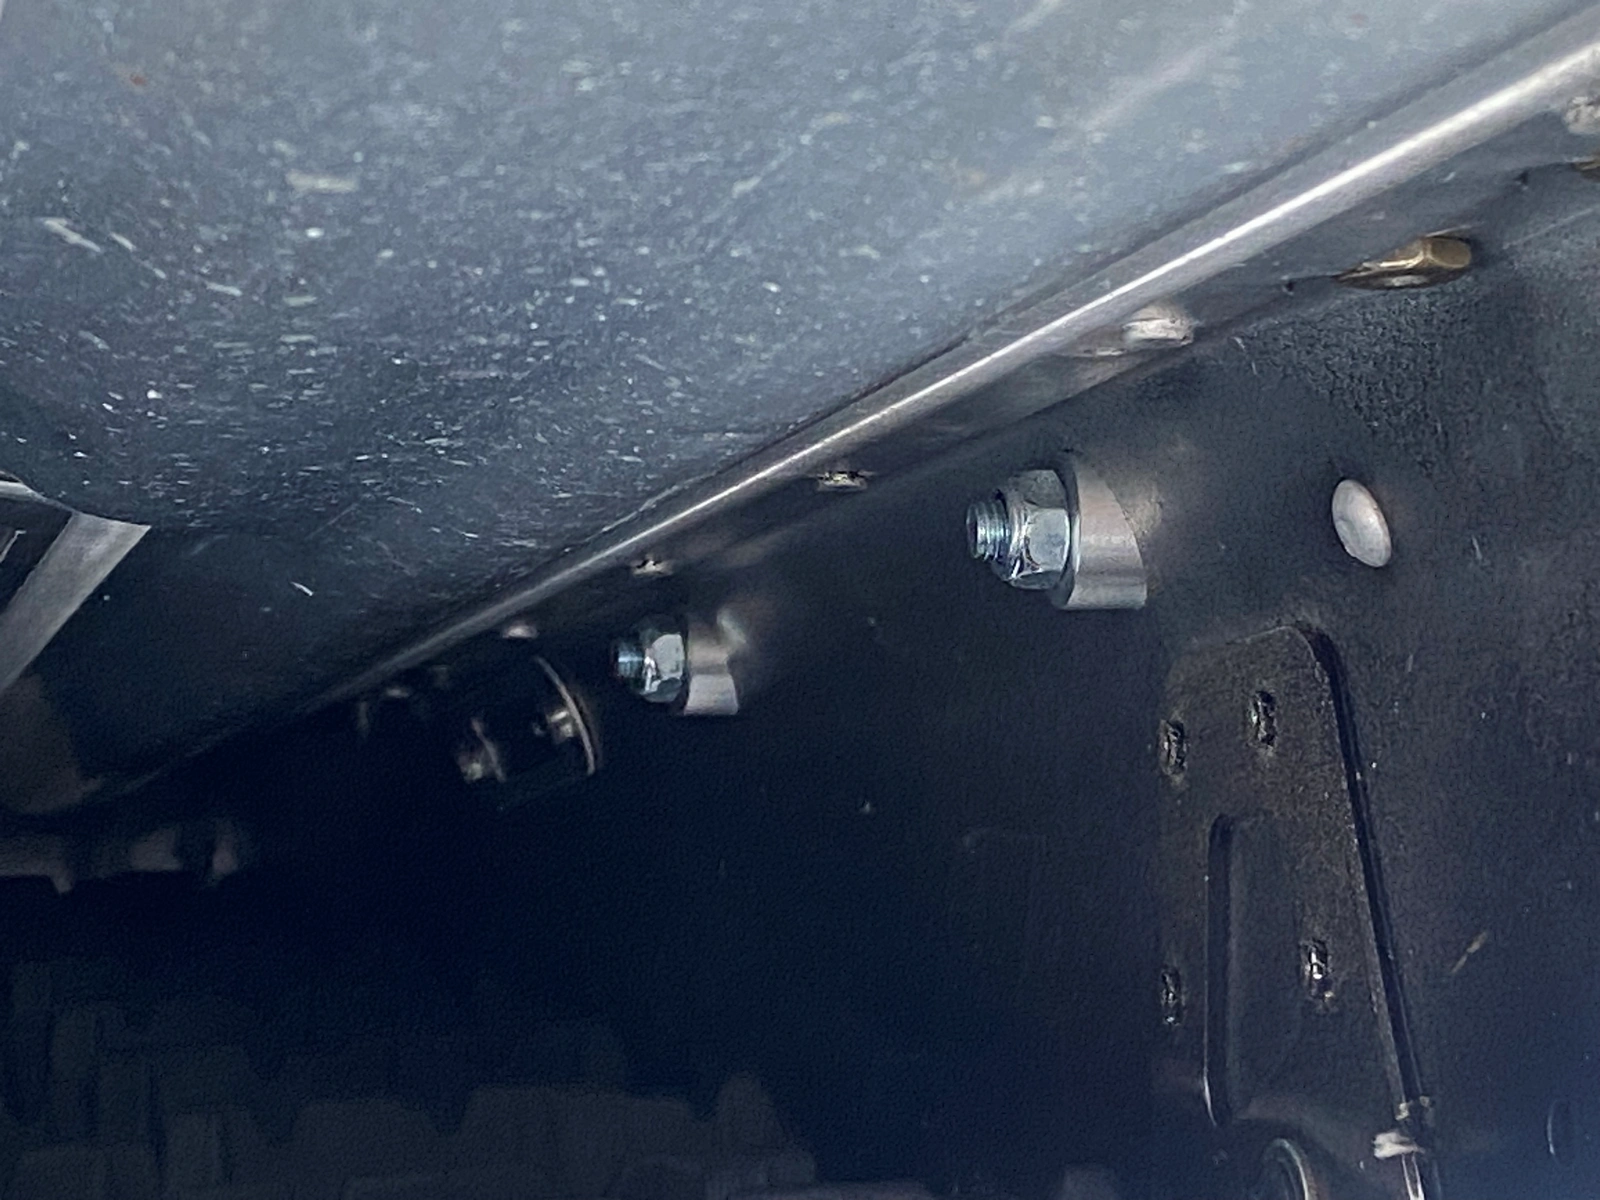
We made sure to hold each bracket at the correct angle during installation before performing the final tightening. Once everything was properly aligned and securely fastened, the result is very convincing: solid and reassuring mounting points ready to receive the SeatJack.
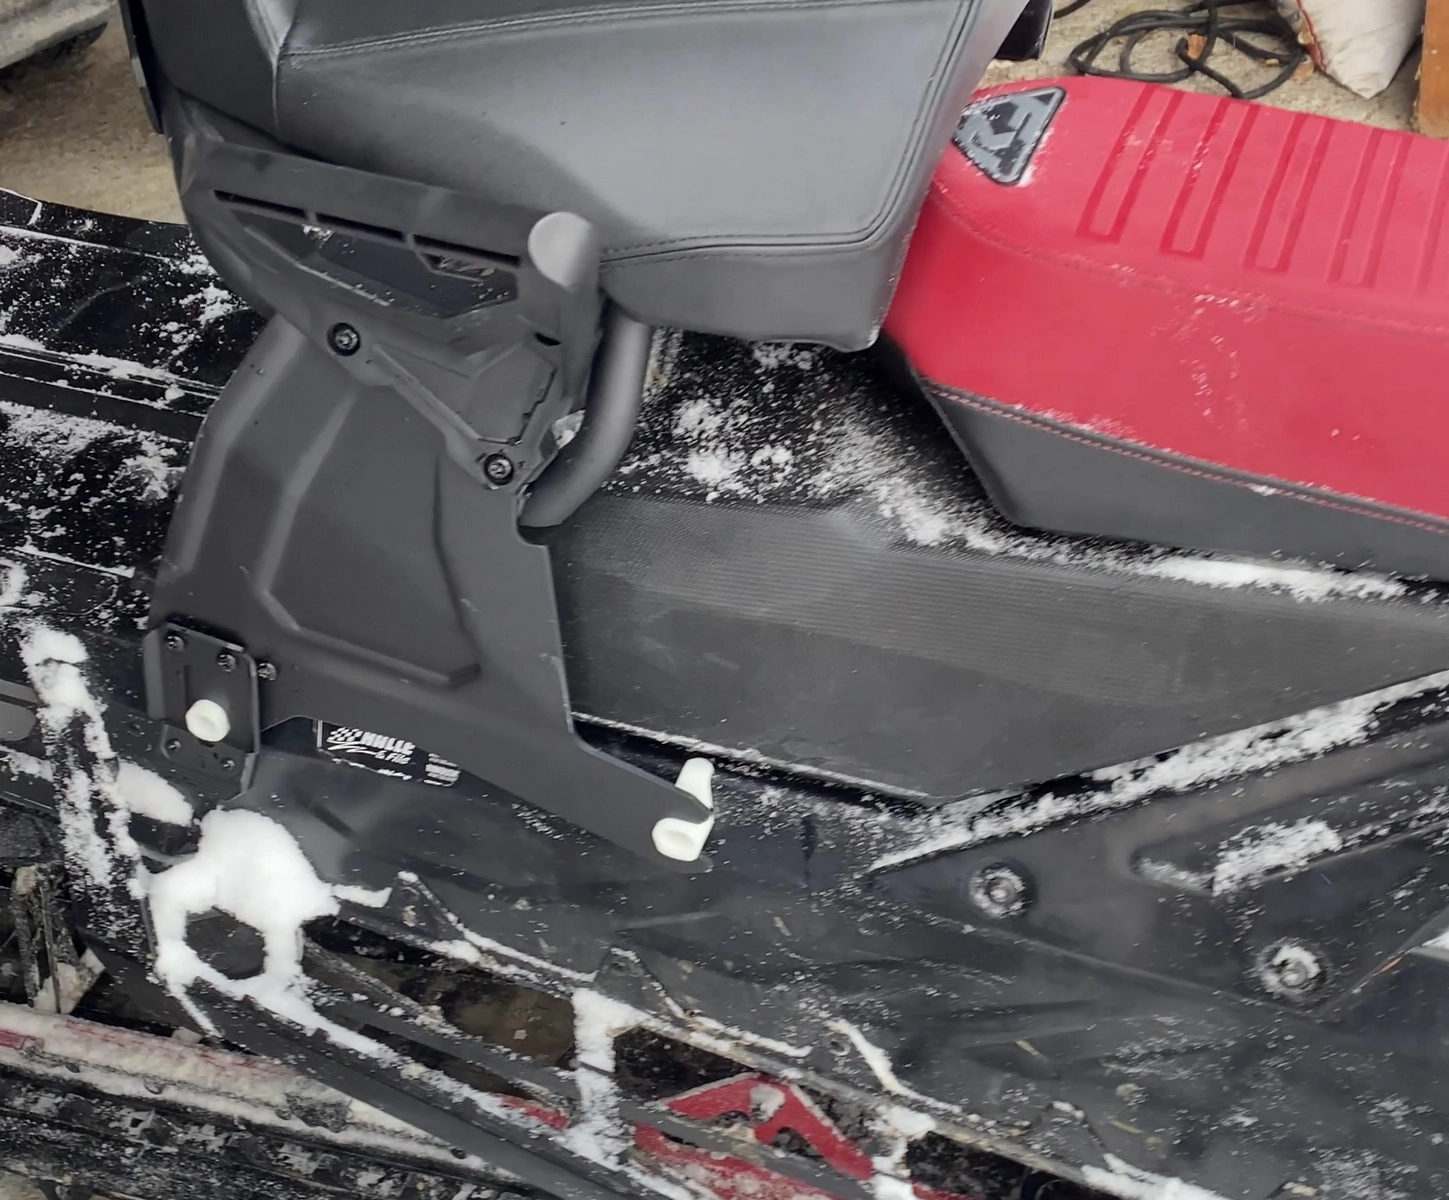
Finalizing the Seat Installation
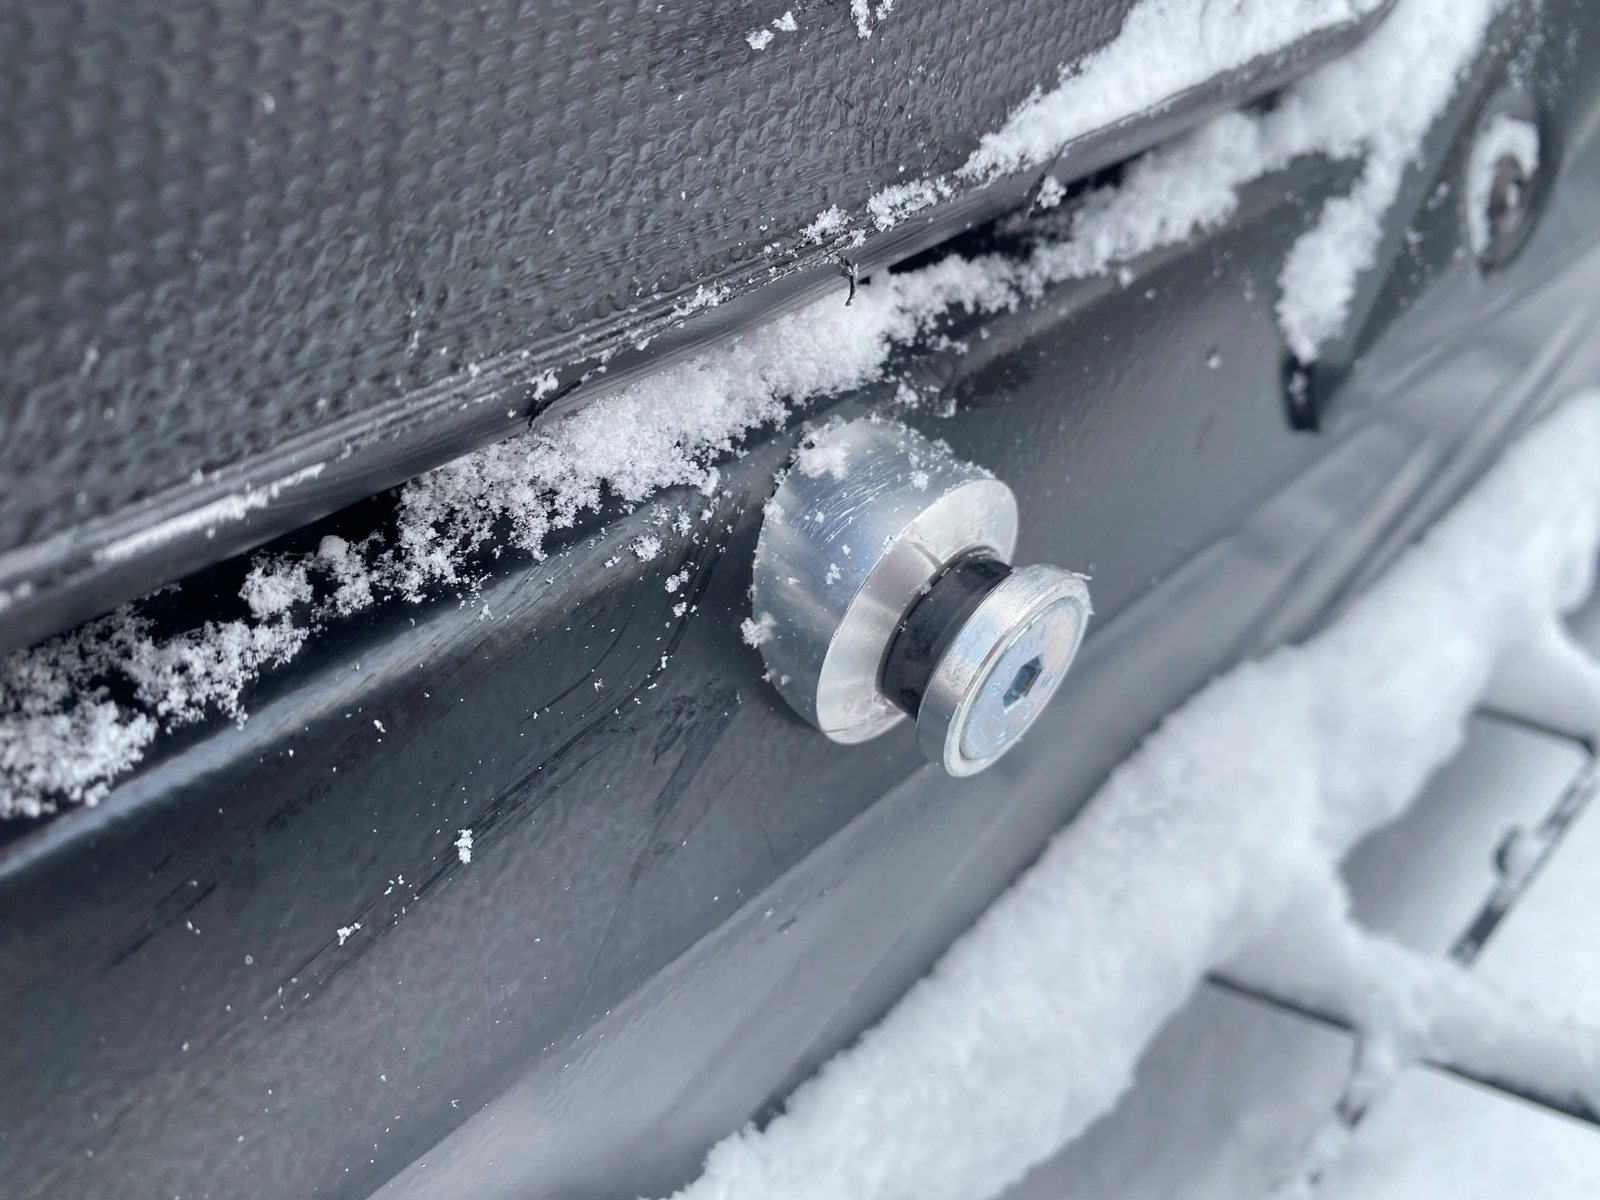
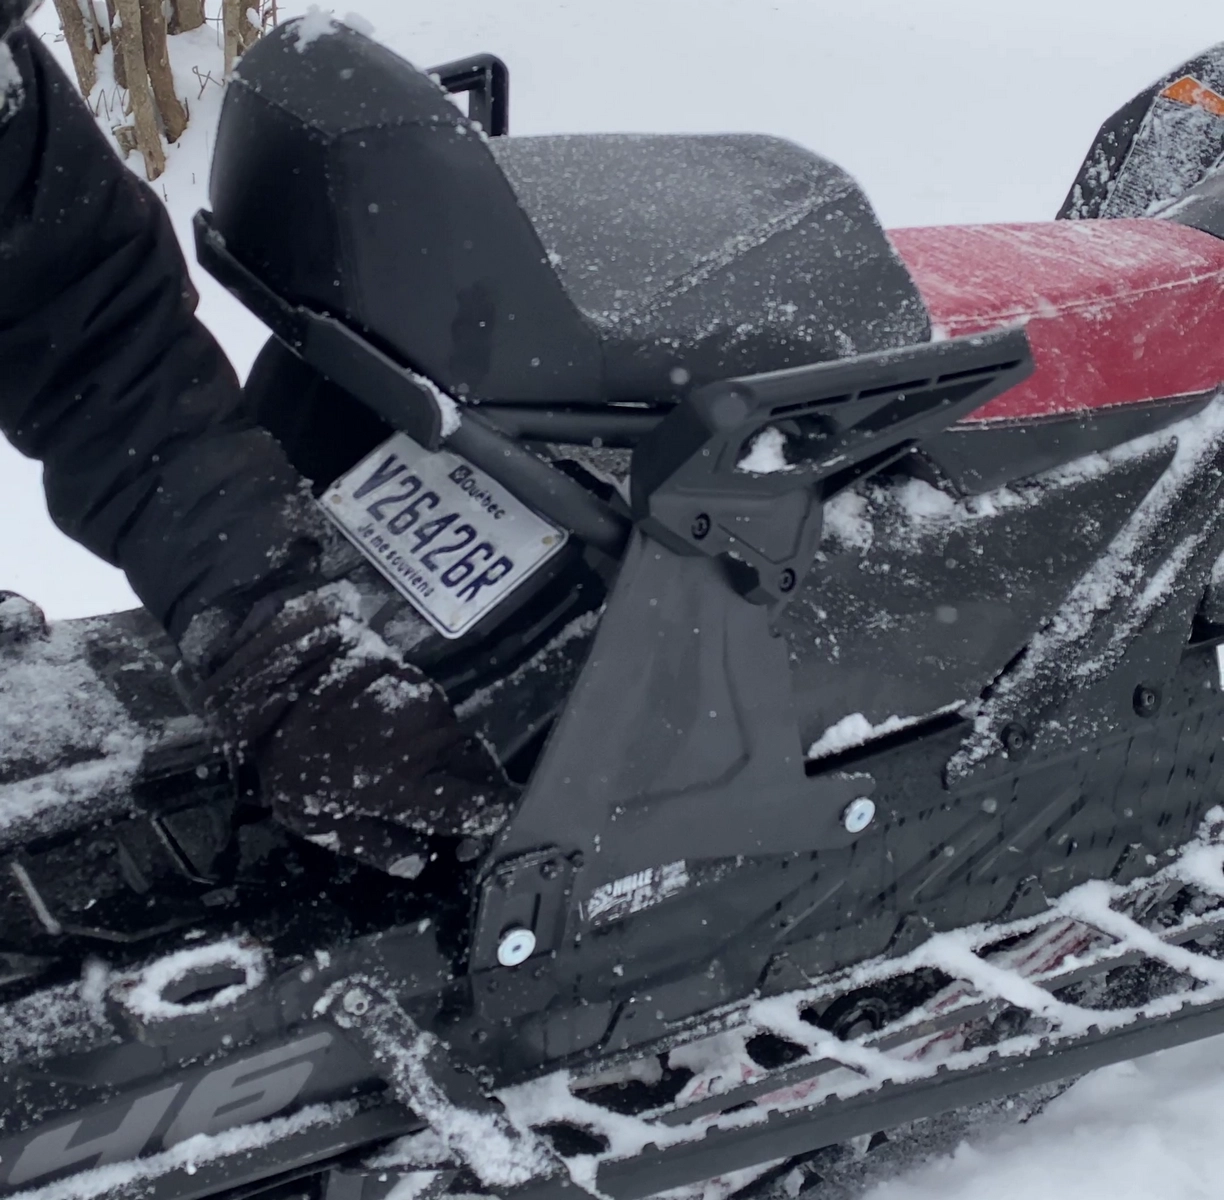
The final step is to place the seat onto the mounting brackets. The front brackets slide into place, while the rear locks securely using the provided latches.
Once installed, the SeatJack is firmly secured to the snowmobile. The setup inspires confidence, both in its sturdiness and the quality of its assembly. The seat also offers a good level of comfort, an important factor when carrying a passenger.
Installation Time and Conclusion
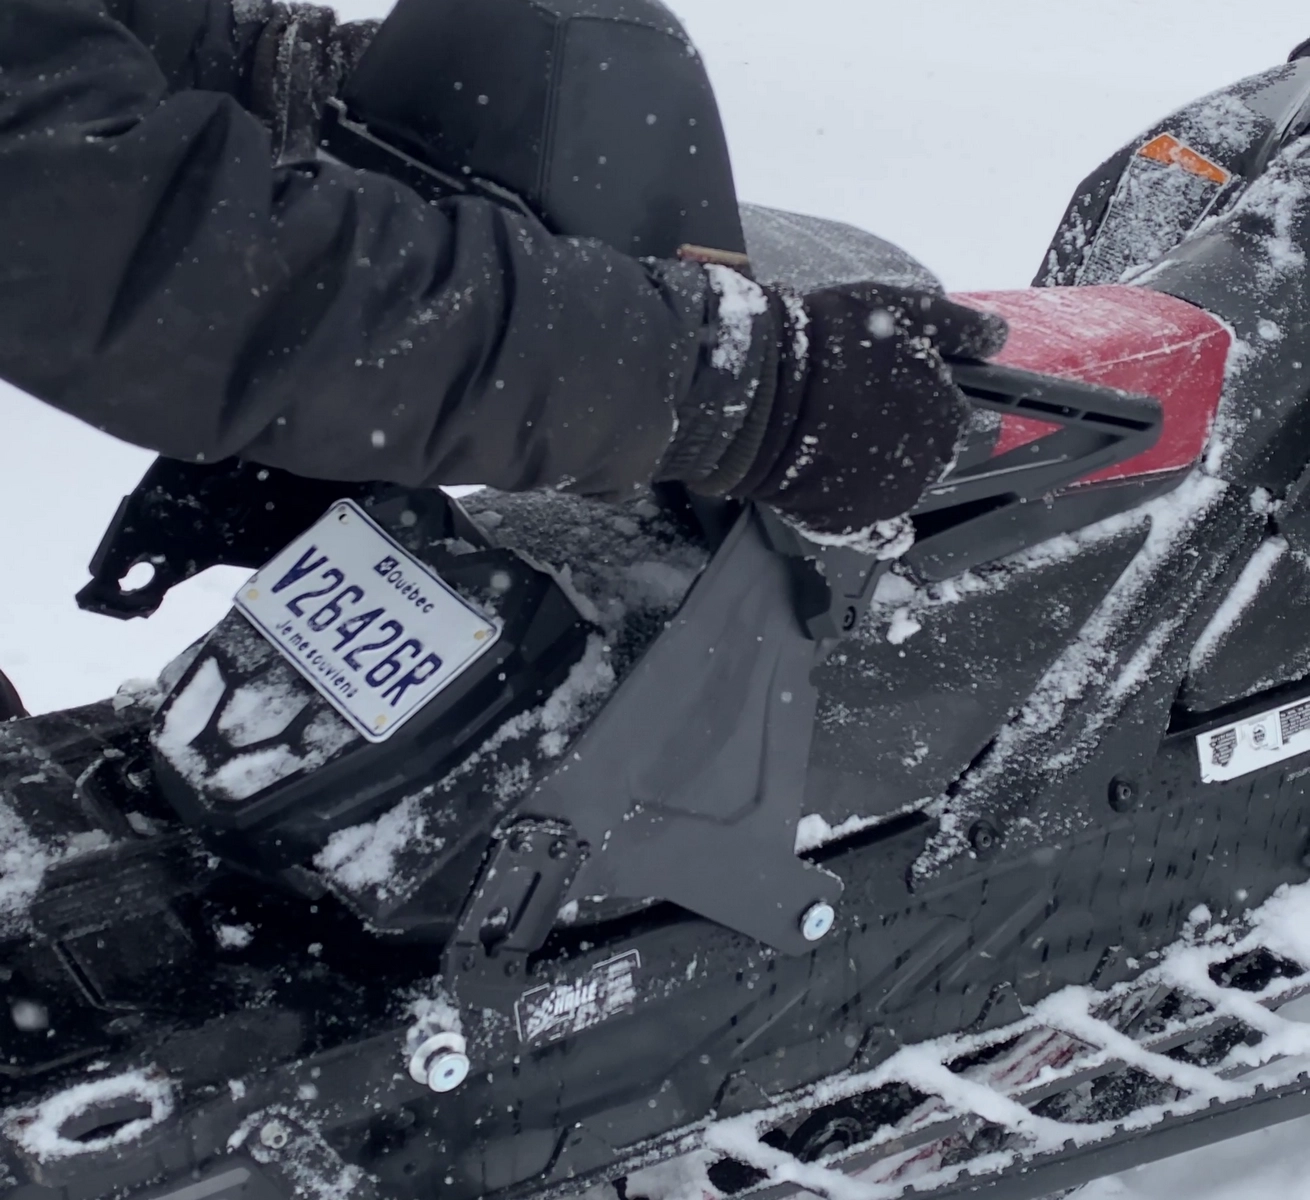
The full installation took us about one hour, working calmly and methodically. A very reasonable timeframe for such a worthwhile addition to a snowmobile.
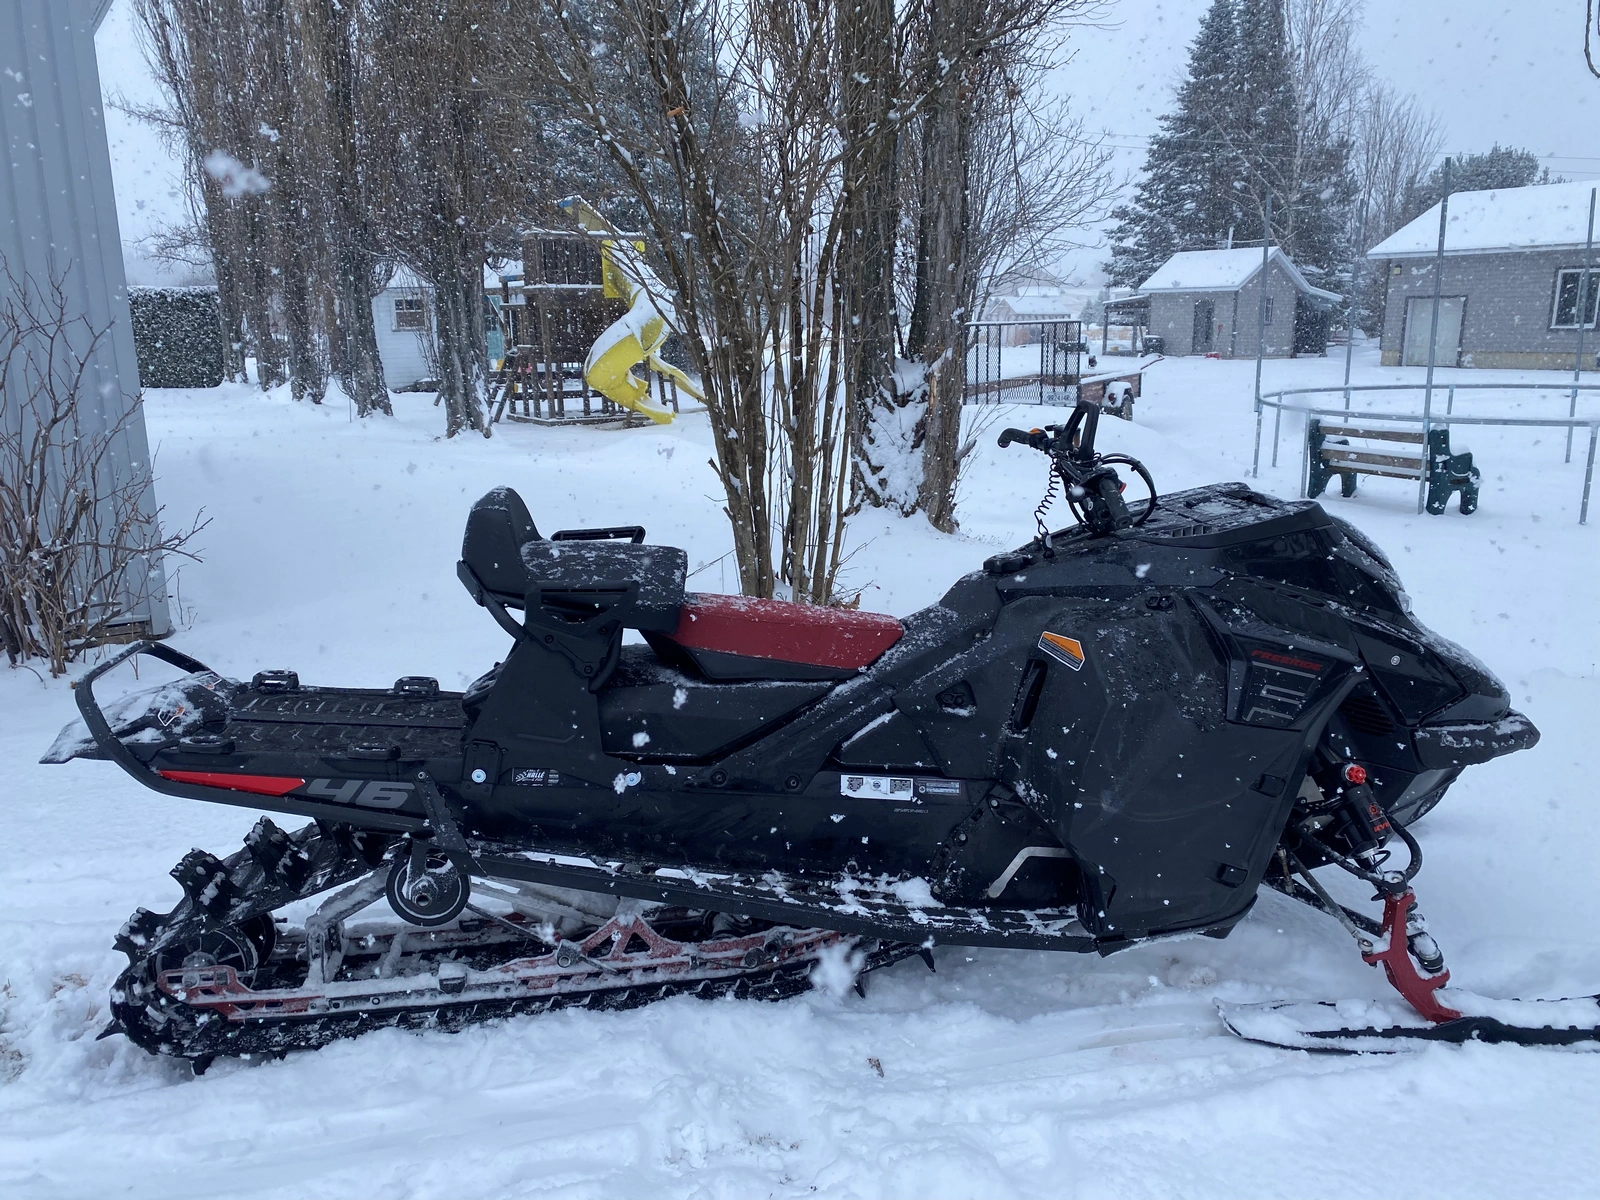
The SeatJack is now ready to be used—and most importantly, to serve exactly the purpose it was installed for: sharing winter outings with my children. Thanks to Kimpex for providing this product for testing, which genuinely makes snowmobiling more accessible for family outings.
We’ll revisit this later in the season in my SeatJack review, where I’ll share my impressions after use, along with feedback from the ones who matter most: the kids.