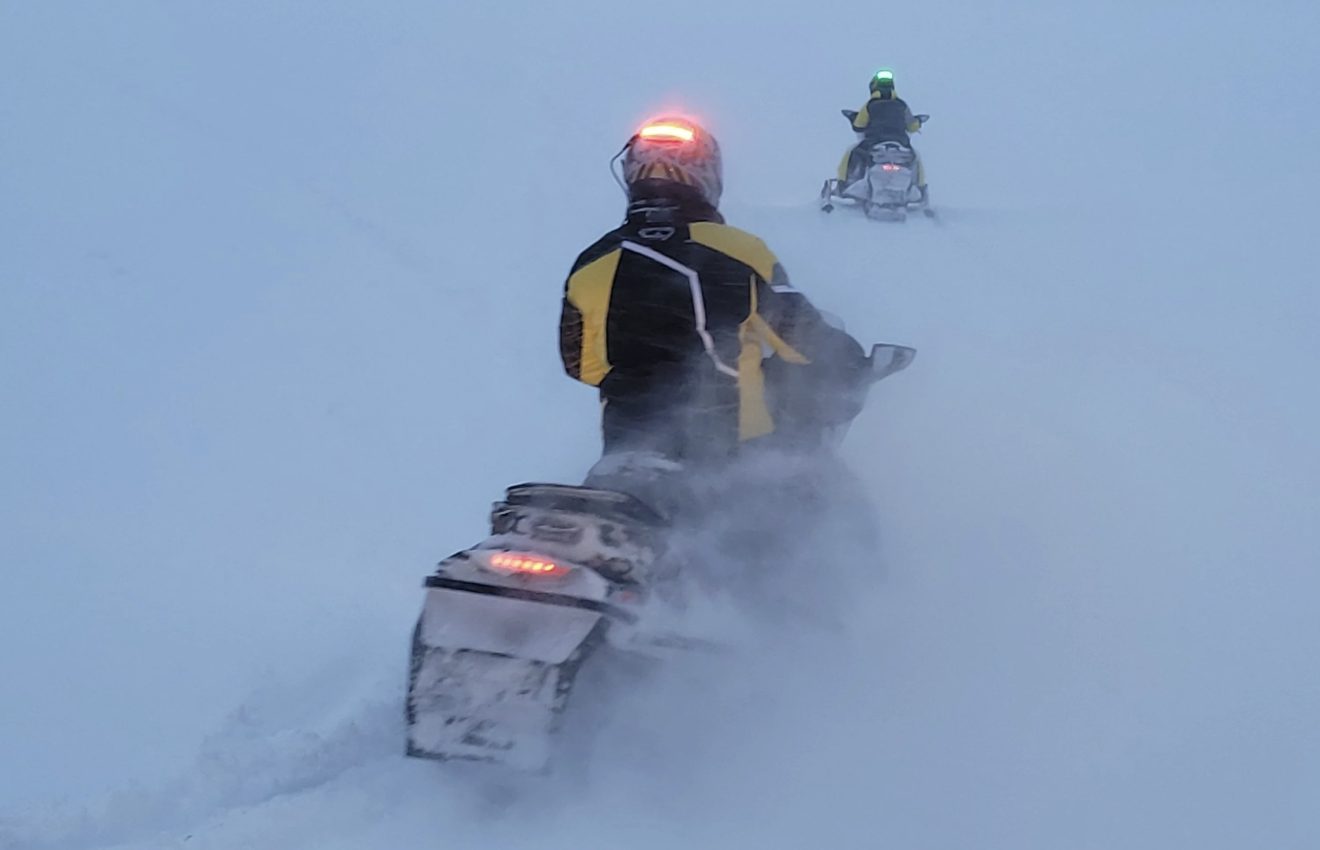
When riding in groups, it’s not uncommon that we need to distance ourselves from each other due to poor visibility. The snow kicked up by preceding snowmobilers creates a cloud that obstructs our vision, making it difficult to distinguish our riding companions.
What if there was a simple solution?
Although our snowmobiles are equipped with a taillight, it’s not always enough. For various reasons, it can be challenging to see it due to its low position. Now, some helmet designers offer an integrated LED light to address this inconvenience. However, the cost of these helmets is often exorbitant, as seen with BRP’s Oxygen helmet.
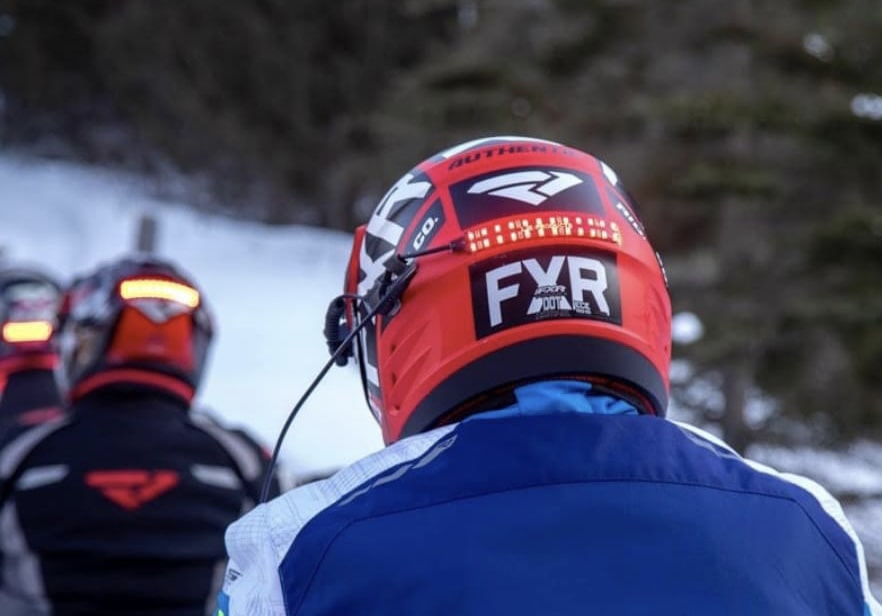
Nevertheless, it is now possible to add a strip of LED lights to any helmet at a very affordable cost. By positioning it at the highest point in our body, it significantly enhances visibility for the person following us.
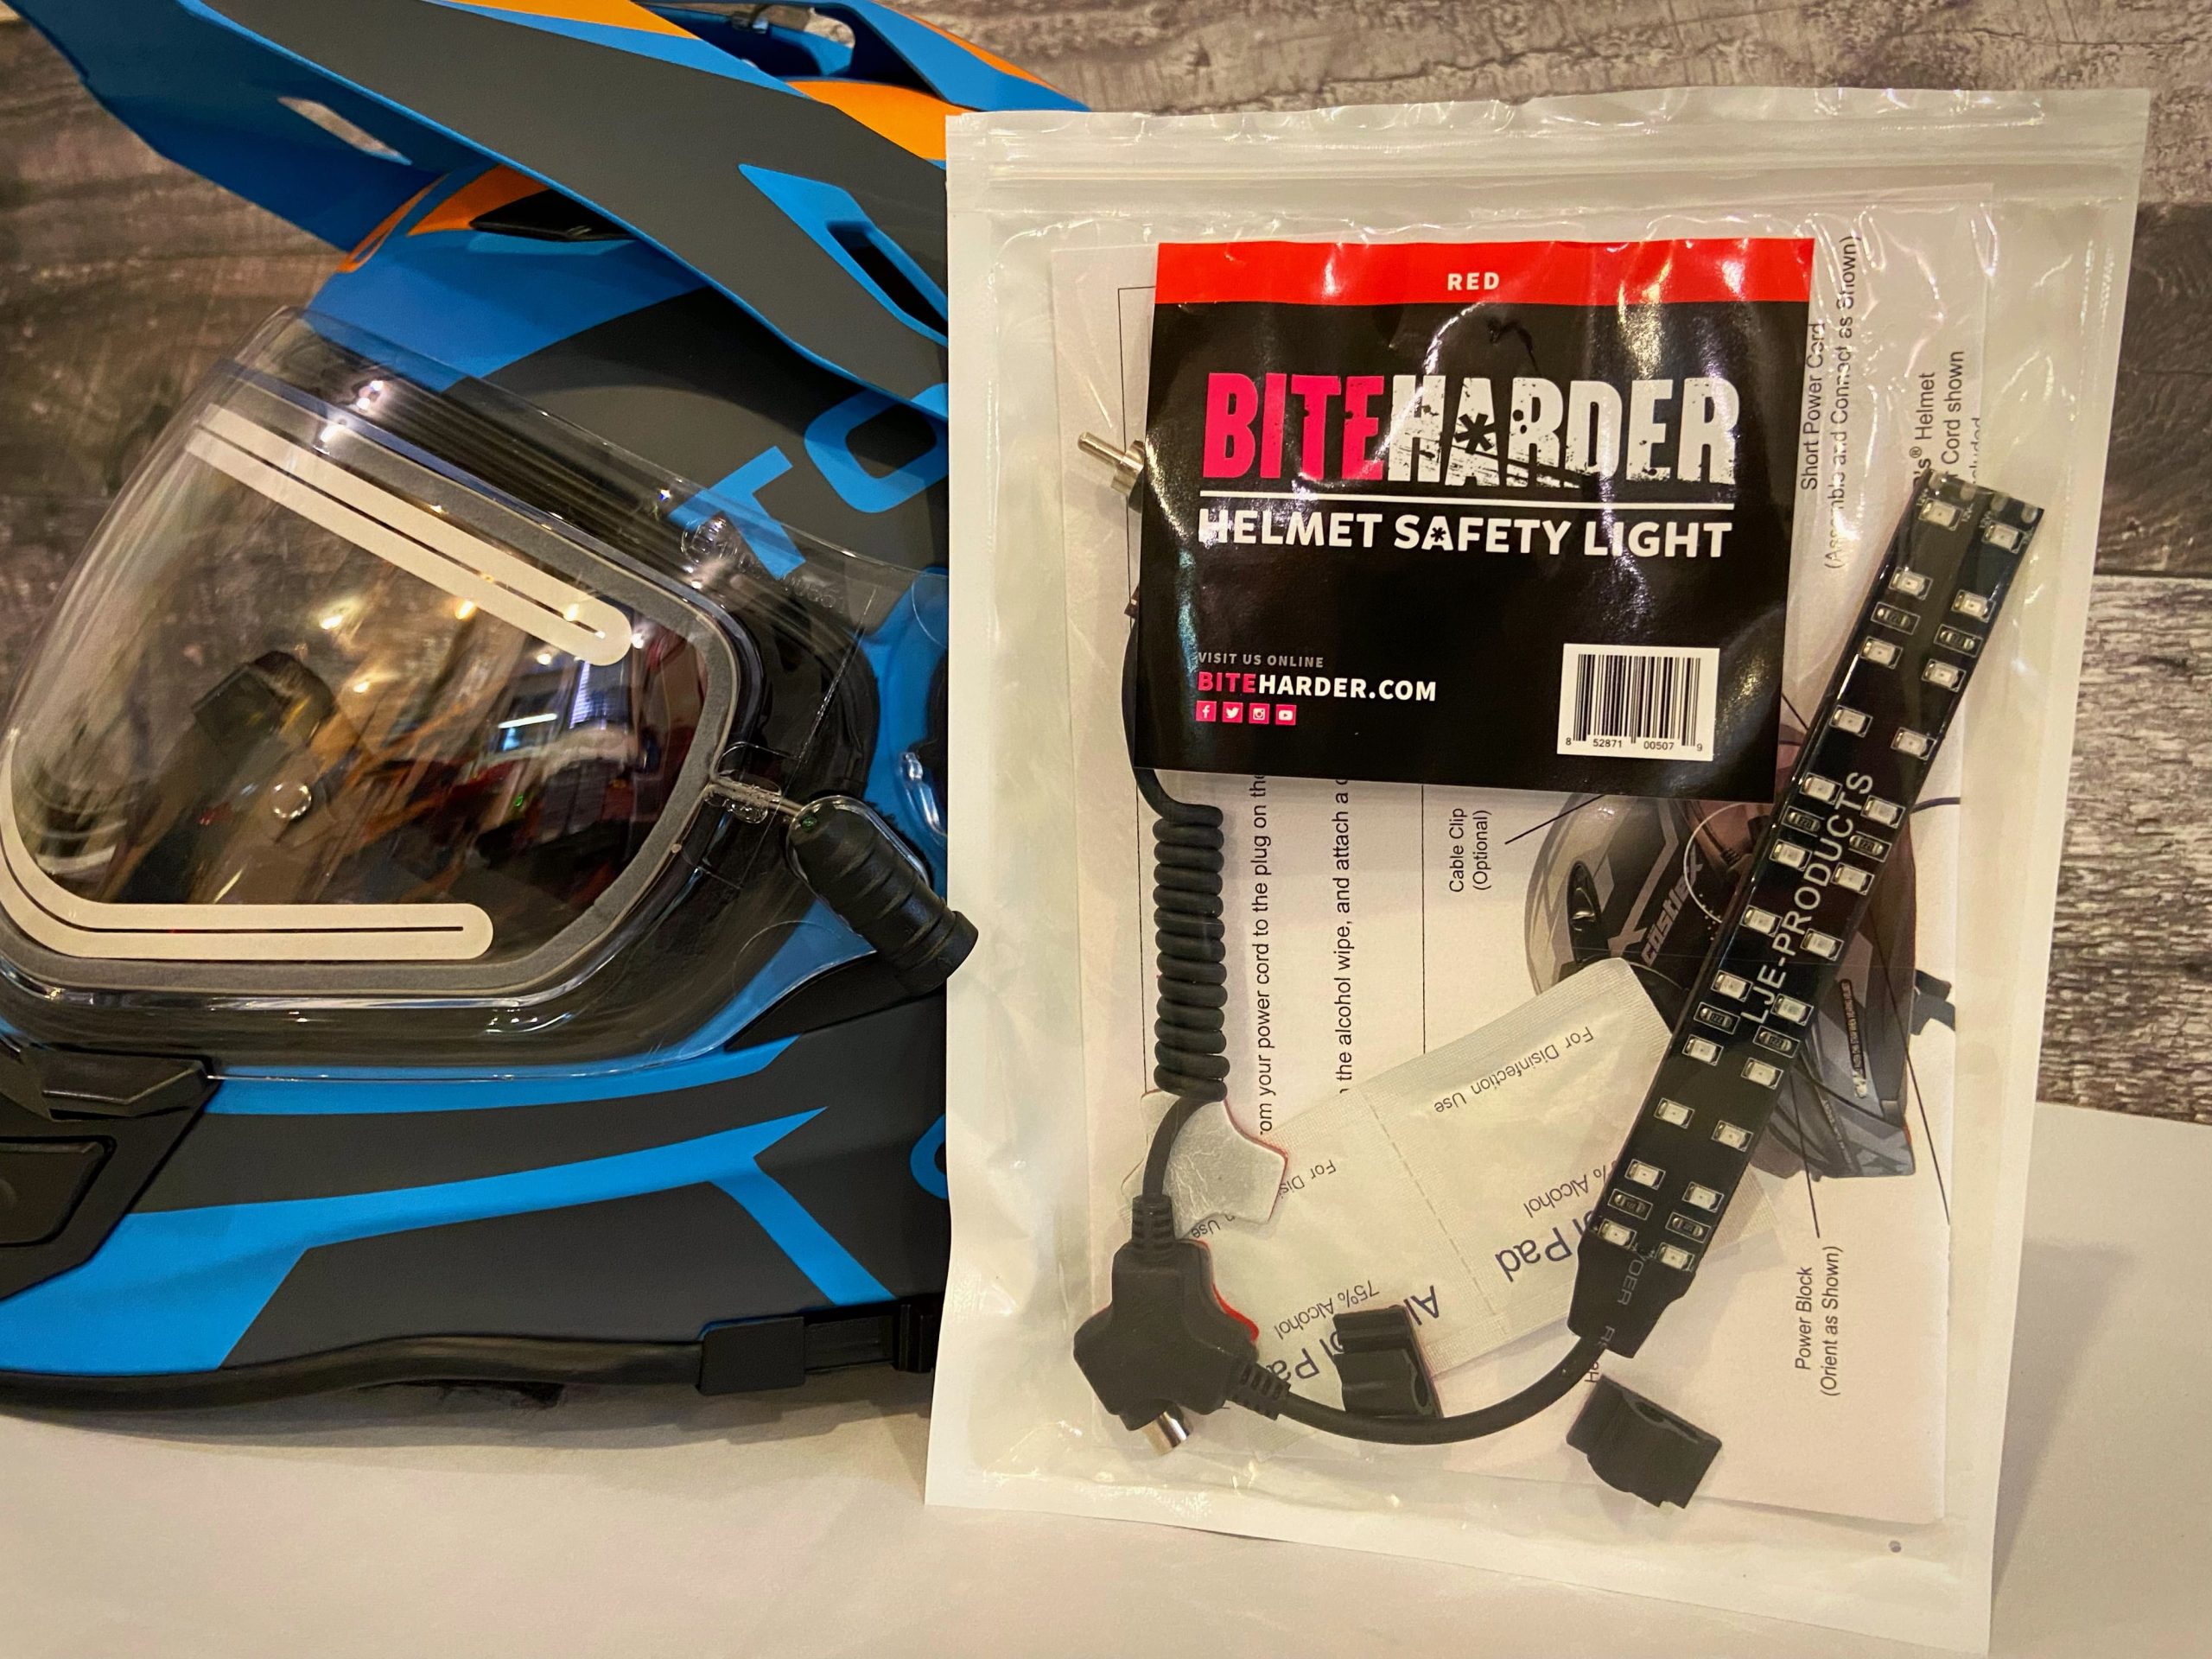
My Choice: BiteHarder Helmet Safety Light
Apart from its safety aspects, my decision was influenced by its incredibly reasonable purchase cost. For only $39.95 (USD), I placed my order directly on the manufacturer’s online store.
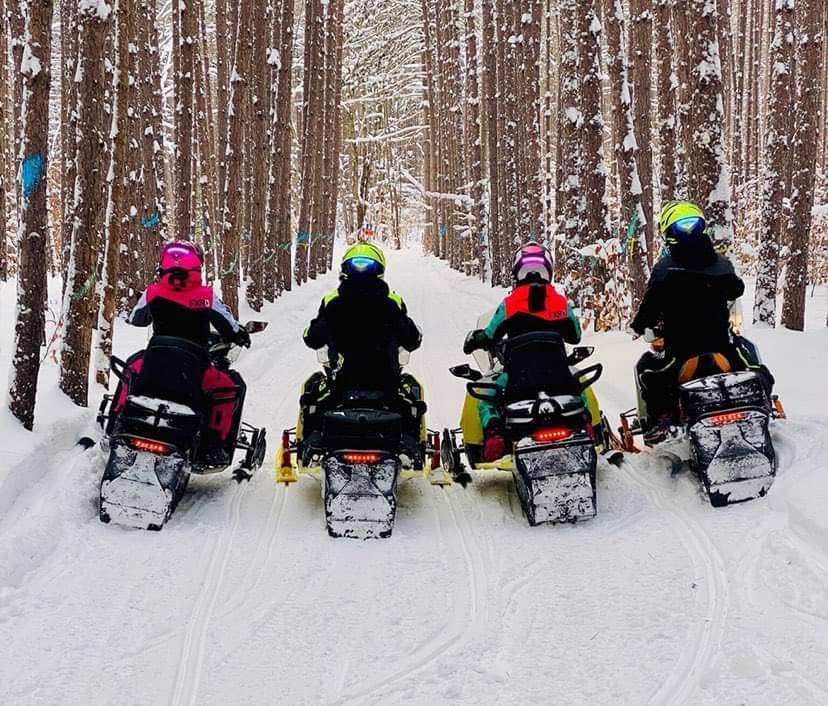
Various colour options are available to match your vehicle, or your preference (red, amber, blue, green, pink, and aqua). Therefore, every member of your group can have their own distinctive colour.
I chose red because, according to established standards, it corresponds to the taillight colour on any motorized vehicle.
Quality
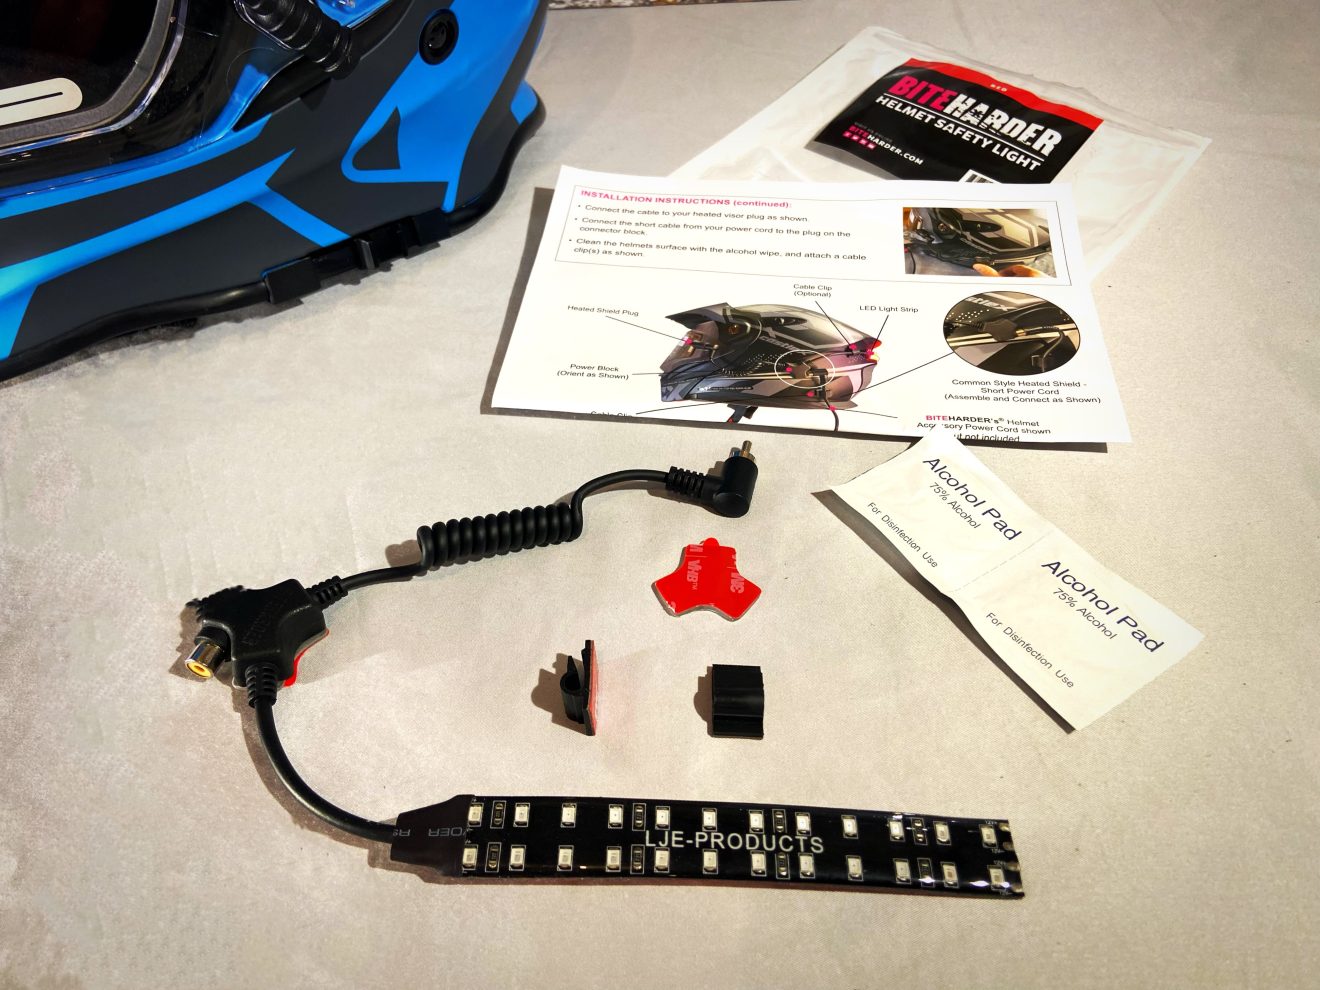
The BiteHarder Helmet Safety Light is not just a gimmick. When I unpacked the set, I quickly asserted its nature and durability. It is made from the highest quality components available, ensuring years of trouble-free operation. It’s essential to remember that it will be exposed to very cold temperatures and must withstand this thermal stress.
A Simple Installation:
Its design uses a built-in power block for connection to the power cable of our heated visor. This eliminates the cable’s tension and powers both our heated screen and the BiteHarder Helmet Safety Light simultaneously.
Therefore, we use the wiring of our existing electric visor. If you don’t have a heating element on your helmet, you can also get the BiteHarder Helmet Accessory Power Cord to power this safety light directly from your snowmobile.
It should be noted that the components are easily installed using 3M-type adhesive tape. So no drilling is required, and it’s done quickly with minimal effort.
Manufacturer Recommendations:
The helmet safety light is designed to be mounted at the rear, leaving the power block on the left side of your helmet. However, in some specific cases—like the CKX Titan helmet, for example—you may need to install it on the right.
Before installation, check (fitting test) that the entire LED lighting assembly will fit correctly in the area without interference. When installing the accessory, your helmet must be dry and at room temperature (65 °F/18 °C minimum). This ensures that the 3M-type adhesive sticks better to the helmet surface.
Installation Steps:
- Using an alcohol-soaked wipe (provided), carefully clean the surface where the LED light strip will be installed.
- Remove the adhesive liner from the LED light strip and, with the power cord on the left, press firmly onto the helmet. Start from the middle and progress outwards. Make certain there are no air bubbles and that the edges are securely attached.
- Using a second alcohol-soaked wipe, carefully clean the area where the power block will be mounted on the left side of your helmet.
- Remove the adhesive tape from the power block and press it firmly onto the helmet.
- Plug the cable into your heated visor’s socket.
- Connect the short cable from your power cord to the block’s socket.
- Clean the helmet surface with the alcohol-soaked wipe and attach a cable restraint. This will reduce tension.
After installation, it is recommended to let the adhesive support harden at room temperature for 12 hours before use.

Incredible Brightness!
The first thing I noticed was the brilliance and brightness of the BiteHarder Helmet Safety Light. I was immediately convinced that this would be a significant addition to my safety on the trails. Following my experience, I quickly concluded that its effectiveness far surpassed that of the BRP Oxygen helmet.
Always Functional
Don’t be tempted by other cheap products designed for cyclists. These usually operate with a rechargeable battery that won’t withstand our harsh winters. Being directly connected to our snowmobile’s 12V socket, BiteHarder’s Helmet Safety Light will work in any conditions, I guarantee it!
Visible From Afar
Another interesting advantage of this safety light is its brightness. Even in a group of four to five snowmobilers, those at the rear end can easily see the pack leaders in front. It’s a detail that makes a huge difference and provides reassurance.
In conclusion, it’s simply the best way to ride your snowmobile on the trails, day or night. The BiteHarder Helmet Safety Light is truly one of the additions you must consider for your safety during your activities.