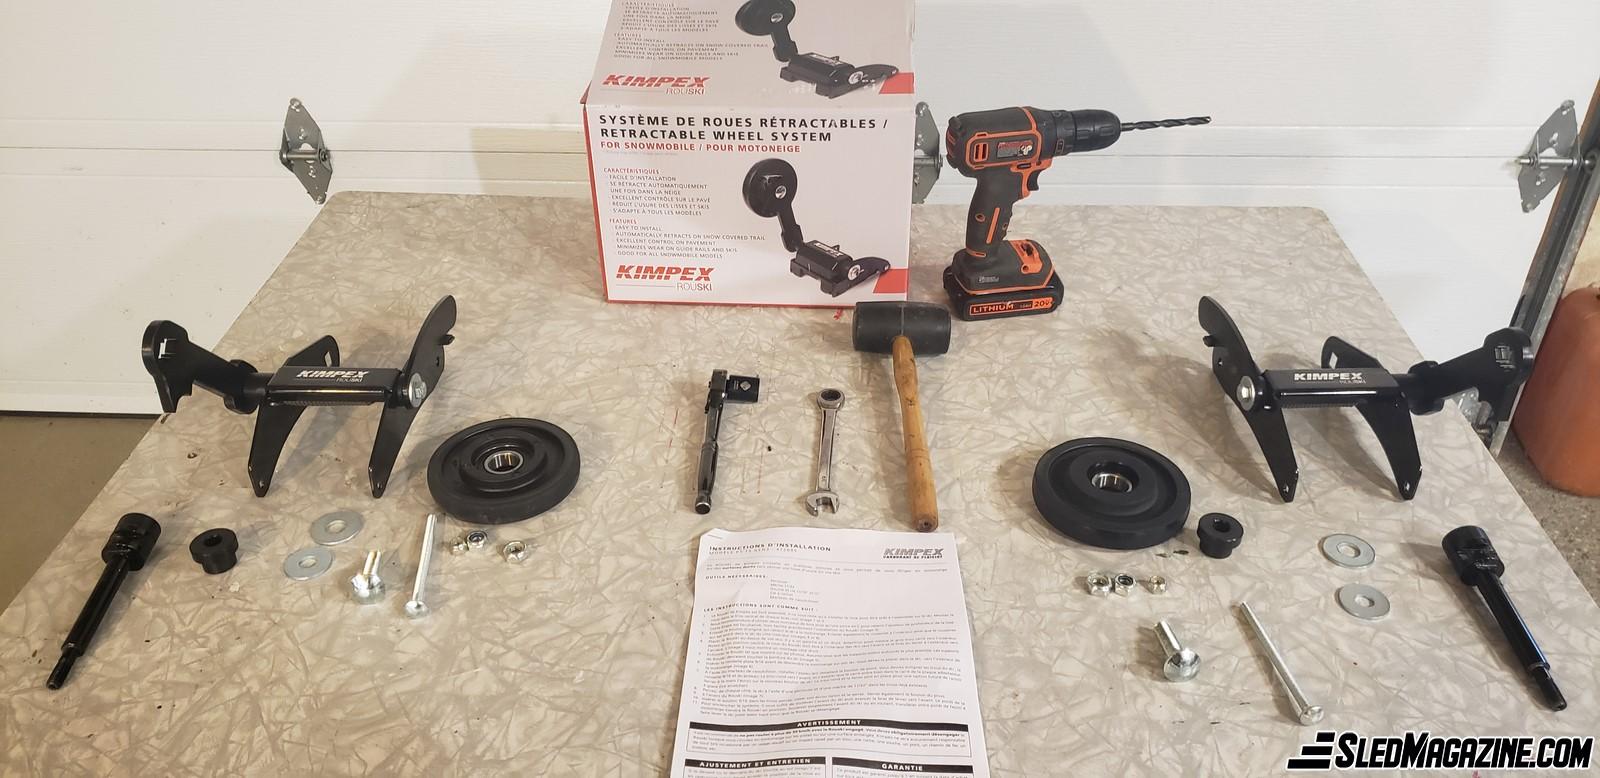
We all know that when a snowmobile is not on the snow, it’s hard to control, and we prematurely wear out our carbides, skis, etc. That’s why Kimpex created, several years ago, retractable wheels that we install on our skis, and they called them the Rouski.
Having had Rouski retractable wheels before and having been very satisfied, I decided to install new ones on my new snowmobile, which is equipped with Pilot TS skis. Let me explain how to install them…

Everything has been thought out to make it easier for us. The mechanism is assembled; all you have to do is install the wheel. The installation instructions and photos are provided; you just have to follow them. You also need a few tools that are mentioned on the instruction sheets.

First of all, one tip they give us is to secure, using wood blocks and a clamp or C-clamp, the adjuster of the carbide’s depth. It’s not mandatory, but your patience will thank you later…

Then remove the ski and all the pads without exception. Place the Rouski on the ski (WARNING there is a left and a right) and press it onto the base of the ski. Put the ski back in place by lining up all the holes to install the axle that replaces the original bolt. This is where your patience may be tested, but you must go slowly and make sure the axle is in place as indicated on the instruction sheet. Then drill the ski to install the other retaining bolt, and that’s it, do the same on the other ski now.


Done! Now I will be able to go to the gas station in control of my snowmobile! I will also be able to ride long distances on roadsides when the trail requires it, ride in my garage without damaging the floor and even board some ferries to go from one shore to the other because yes, some ferries will refuse your boarding if you don’t have a wheel system.

I chose the Kimpex Rouski retractable wheels because I know they are reliable. I’ve had them in the past, and I like the mechanism to engage the wheel, which is easy. This is why I highly recommend the Rouski retractable wheel system from Kimpex.


