How to install the Kimpex Seat Jack, step by step
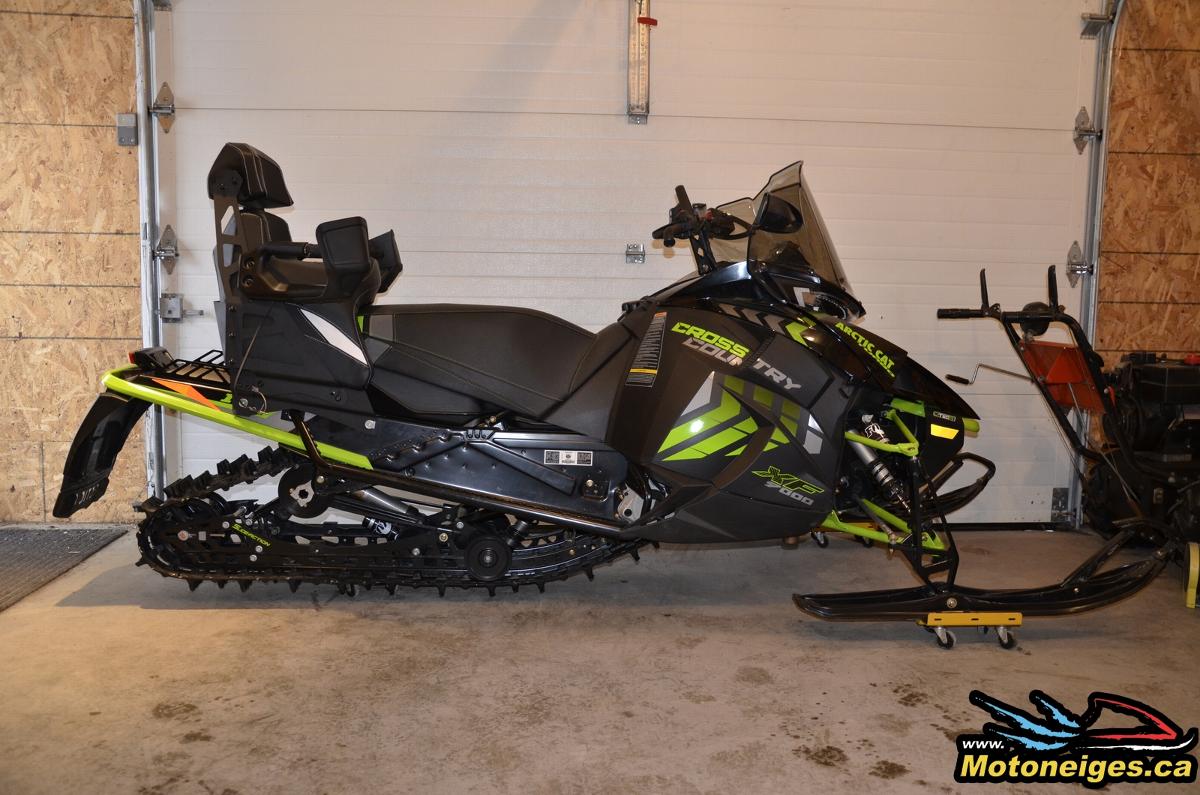
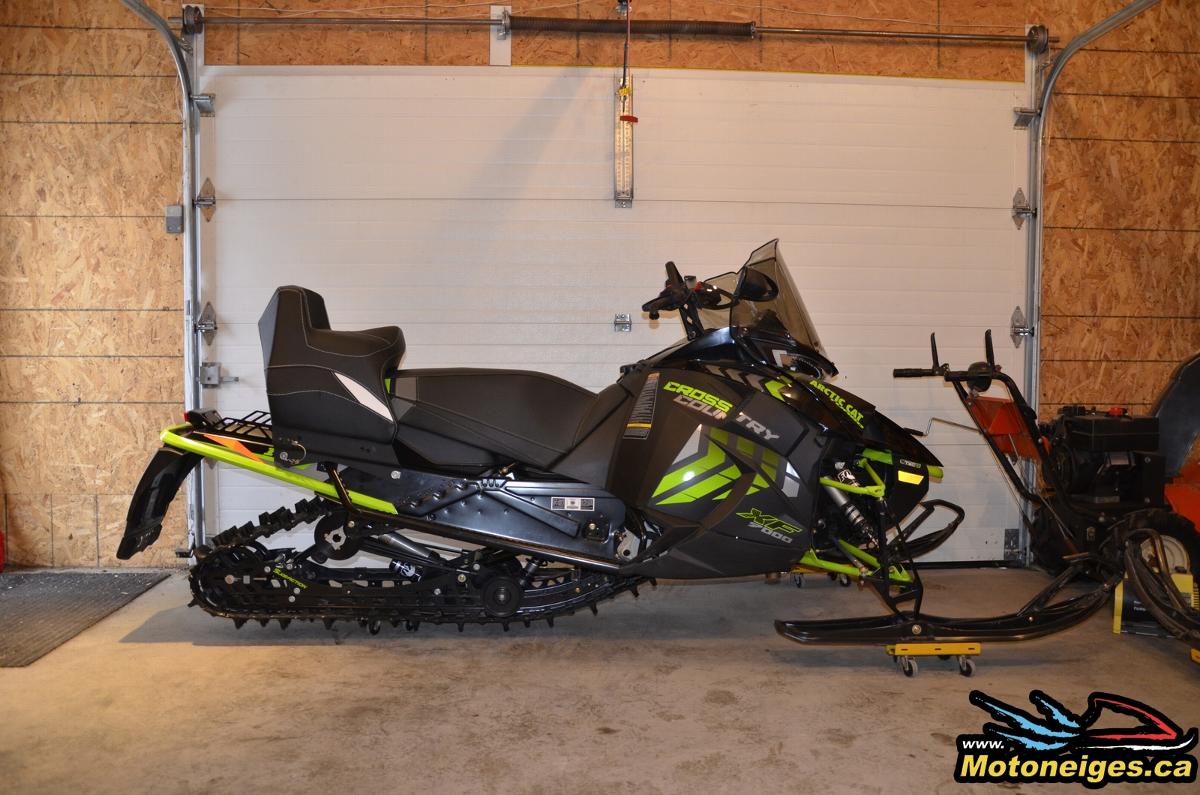
This year we had the chance to try the Arctic Cat XF 9000 Cross Country. For solo drive this snowmobile is perfect, but for two it is another story. I wanted to see the available options. Right away I thought about the Kimpex Seat Jack.
I tried for the first time and I wanted to share with you my experience during the fitting.
I am an amateur mechanic, I usually do everything on my snowmobile that doesn't concern the engine. I can change the track, the suspension… So if you wonder if you can do it yourself and if you have time in front of you, this article could make you save money.

The seat
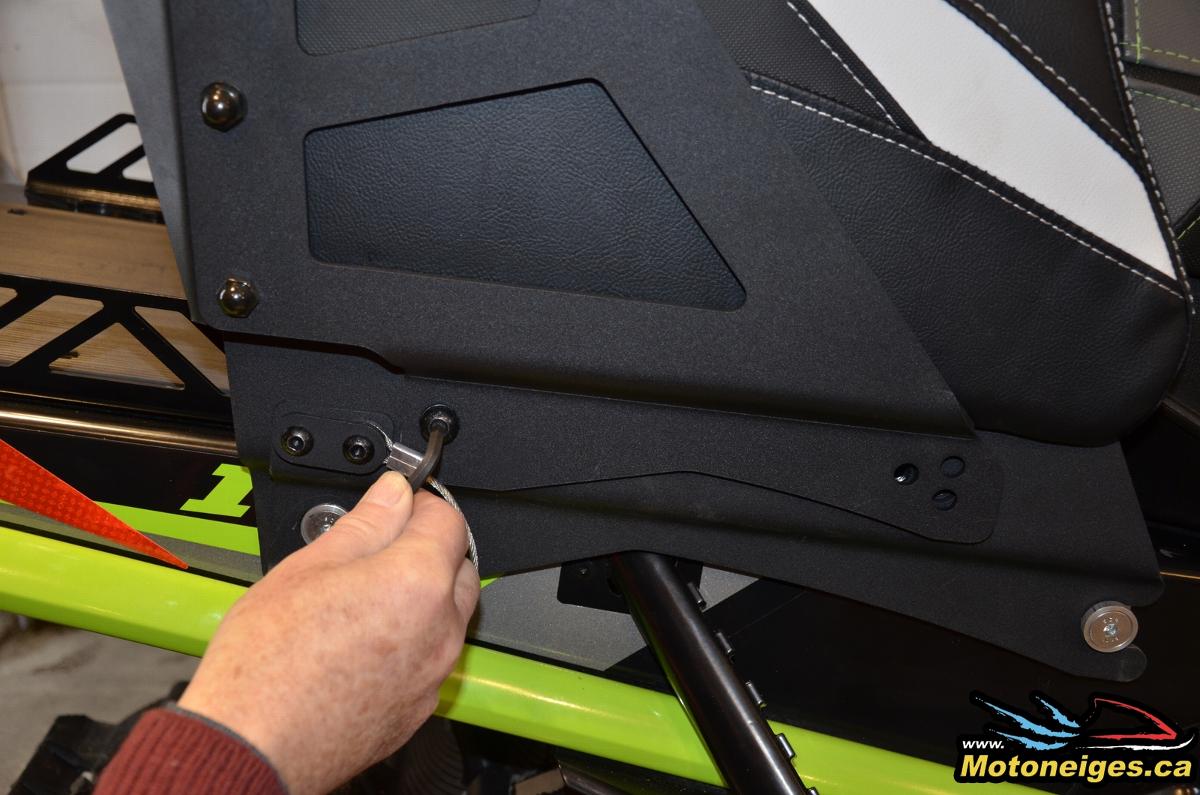
The first step is to set the two side plates on each side of the seat. It’s the plates that will do the link between the removable seat and the permanents attachment set on the snowmobile platform.
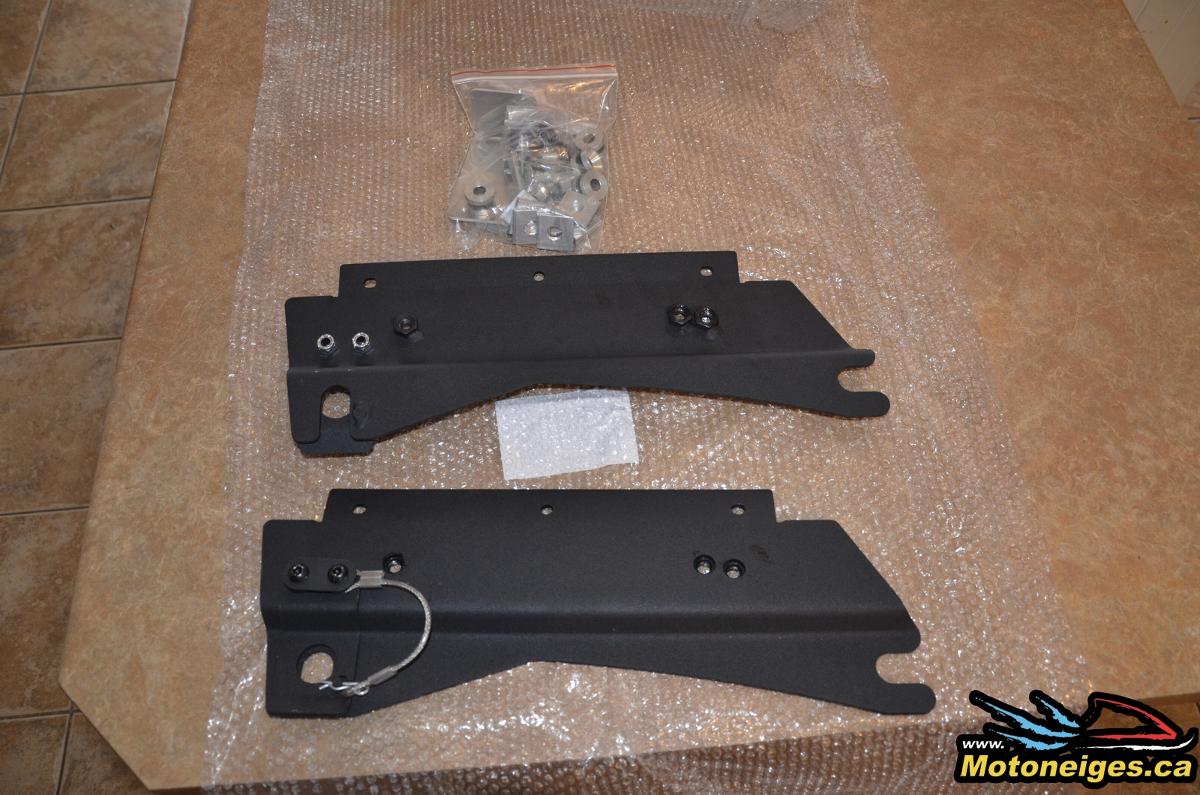
The side plates
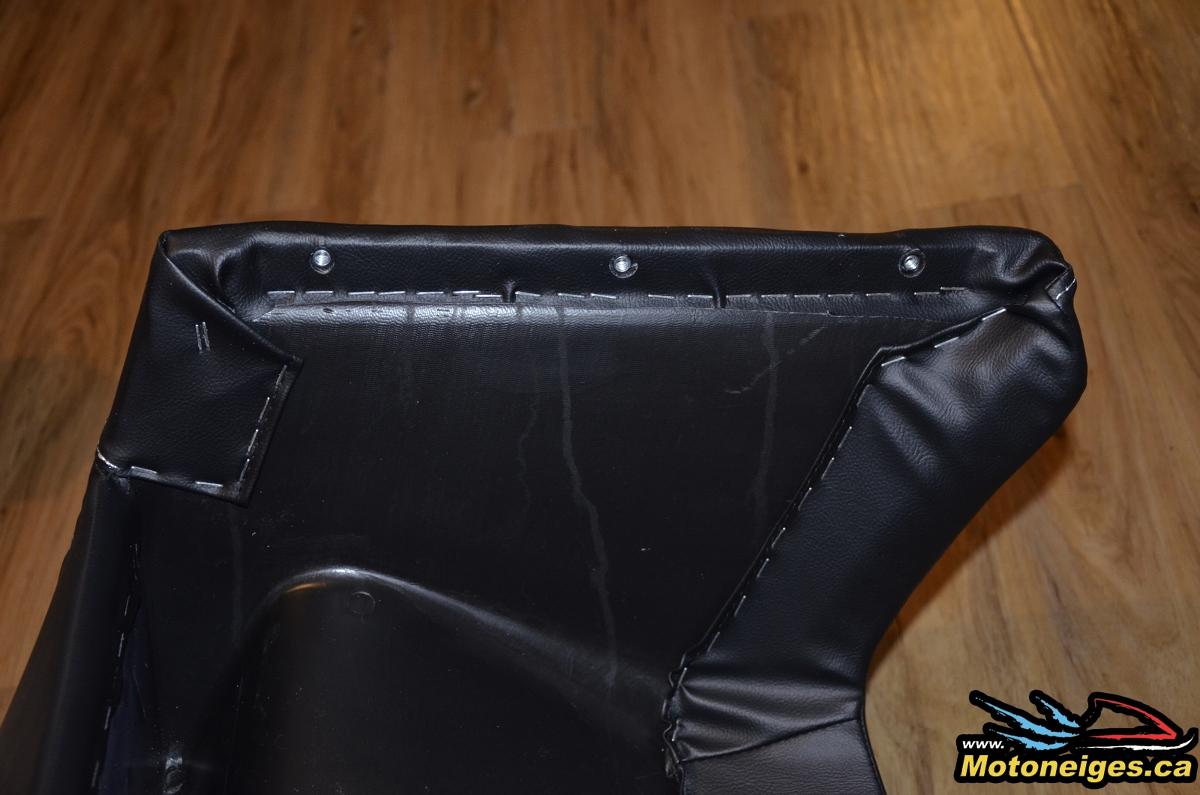
The holes to fit the plates
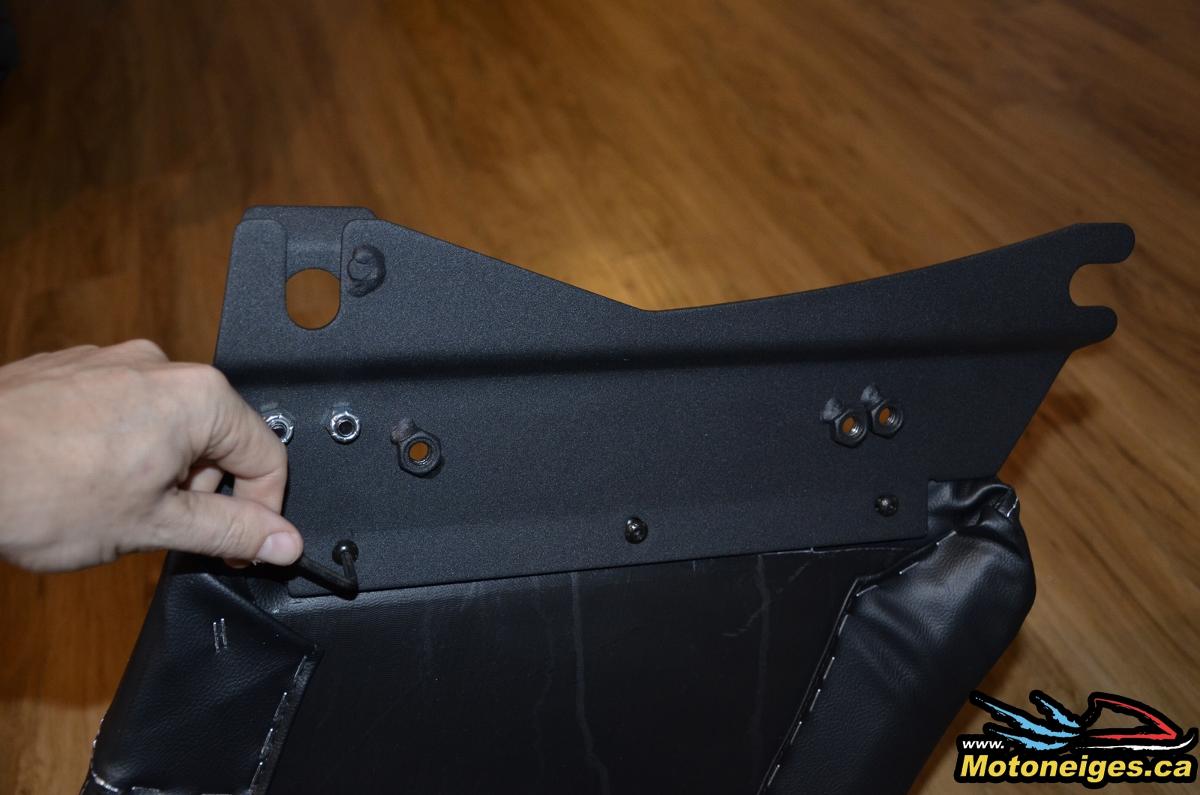
Plates fitting
Plates fixed 3 bolts on each plate
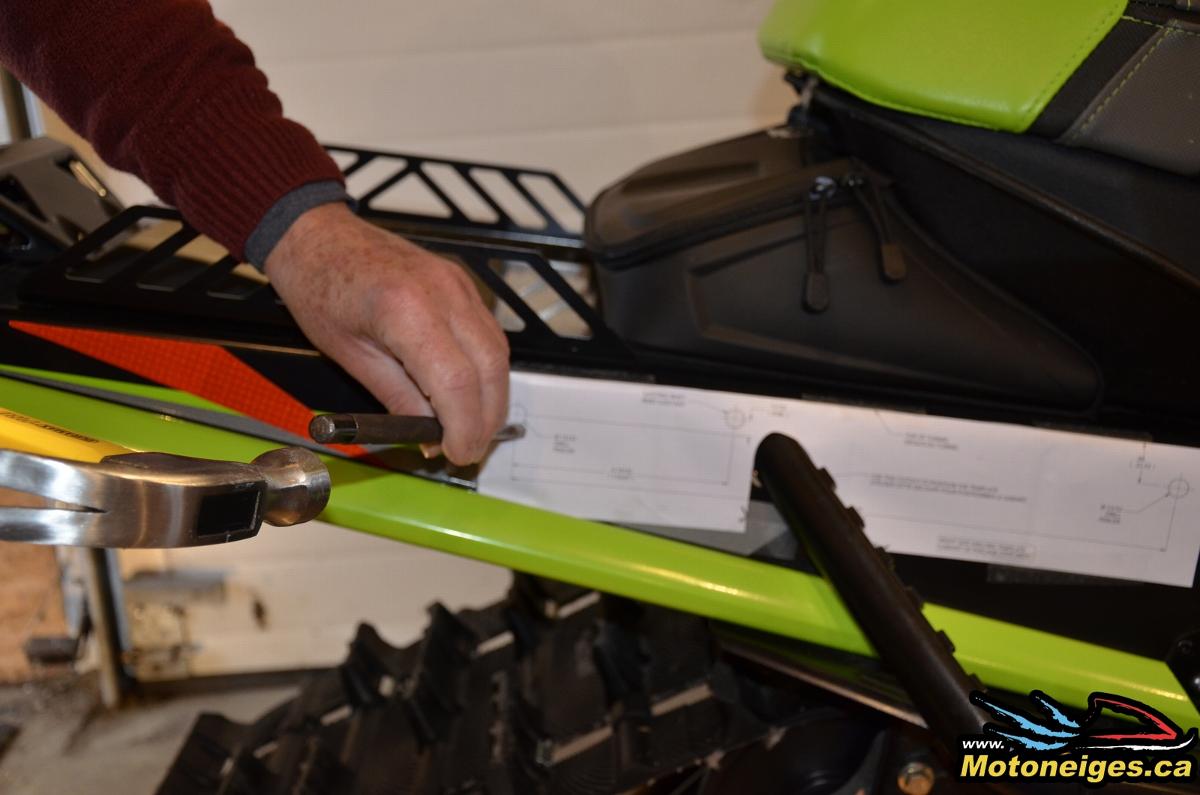
Now it’s time to cut the template provided with the kit. Nothing complicated, I ask my daughter to help me with this task. Then you have to put the drilling template at the right place showed in the instructions. Take the time to align it before the drilling, you don’t want to drill in the wrong spot. Measure two times and drill one time.
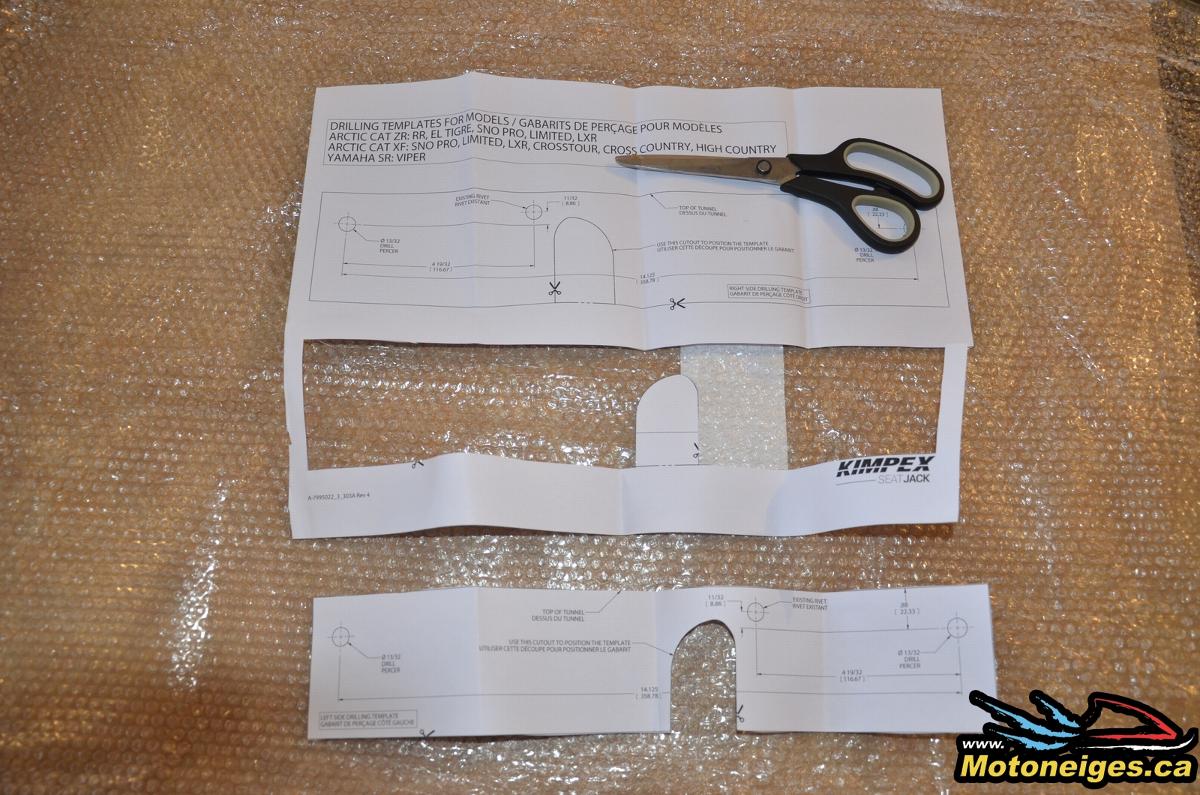
Template

Template on the platform
Before you do the drill, you have to install on each side of your snowmobile the inside bracket. In that case, I had to modify them. It did not work with my snowmobile original rivets. I used my grinder to take off some of the aluminum parts.
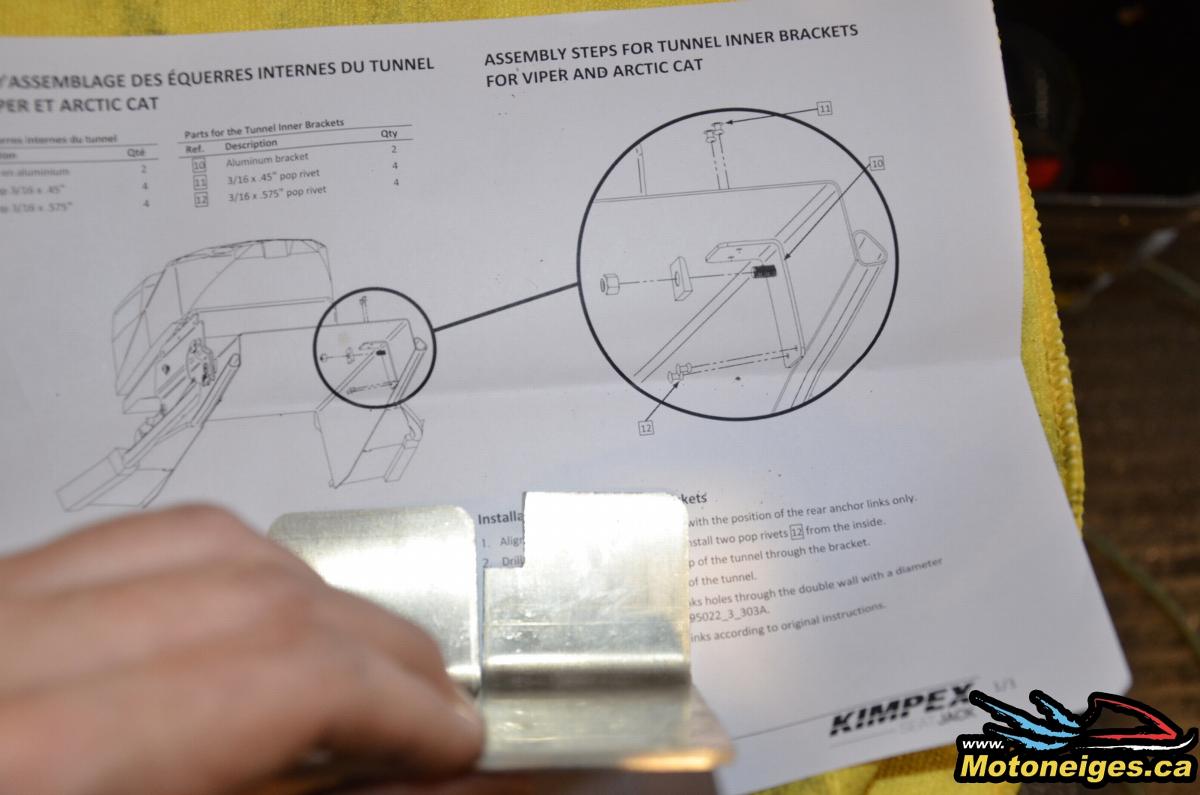
Bracket modification
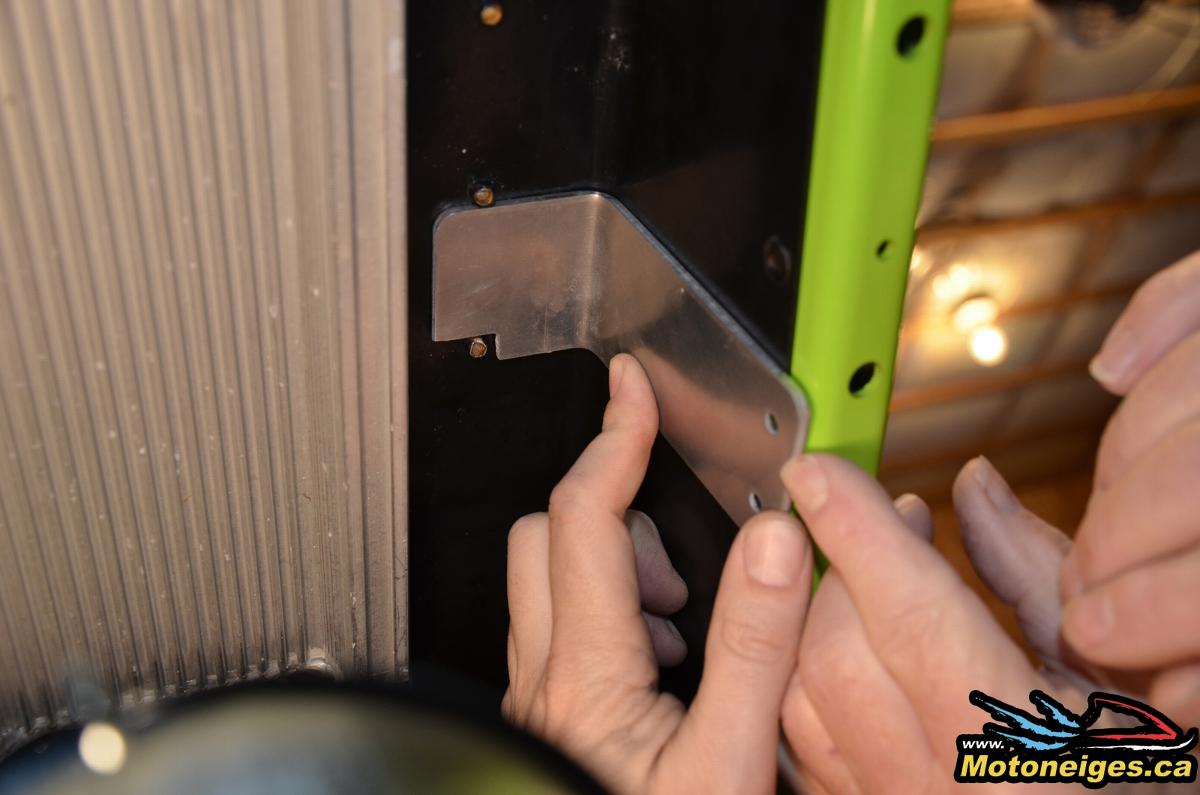
Bracket
UnI used a punch to be sure that the holes were well centered. I used a C clamp to maintain the brackets in place while drilling.
Punch
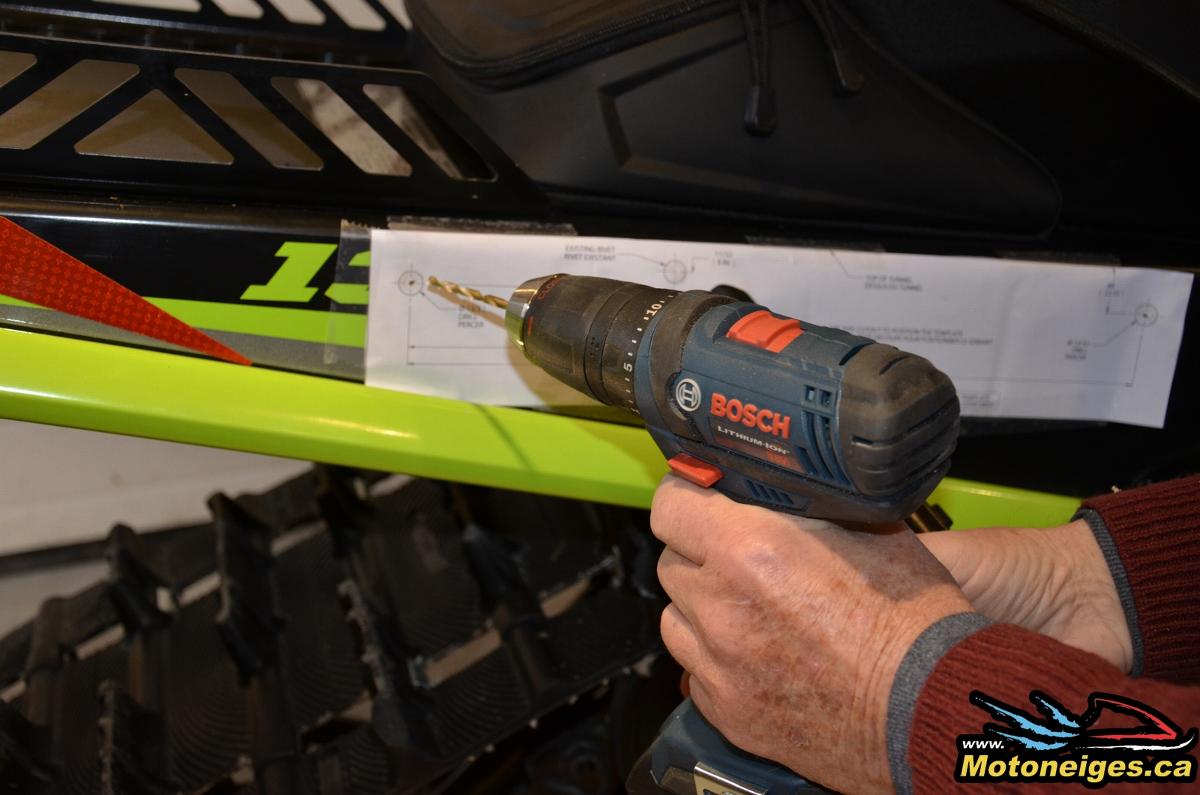
Drilling
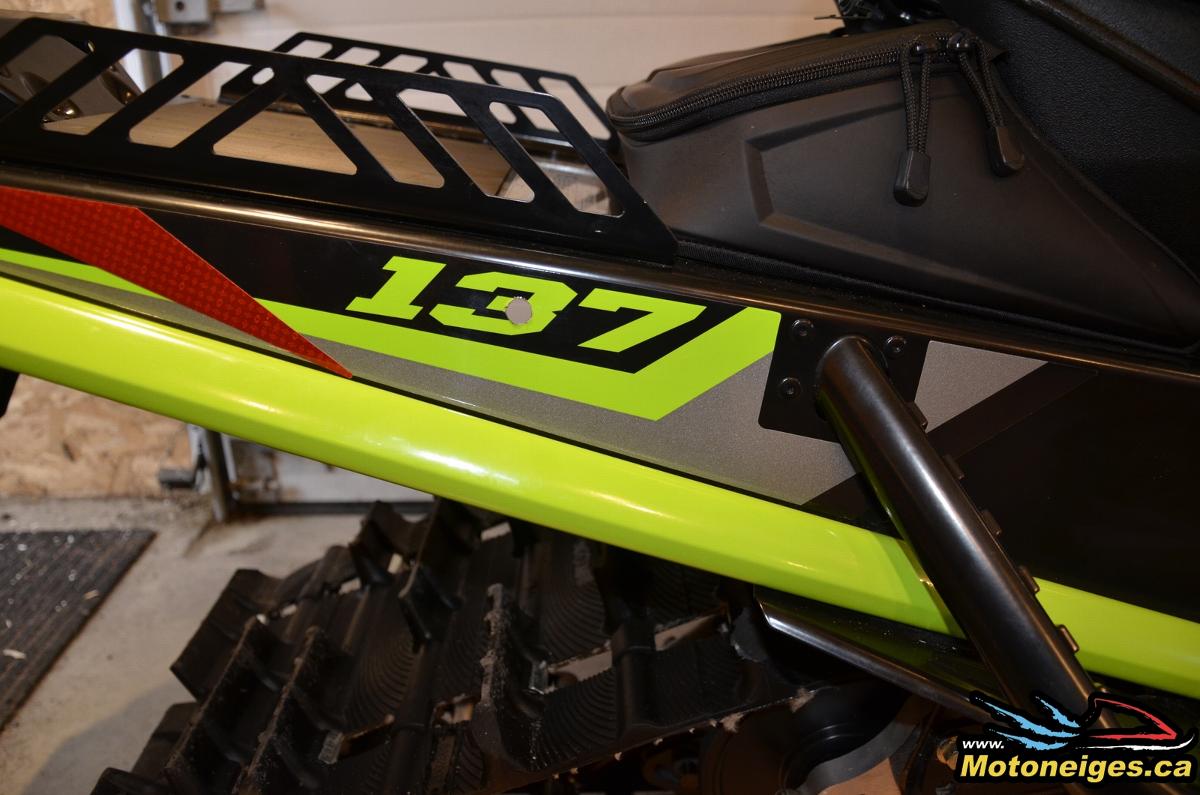
Holes ready for the permanent attachments
We are ready to install the permanent attachments. Once again, all you need is included in the kit and the instructions are easy to follow. An allen key is all you need for this step.

Attachment
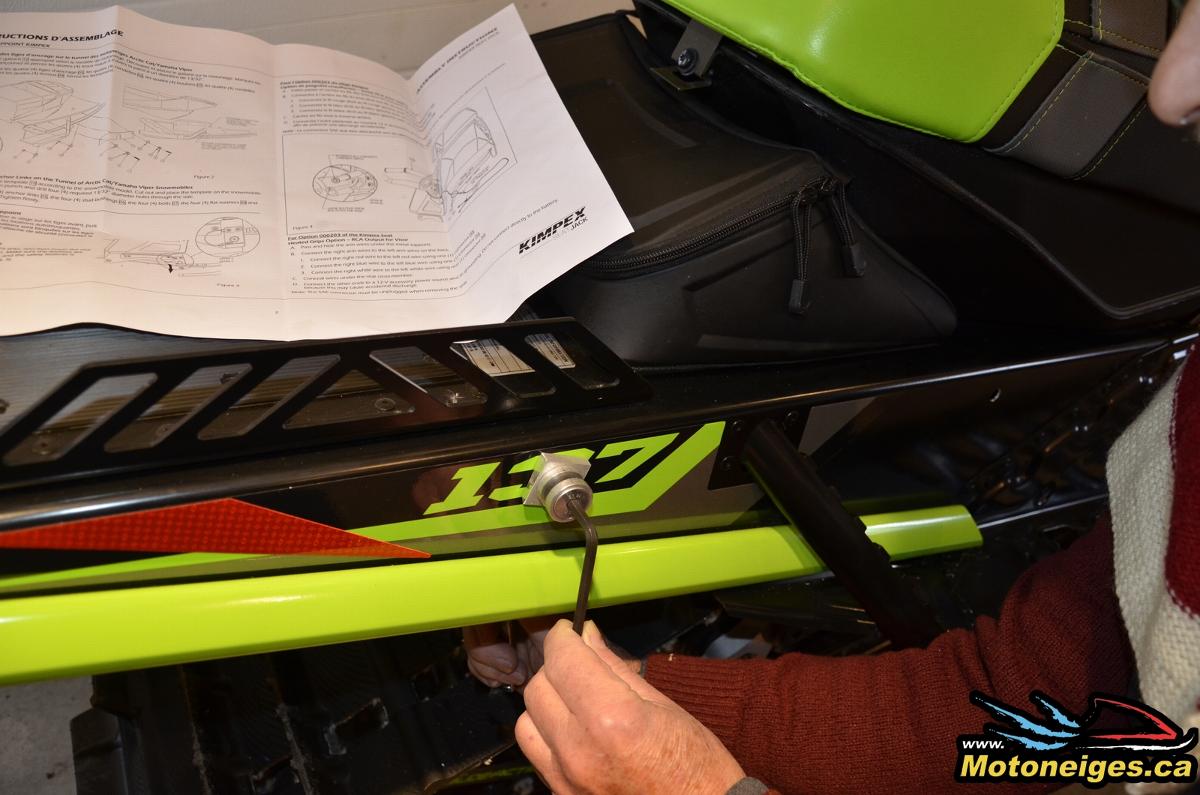
Attachment fitting
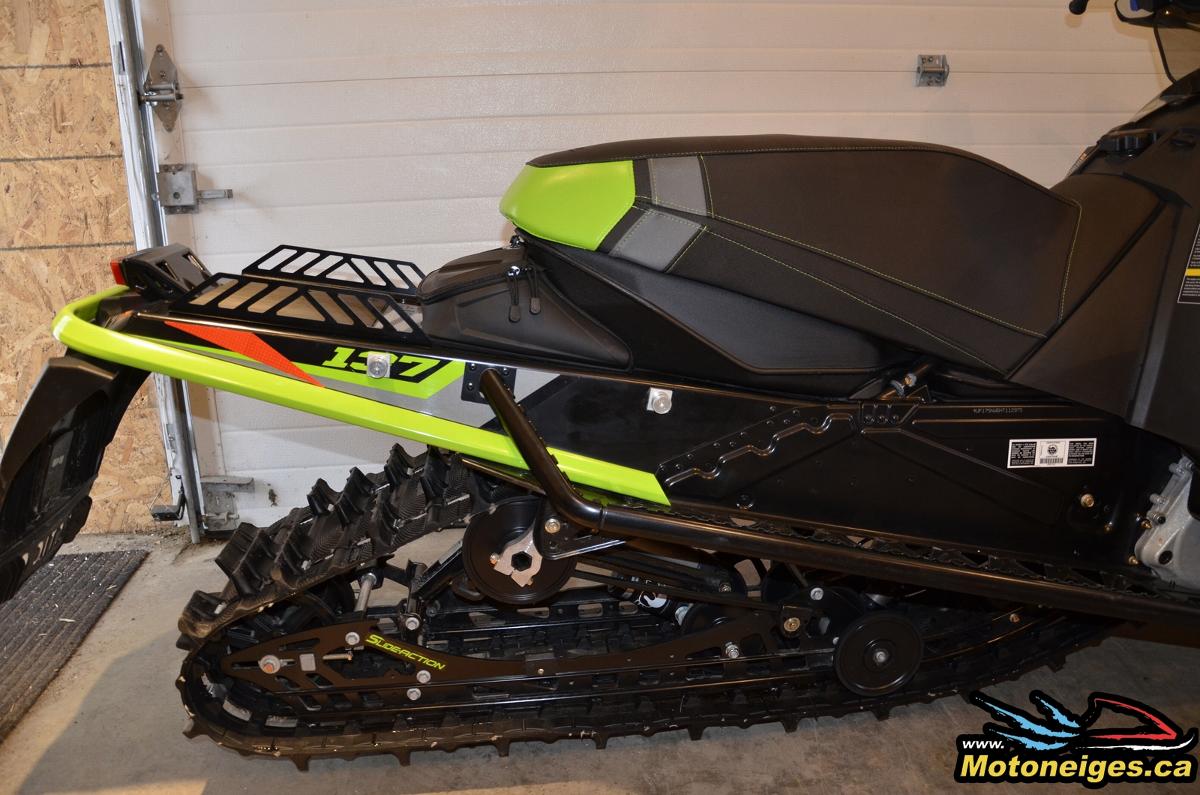
It doesn't change the look of the snowmobile
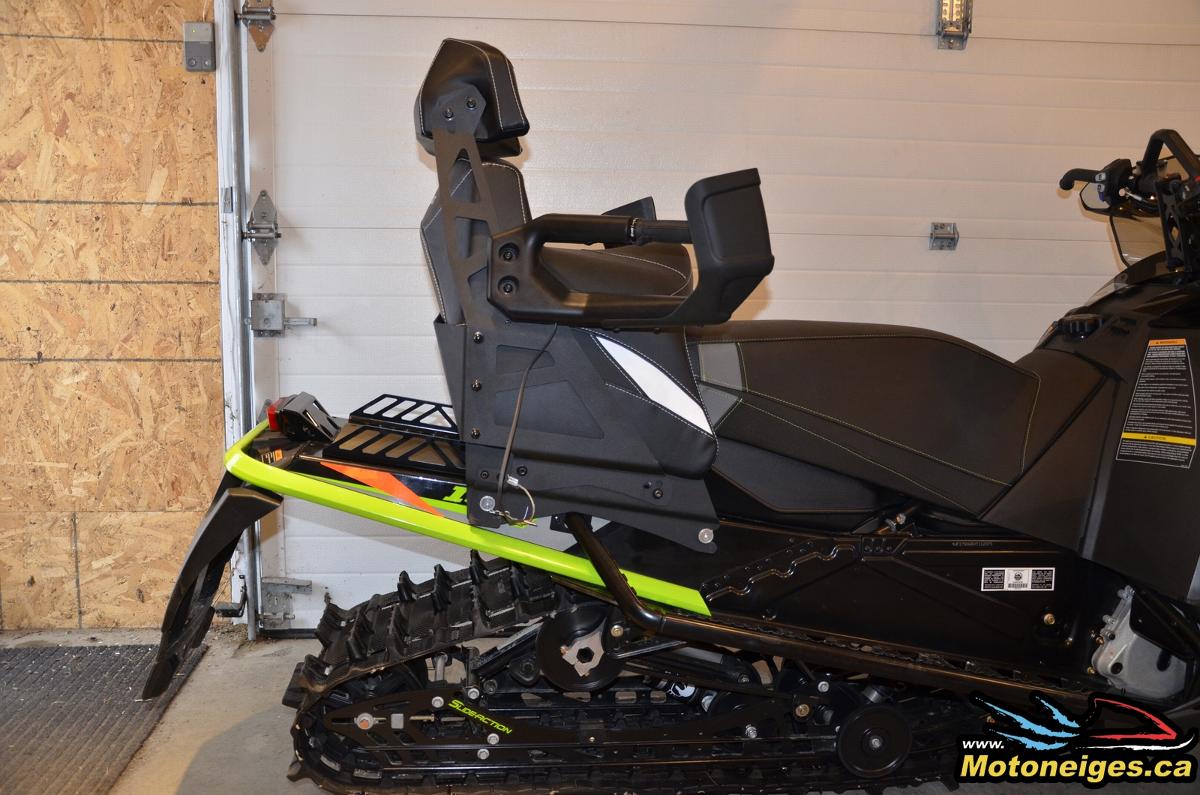
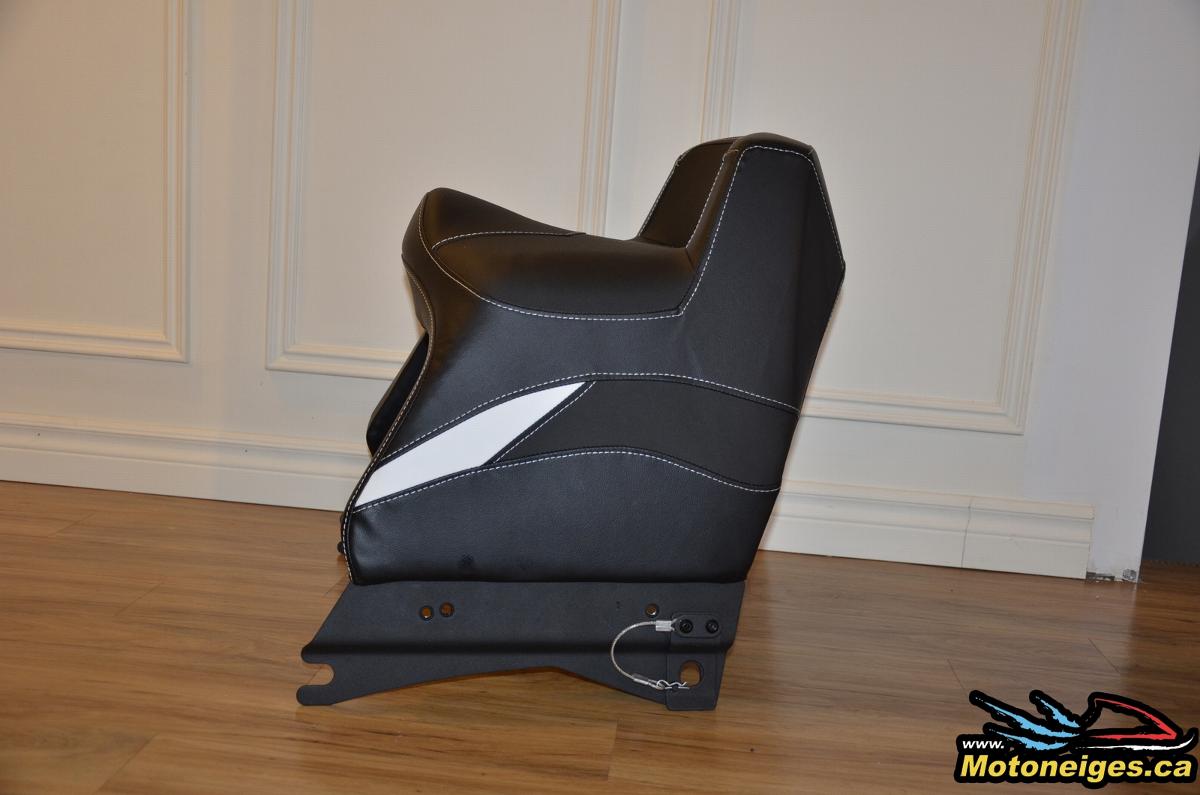
The seat without arms and back seat
Once the seat is fixed, to install the back of the seat, you only need two bolts. The rear one is fixed and the front one can be adjusted. I put mine in the last one so the passenger has more place.
Back seat

Back seat installed
The last step is to install the arms on each side on the seat. What’s interesting with this model is that you have wind deflector incorporated and heating hand bars. There’s also a power outlet for a heating helmet. The height of the back seat is adjustable as the length of the arms. For now, they are in the highest position.
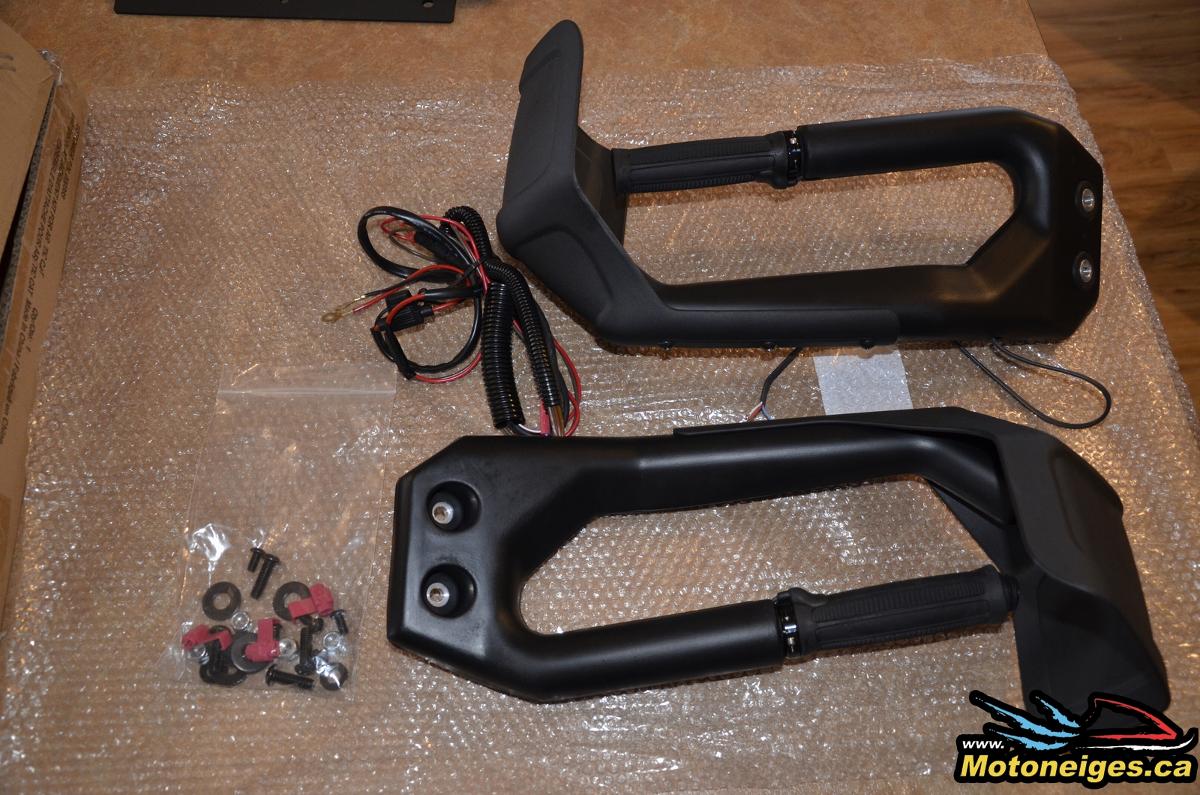
Wind deflectors incorporated and heating hand bars
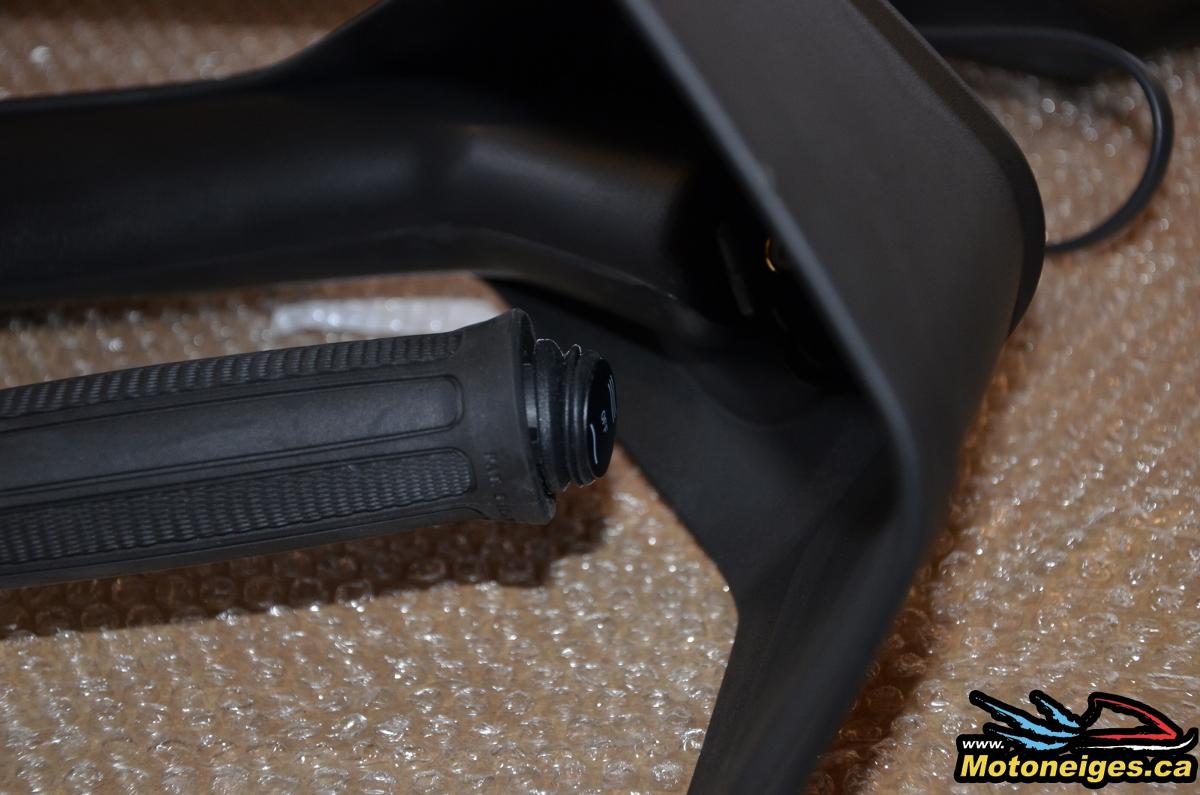
Heating control
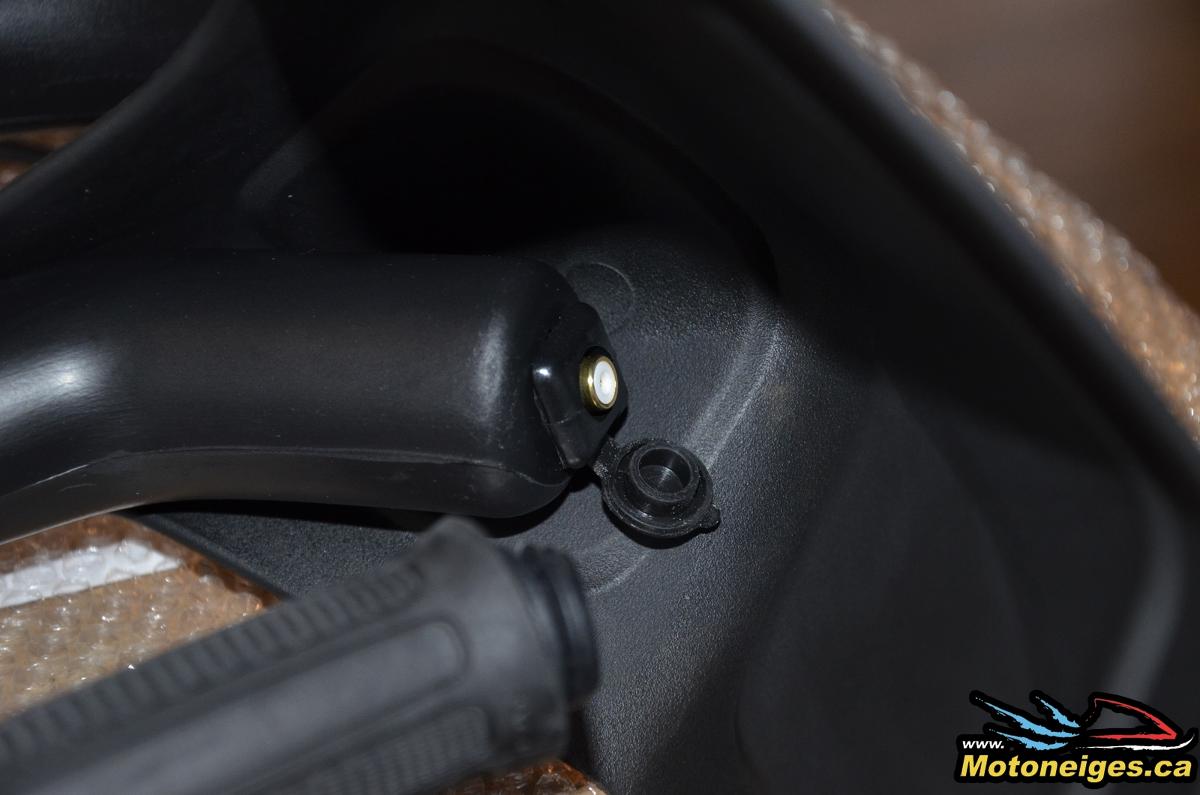
Power outlet
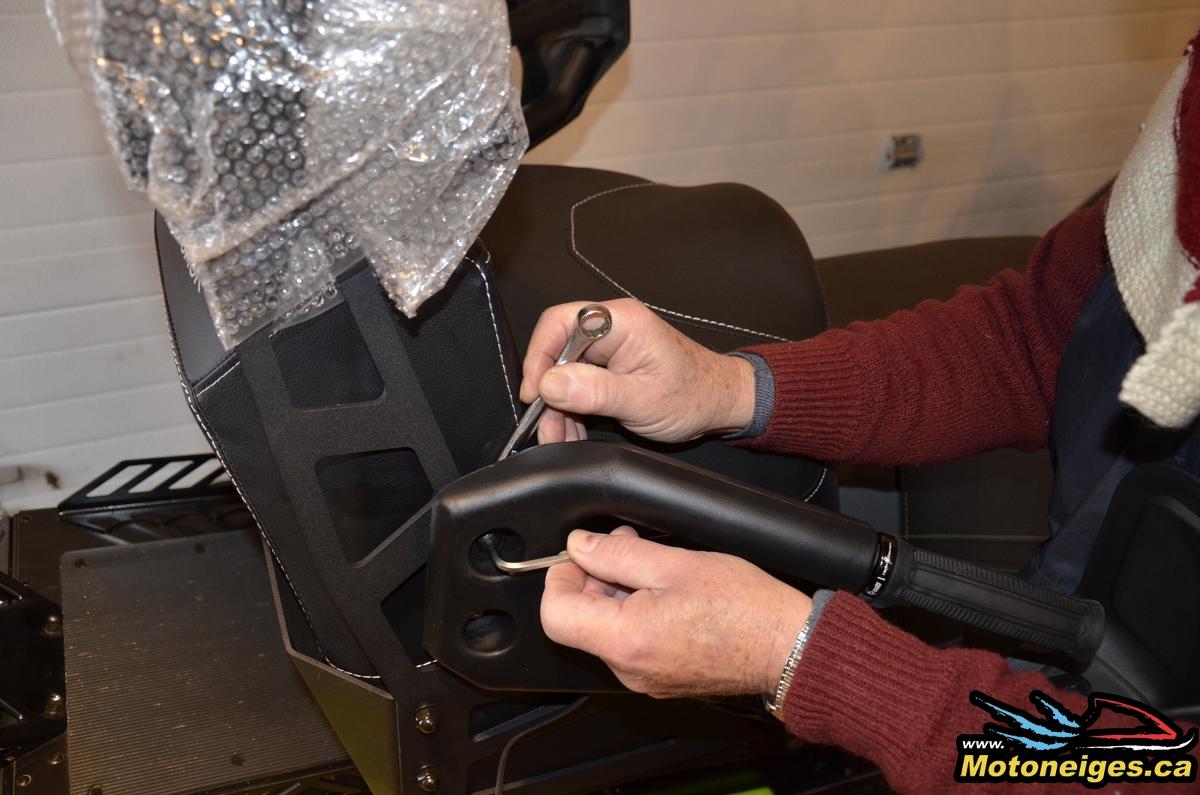
Arms fitting
The final result is great. The aspect of the seat and the quality of the components are excellent. What is great about the seat is that if you want to go for a solo ride it only takes a few minutes to take it off.
The installation took me about 3-4 hours if I don’t count to pictures I took. An amateur mechanic can easily install the seat without any problem.
In my next article after testing the seat, I’ll give you my impressions.
See you on the trails!