Table of contents
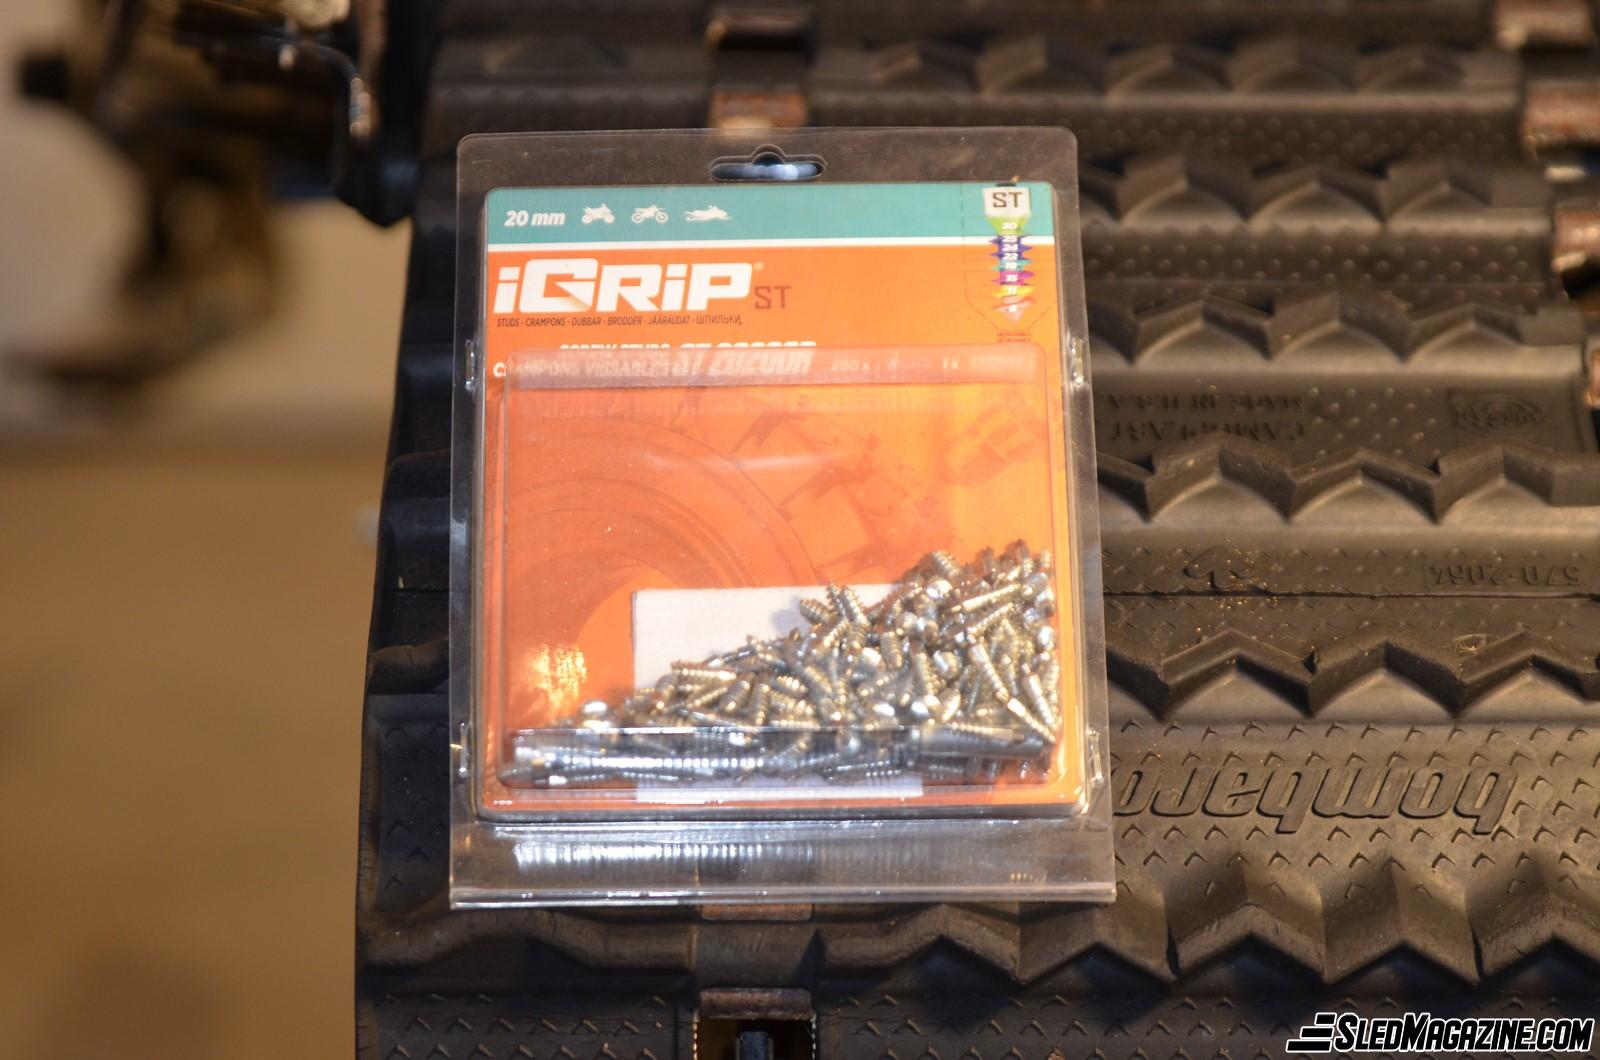
Toggle- iGrip ST20200R before installation
- Source: iGrip
- Source: iGrip
- Pre-drilling with a 1/16 drill bit to properly align the screws
- Application at the centre completed
- Pattern chosen for the centre of the track
- iGrip studs after several thousand kilometres
- iGrip studs after several thousand kilometres
- Damaged track with bolt-type studs
- Bolted studs ripped off from the side of the snow guard and luckily not the radiator
- The damage could have been much more serious…

iGrip ST20200R before installation
To ensure a safe and controlled driving experience on our new, used, and even antique snowmobiles, it’s easy to change the carbide runners, but what about the traction on the track?
With the purchase of a new snowmobile today, it’s now possible to buy, as an option, an original pre-studded track. If you are not so lucky at the time of purchase, or if you bought a used snowmobile and still want to be safer in icy conditions (such as towards the end of the season when ice is present in most areas), other options are available to you.
For the performance enthusiast, you can install bolted studs by drilling the original track. This solution has the advantage of being the most aggressive in terms of traction, turning, and braking, but it also has many disadvantages. One of its drawbacks is having to constantly monitor the tension of the nuts and check to see if they have started to tear the track. In my case, using this type of stud, I lost a few, but luckily none of them punctured my radiator. However, one did go through my rear snow guard! I kept it in place as a souvenir… Plus, this type of stud will significantly reduce the life of the track.
Another option is using iGrip screw studs, which can be applied to any type and length of stud. In our case, we will use studs with a total length of 20 mm for the 3/4” track of the 1994 Mach.
Installation is straightforward and requires only a drill to pre-drill the holes and then screw the studs in place (the tool to insert the screws comes with the iGrip kit). I tried not pre-drilling it, and the insertion of the stud is much more difficult because the screw tends not to go in straight. So, don’t neglect this step. The complete installation took about an hour and required only basic mechanical knowledge.
The result after installation of the iGrip studs is comparable to factory-ordered tracks such as the Camso Ice tracks. The penetration of the iGrip is also similar to that of the same type of track. The number of screws and patterns is according to preference. It’s, therefore, possible to customize the pattern and add as many studs as possible for increased traction. Also, as with the Camso tracks, the possibility of losing a stud and piercing the radiator is almost impossible. Tracks with iGrip were tested under difficult conditions, and after almost 10,000 km, no track tears or loss of studs could be noted. With this type of stud, if one manages to tear off, the damage will never be as significant as a bolt-type stud.

Source: iGrip
- Oversized and sharp tungsten carbide
- For added traction
- Hardened and galvanized steel stud
- Large net for good anchorage
- High durability
- Lightweight
- Easy to install and dismantle
- Packing of 100-150-200-250 and 1000


