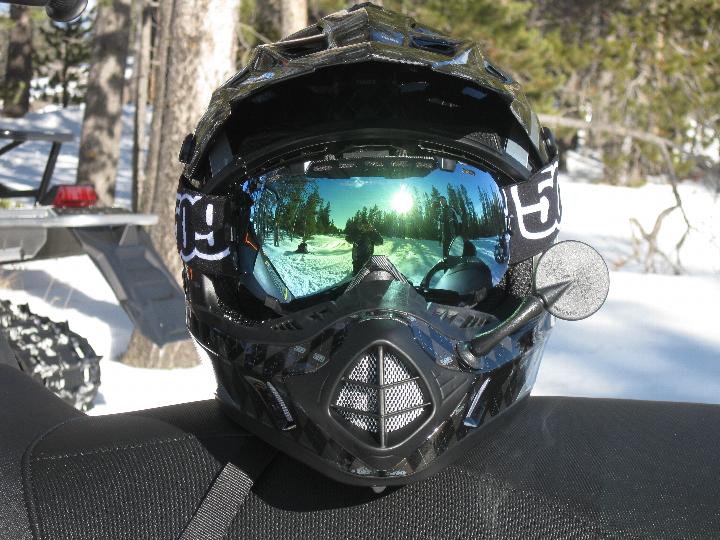
With this winters arctic cold blasts the timing of this topic is perfect. There may be other methods of successfully adjusting 509 for super cold riding conditions. Here’s how I successfully altered my 509 helmet and aviator goggles.
For ultra cold you need to take a helmet that was specifically designed for optimum air flow and minimize it. In cold conditions, evacuating moist air associated with higher exertion activity is not necessary, so let’s plug it up.
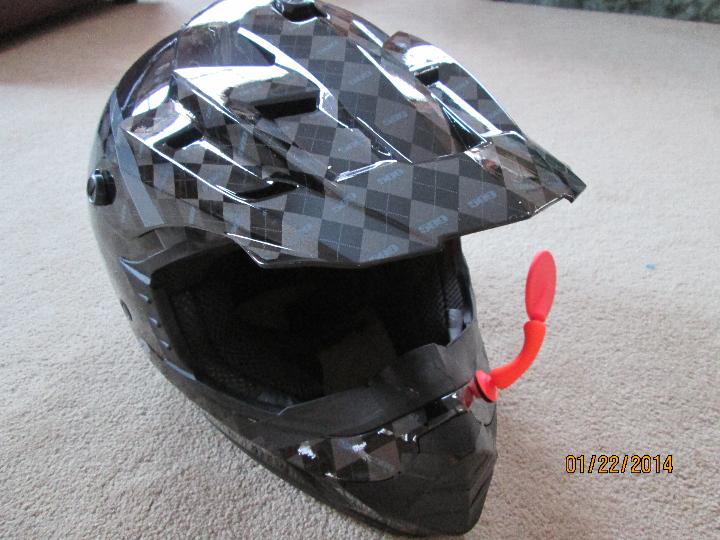
Start by taking electrical tape and covering the front nose air vent, cheek air vents and the vents above the top of the eye opening.
The next task is to isolate your chin and lip area from the cold air that comes up from the chin of the helmet. The breath box that comes with your 509 can not do this and you will literally freeze.
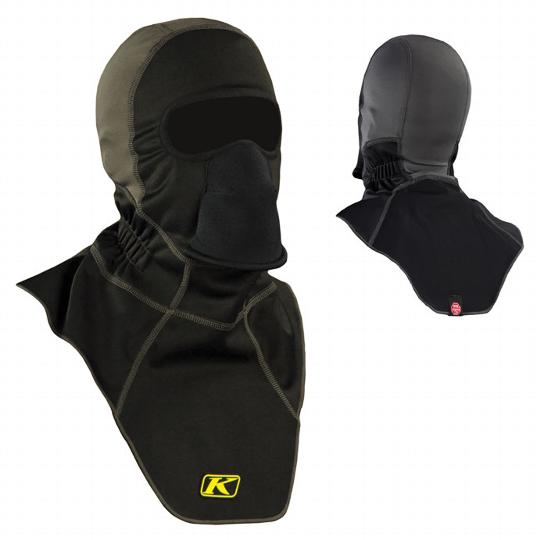
My solution was a Summit model balaclava from Klim. The Klim Summit is not cheap ($65 US) but it is made for serious cold conditions. It has an extra long neck/chest bib design and a molded nose/ mouth deflector that overlaps without losing its shape. To make enough space for this mask to fit properly, remove the 509 breath box.
Next, really cold temperatures result in the unique condition of very fine snow dust. This super fine arctic dust often penetrates a few areas of the goggles and collects on the inside of the lens. It’s not the foam areas that seal the goggles to your face; it’s the more porous top and bottom ventilation foam areas and the very top edge of the lens. When you are trying to stay as warm as possible, stopping to wipe out the inside of your goggles with your ungloved hand is no good. Put another strip of electrical tape along these vulnerable areas.
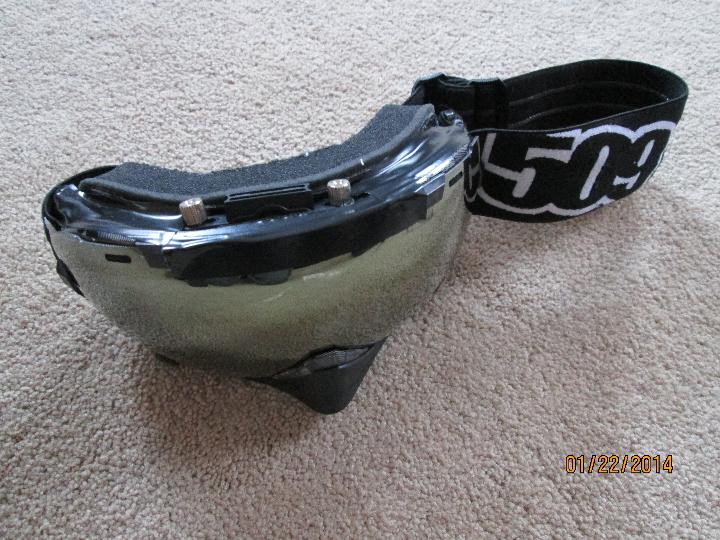
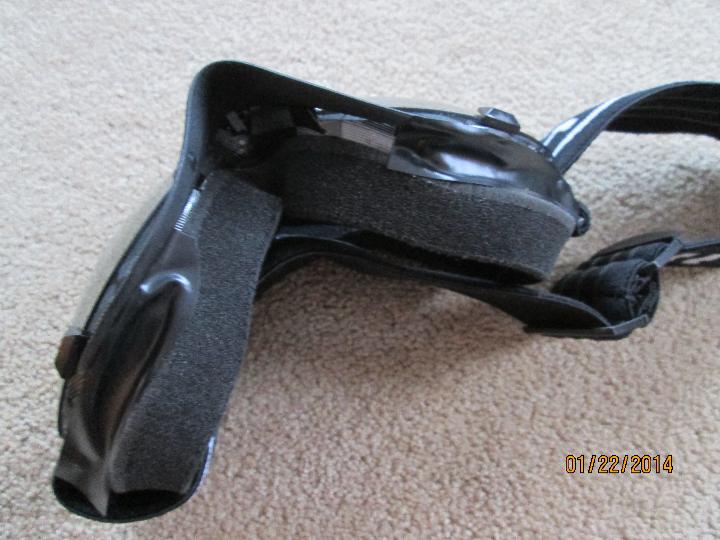
My 509 Aviators have the optional 509 goggle fan installed, the taping process would be the same without the 509 fan installed
Take a little extra time when you put your helmet and goggles on to make sure you have a complete seal and you can enjoy a 509 helmet/goggle system that will allow you to successfully ride for miles and miles in super cold conditions


